


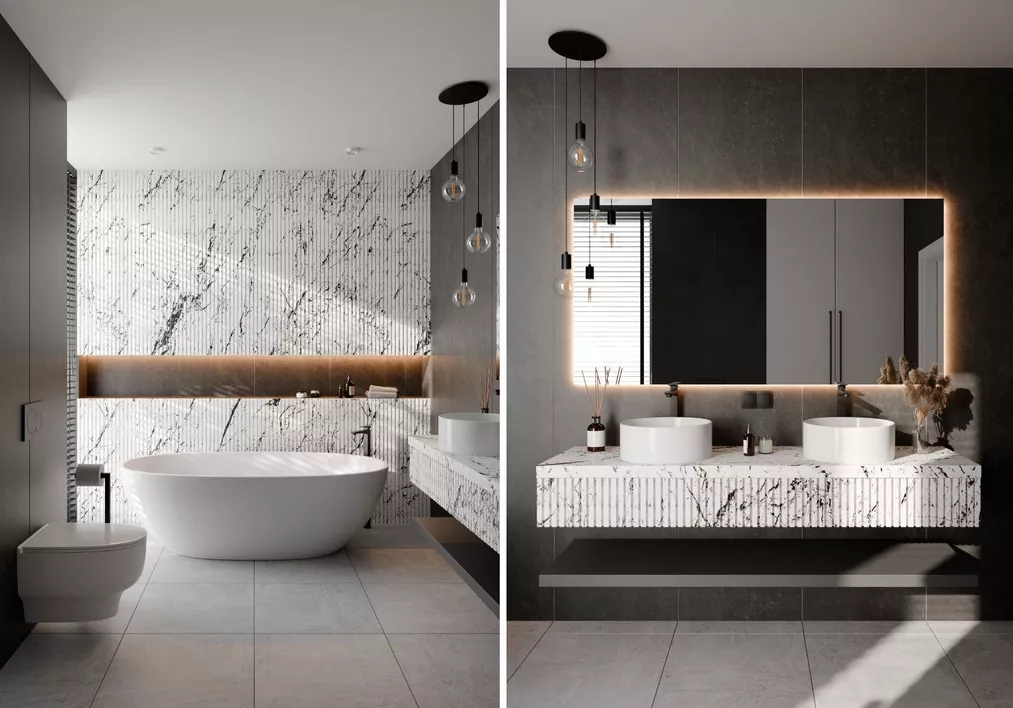
The "Blender + Cycles – Bathroom Visualization" course is a comprehensive guide to creating realistic bathroom visualizations using Blender software and Cycles rendering engine. Throughout the course, you will learn how to create high-quality visualizations, starting from modeling, through texturing, to the final selection of the best lighting options. Additionally, the course includes basic information on creating simple animations, allowing you to present your projects even more effectively.
Modeling in Blender
Modeling is a key stage in the visualization creation process. In this course, special attention will be given to modeling walls, which are essential for any bathroom. You will also learn how to create wall and floor tiles, which are an integral part of every bathroom. You will learn how to easily and conveniently cut holes in the tiles and trim them to maintain the ability for quick editing at any stage of the work. This will make your models more flexible and easier to modify.

Importing Models
In the course, we will show you how to easily import models into Blender. Many models are available in .blend format with ready-made materials, but sometimes it is necessary to use universal formats such as .obj and .fbx. You will learn how to efficiently import these files into Blender, allowing you to quickly enrich your scene with additional elements without the need to create them from scratch.
Materials - How to Create Them
The scope of materials covered in the course includes basic information on creating and editing materials in Blender. You will learn about PBR (Physically Based Rendering) textures and how to effectively use them in your projects. The course also covers creating mirror materials and an approach to working with glass, which is often challenging. This will enhance the realism and professional appearance of your visualizations.
Lighting in Blender - Natural and Artificial Lights
Lighting is the most important element of the course, allowing you to achieve realistic and attractive visualizations. You will learn about the different types of lighting available in Blender and the impact of changing individual parameters of each light type on the scene. You will learn to combine different light sources to achieve the best effect. The course will also show you how to create daytime and evening lighting using artificial light sources, allowing you to convey different atmospheres and moods in your visualizations.

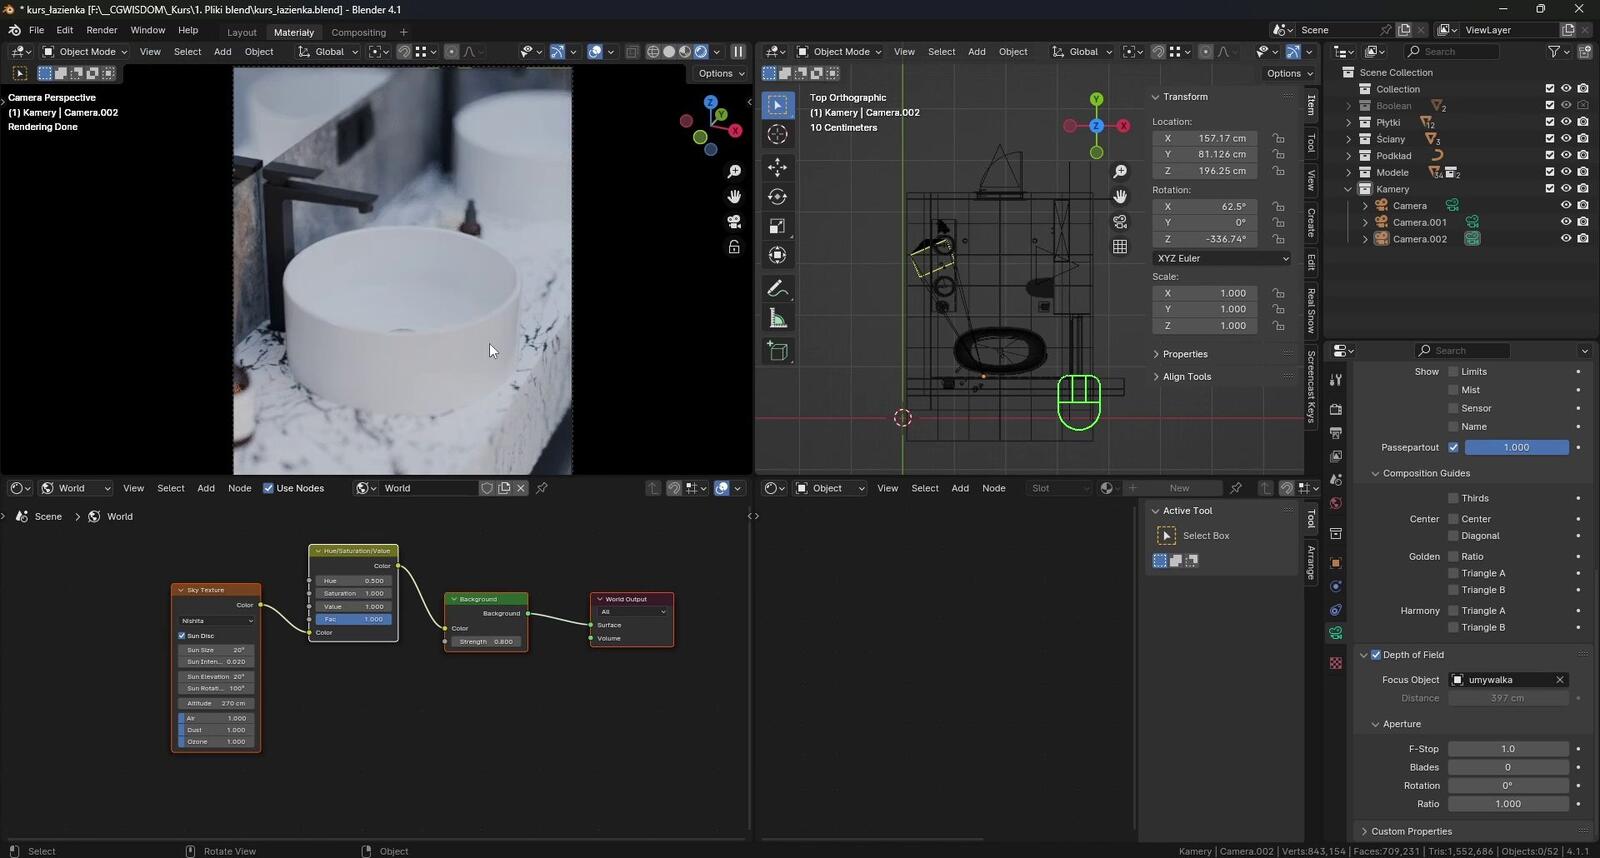
Cycles - Rendering Engine
Blender has the built-in Cycles rendering engine, which is ideal for creating visualizations. At first glance, it may seem difficult due to the number of settings, but in practice, only a few of them are commonly used. In the course, we will show you which settings are crucial and what to pay attention to, as well as what to avoid. This will make the rendering process more accessible and efficient for you.
Depth of Field (DOF)
The course also covers the topic of depth of field (DOF), which is particularly useful for visualizing details, as the use of DOF allows focusing attention on specific elements of the scene, giving it a more professional look.
Light Groups & Light Linking
The light groups feature is mainly used when working with scenes with multiple different artificial light sources. With it, you can modify the lighting of your scene without the need for re-rendering, saving a considerable amount of time. Light linking is a new feature that allows you to exclude a specific object from the lighting or focus an entire light on it, creating interesting effects that can be used in various situations. Understanding these functions will undoubtedly facilitate your work and expand creative possibilities.
Creating Animations in Blender
The course also includes basic information about animation. You will learn about key frames and how to use the timeline to set simple camera movements. You will also learn how to render the animation and how to edit it using basic options in the free program DaVinci Resolve. This will allow you to enhance the presentation of your projects and add dynamism to them.
Post-Production
The final part of the course is dedicated to post-production, both in Blender and in the Affinity Photo program. We will show you some tips to give your visualizations a better final look, emphasizing details and improving the overall aesthetic of the scene. This will make your projects look even more professional and attract the attention of viewers.
Summary
The "Blender + Cycles – Bathroom Visualization" course covers all aspects of creating realistic bathroom visualizations, from A to Z. Special emphasis has been placed on lighting techniques, which are crucial for achieving high-quality results. After completing this course, your visualization skills will reach a new, higher level. Enroll in the course today and learn how to create amazing bathroom visualizations in Blender!

Martyna Kalata 07-09-2025 Verified purchase review
Mateusz Rokicki 04-09-2025 Verified purchase review
Paweł 06-04-2025 Verified purchase review
Filip 29-03-2025 Verified purchase review
Aneta Krasuska 02-02-2025 Verified purchase review
Anonim 06-01-2025 Verified purchase review
Barbara 12-12-2024 Verified purchase review
Justyna 08-10-2024 Verified purchase review
Agata 09-09-2024 Verified purchase review
Marketing NT 17-07-2024 Verified purchase review