Publication date: 24-02-2025 | Update date: 25-07-2025 | Author: Mateusz Ciećwierz

-
Online courses
- All
 3ds Max
 AI - Artificial Intelligence
 Blender
 Corona renderer
 GstarCAD
 LayOut
 Photoshop
 Interior Design
 Revit
Revit Sketchup
 Stable Diffusion
 V-ray
V-ray
"Online courses" are comprehensive online training programs that will help you quickly master the software you are interested in.
- Plugins
- 3D Models
- Help
- Articles
8 ways to improve visualization quality! - Guide
In this guide, I would like to present you with a few tips that will help you improve the quality of your visualizations in a really simple way. These are not any special techniques, but only small things worth paying attention to. Thanks to them, we will achieve a render much more pleasant to the eye :).
Index
Some of the tips will be directed to 3ds Max and V-ray users, but I think most of the tips will be helpful regardless of the software used :)

Preparing appropriate frames
One of the basic things when working on visualization is having properly set frames.I would personally try to avoid shots with a camera placed under the ceiling or in other strange places. This way we avoid distorted perspective. During this stage, it's worth creating a few different cameras and simply checking which shots will suit us the most. I also advise avoiding very wide angles (low focal length values). Setting the focal length below 20 mm can result in distorted perspective and stretched image.
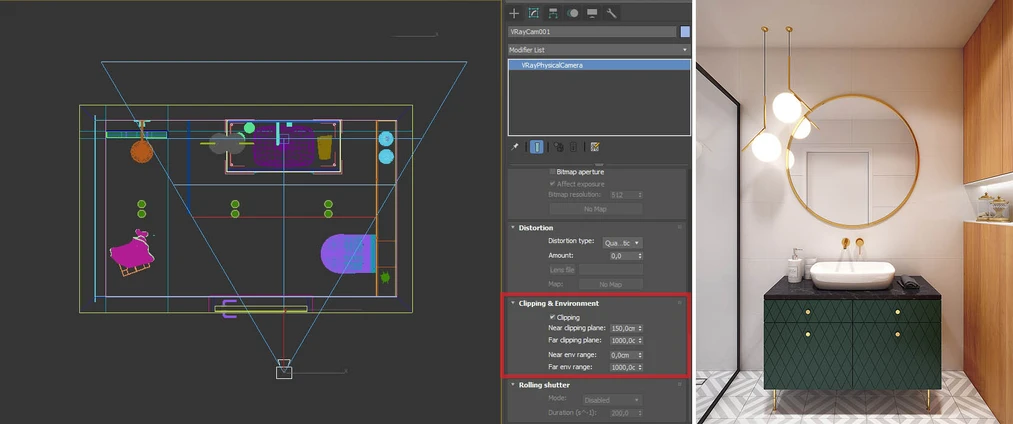
If you have trouble setting the camera in a narrow room, it's worth using the "clipping" option and placing the camera outside the room. This way we can see through the walls without changing the geometry of our scene. This option is available in Vray Camera, Corona Camera, and Physical Camera.
It's also worth not trying to show everything in one shot. If a piece of an object is cut off, nothing will happen. Such shots can look more natural and interesting.
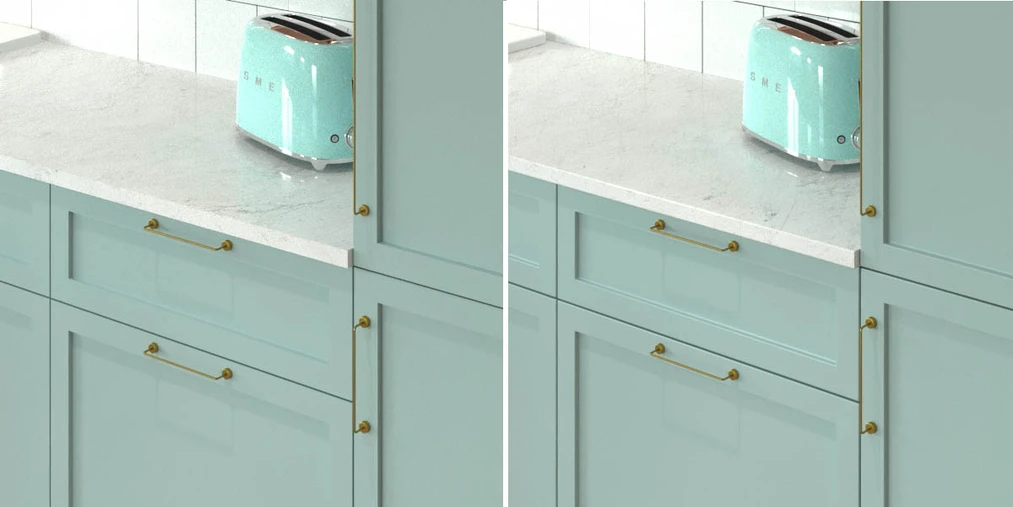
Proper model preparation - Rounded edges
I personally pay a lot of attention to ensuring that practically all objects in the scene have rounded edges. In many cases, this allows us to achieve a much more natural effect because we gain light reflection on the edge. Objects with perfect sharp edges practically do not occur in reality and do not look natural.
Below you can see an example where on the left side we have a model without rounded edges, and on the right with rounded edges. The effect may not be very visible at first glance, but after a while, we can see the light reflecting on the edge of the countertop and cabinet fronts.
If you don't want to spend your time manually rounding the corners and you use V-ray, in this case, the VrayEdgesTex map added in the Bump can work well. This way, we can achieve a very similar effect without interfering with the 3D model. You can find more on this topic in the tutorial - How to round corners using VrayEdgesTex material - Tutorial - 3ds Max - V-ray.
Also, remember that using models with errors or low quality will immediately make our visualization look artificial. If we cannot model things on our own, try to use the best available models.
Well-prepared materials
Good materials are, in my opinion, just as important or even more important than the 3D model itself. A simple way to make our models look more natural is to add reflections to all the materials we use. In reality, almost every object reflects to some extent. Without this, our materials will look very flat and unnatural.
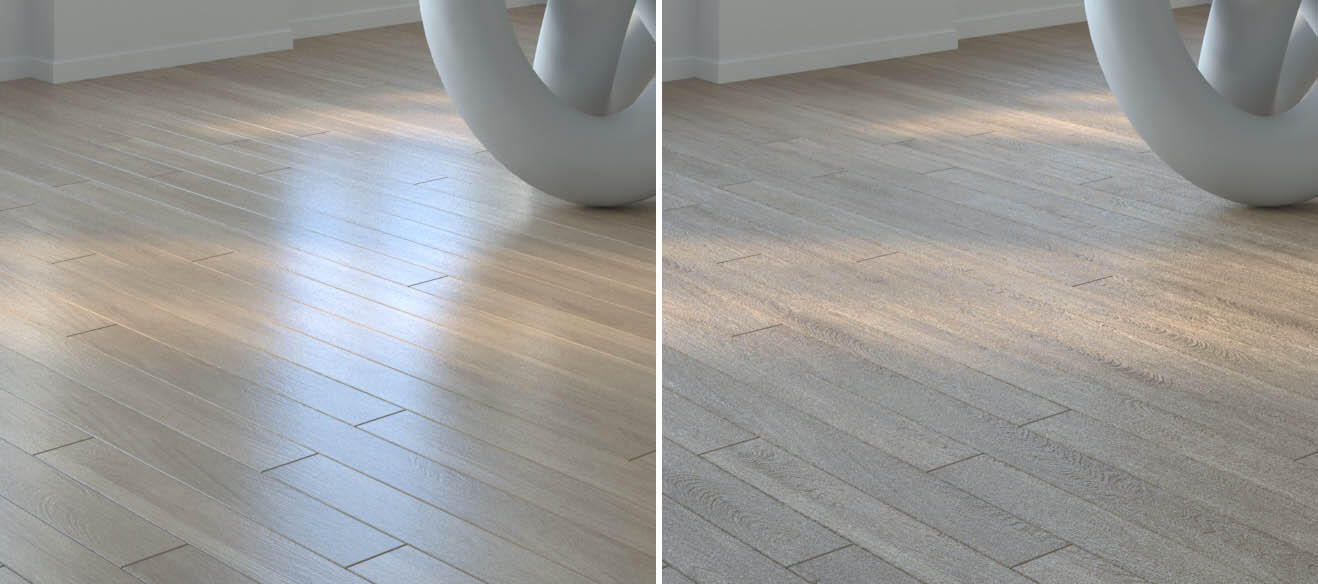
Another stage of initiation is adding textures to the blurring parameter - it will probably be reflection glossiness or a similar one, depending on the software. This way, the reflections will become irregular and more realistic. Of course, sometimes we want perfect reflections, so it's not always worth experimenting :)
On the left, an example with even reflections, and on the right with a wood texture in the Reflection Glossiness channel.

It's also worth not overdoing it with too strong a bump. Too large values give a strange result and make the materials look unnatural and often noisy. For example, in the example below, you can see two examples of the same material. The one on the left had the bump value set to 0.087, and the other to 2. Although the difference between 0.087 and 2 theoretically is not large, the effect obtained is completely different.
Use high-resolution textures
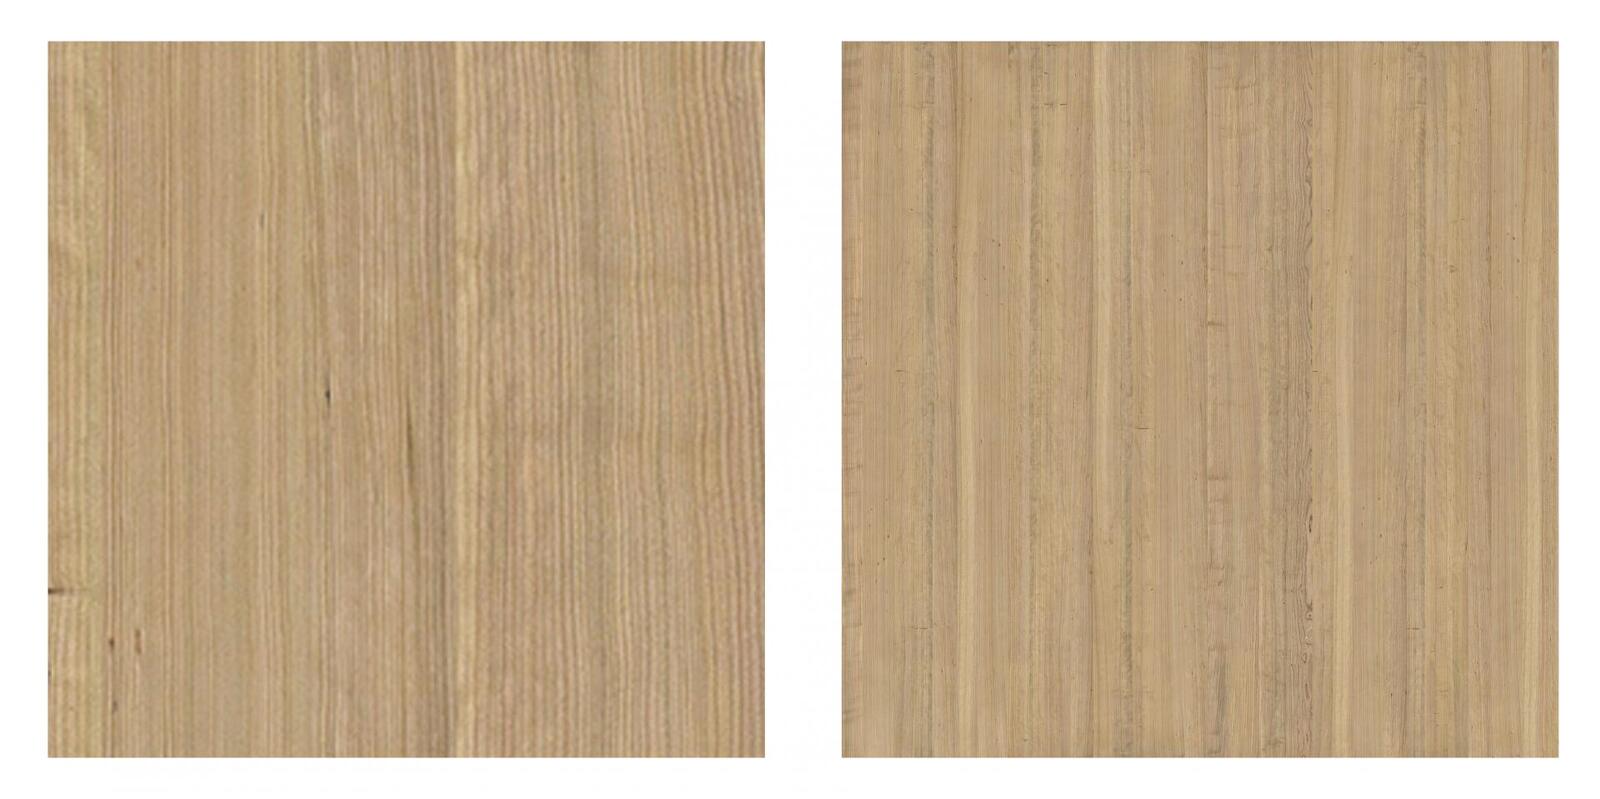
If you have the opportunity, try to use high-resolution textures, e.g., 3000 x 3000 or larger. It's also essential that the area it represents is not a large close-up, e.g., a fragment of 50 cm x 50 cm, but e.g., 200 cm x 200 cm. This way, when we assign the material to an object, the repeatability of the texture will be less visible.
For example, if you had two textures such as the ones below at a resolution of 3000 x 3000, the one on the right would be much better because it represents a much larger area of wood, not just a small fragment.
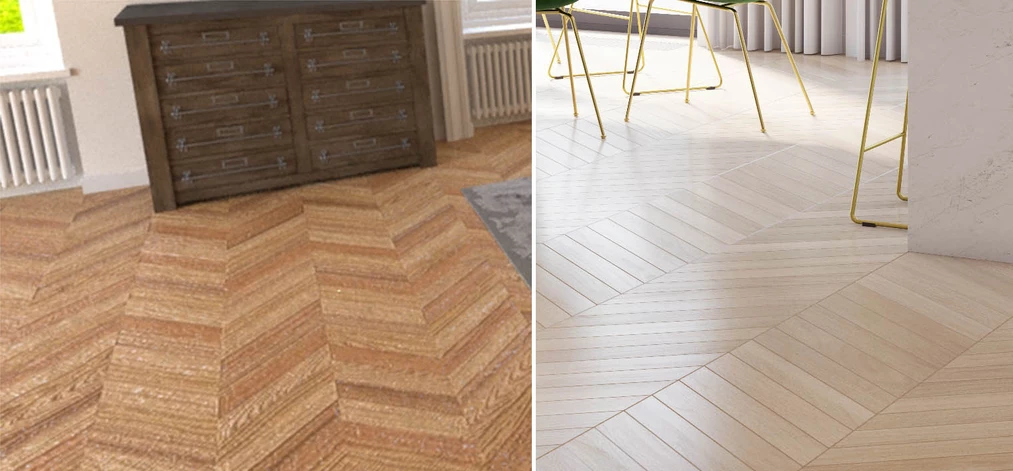
Additionally, if we use low-resolution textures, e.g., 512 x 512, they will be very blurred and unclear in the end. Just as visible in the example below on the left.
Sometimes it's also worth spending some time on properly preparing the model instead of trying to handle everything with the material. It works very well for floors. We then obtain very sharp and distinct divisions of the planks and visible recesses. Achieving a similar effect only with the texture can be very difficult.
Lighting
When the model and textures are ready, it's worth taking care of appropriate scene lighting. Try to make it look interesting and natural. A good way is to be inspired by real interior photos and analyze their lighting. Then we can try to achieve a similar atmosphere in our visualization.
Try to avoid strong overexposures. It will be easier to increase specific light than to darken it in post-production. Unless you use Corona, in this case, Light Mix works perfectly :).
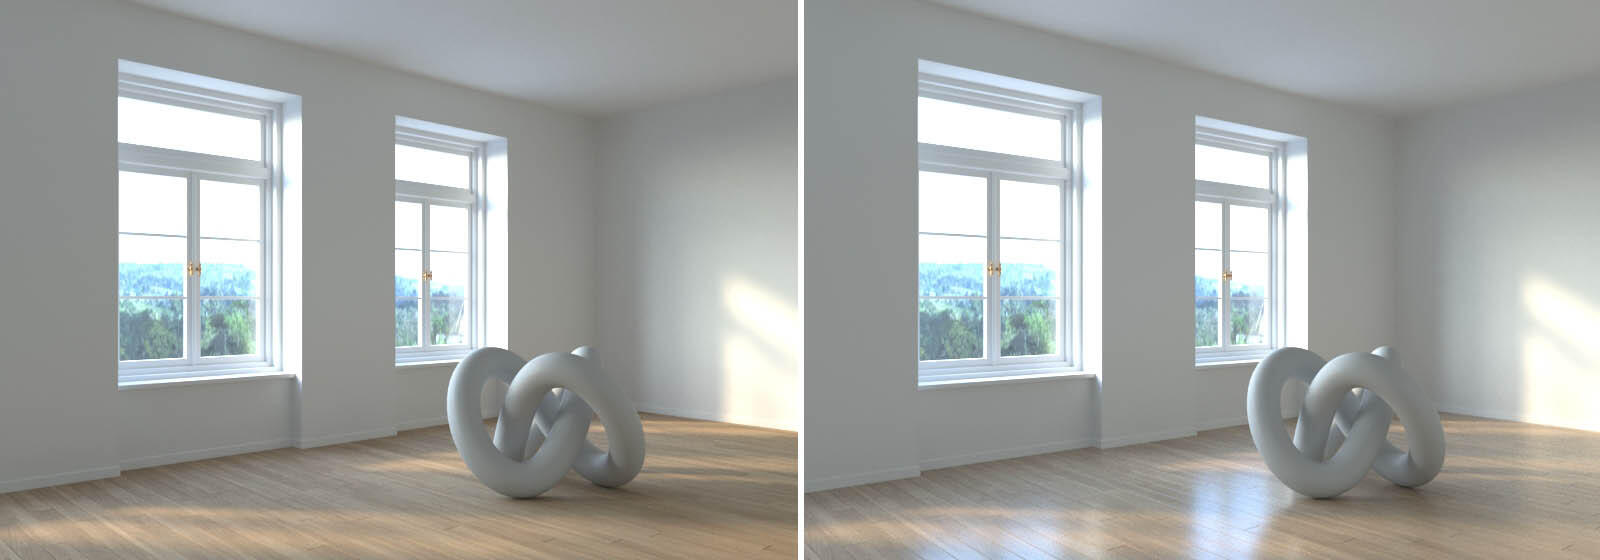
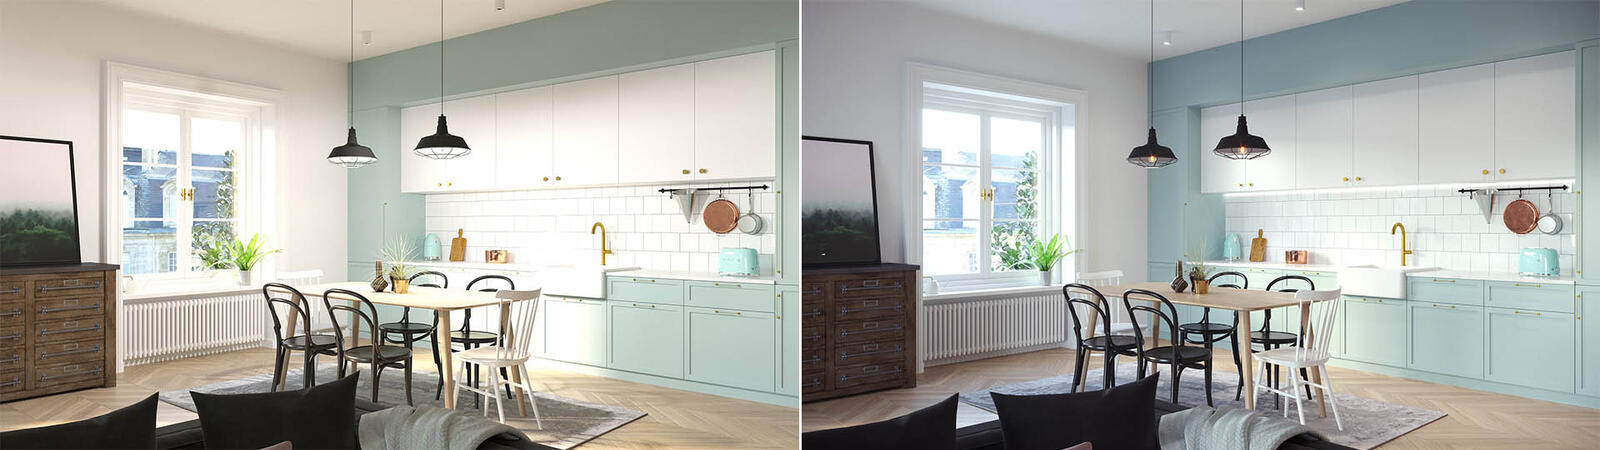
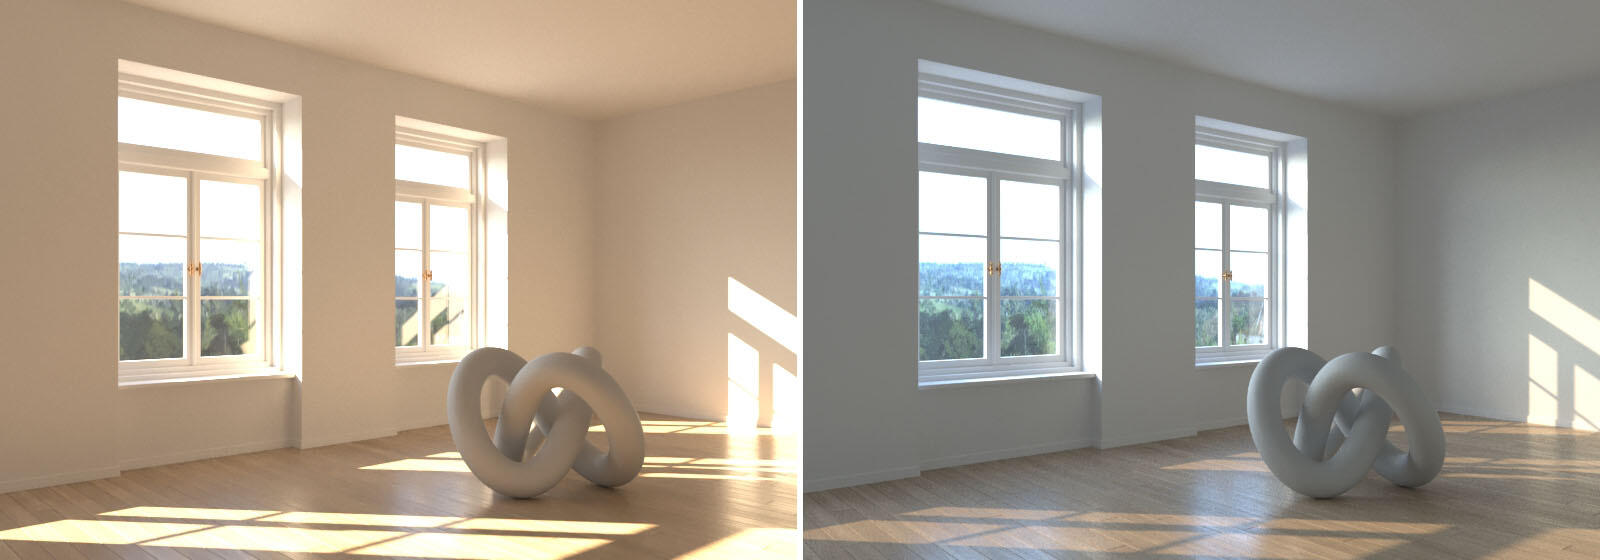
Below, on the left, you can see an example of sunlight created using Corona Sun with default settings Size: 1.0 and Intensity 1.0 (it would look very similar in V-ray). On the right, we have the same shot, but with Intensity reduced to 0.05. You can see that thanks to this small change, the render looks much more natural, it is not as yellow, and we avoid overexposures.
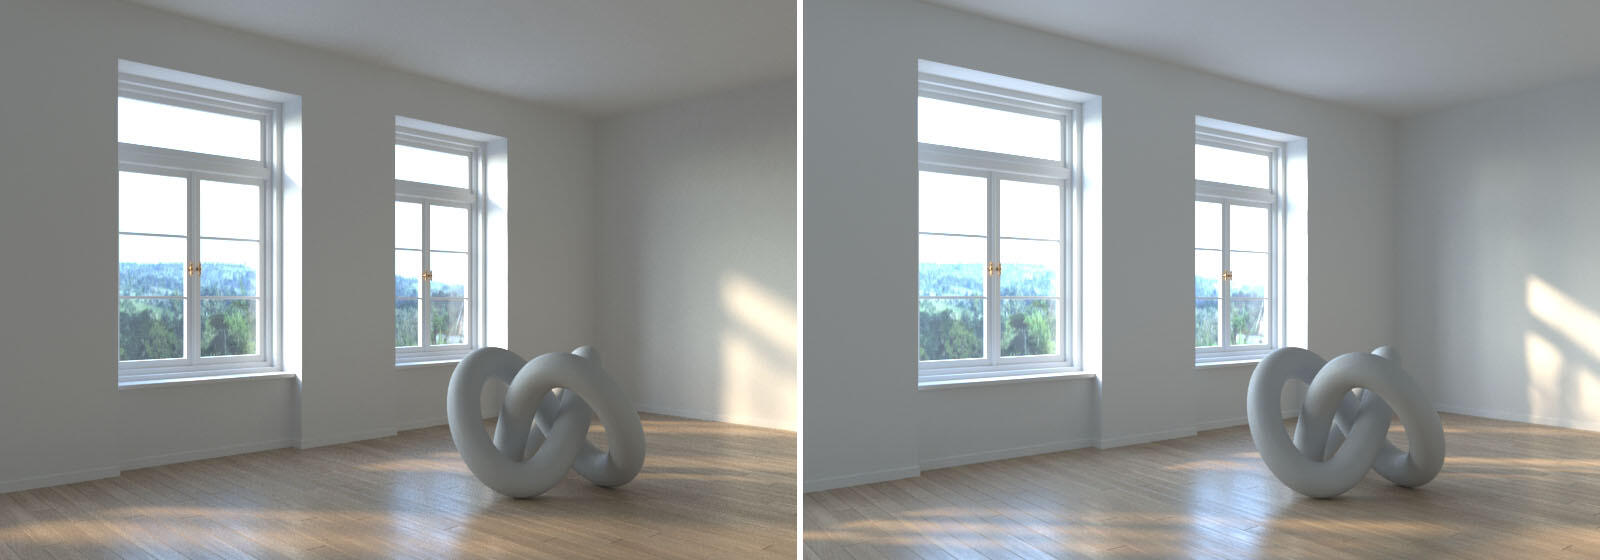
Another thing that is usually worth changing is the Size parameter in the sun settings. The default value of 1 gives very sharp shadows, which we rarely want to achieve. Below, on the left, you can see a render with Size set to 10. If we want to further diversify our shadows, we can add some trees or ordinary textures with an Opacity channel imitating trees outside the window. This way we will achieve irregular shadows and light shining through the tree branches.
Another thing that is usually worth changing is Size in the sun parameters. The default value of 1 gives very sharp shadows, which we rarely want to achieve. Below, on the left, you can see a render with Size set to 10. If we want to further diversify our shadows, we can add some trees or ordinary textures with an Opacity channel imitating trees outside the window. This way we will achieve irregular shadows and light shining through the tree branches.
If you want to learn more about the sun settings, I encourage you to read the guide - 3ds Max - Sunlight overview - Vray Sun - Sun, even if you use Corona, the settings work in the same way :).
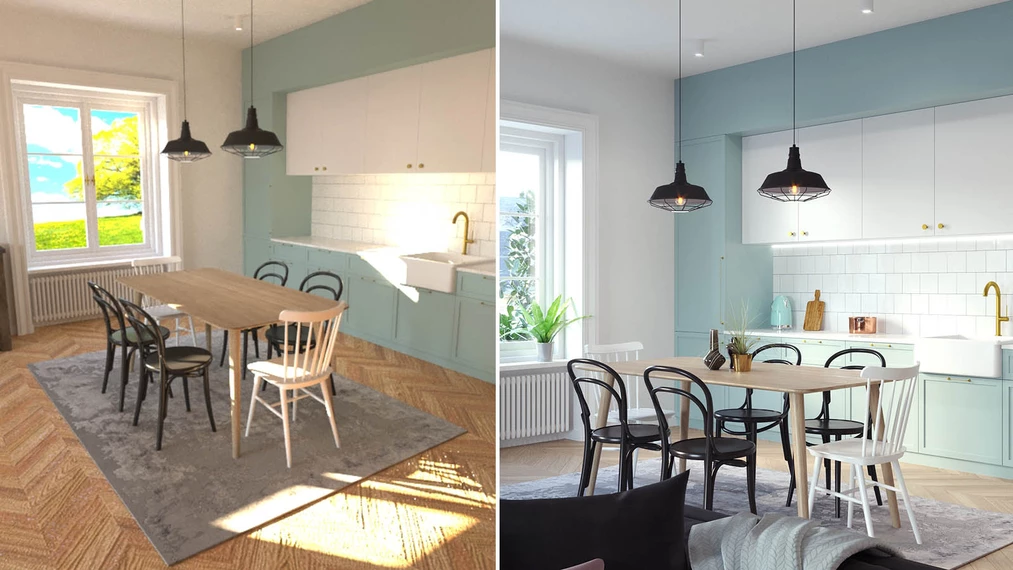
Too bright view outside the window
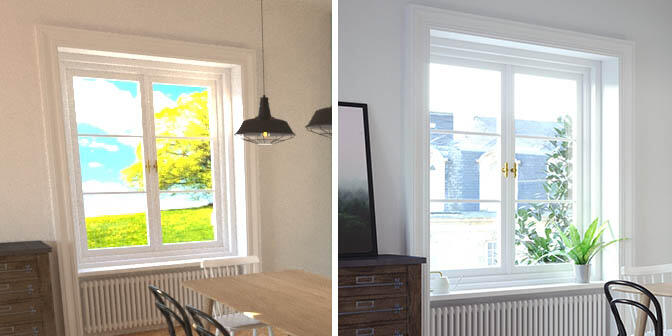
The problem for many beginner visualizers is the desire to have a clear and colorful view outside the window. This often results in the insertion of very vivid-colored graphics, which looks very unnatural and artificial. In reality, in most cases, the view outside will be very overexposed, and the colors will be less saturated. As seen in the examples below. This is because if we want our interior to be adequately illuminated, in reality, we must increase the ISO sensitivity, the exposure time, or decrease the aperture. This way, our image becomes brighter. Values that are sufficient for most indoor situations will give an overexposed outside image.
It's not an exact science, but it more or less works :).

If the image you are adding outside the window looks artificial, it's better not to add anything and leave it white. It will definitely be less distracting than a green tree with a poorly matched horizon line :)
Details
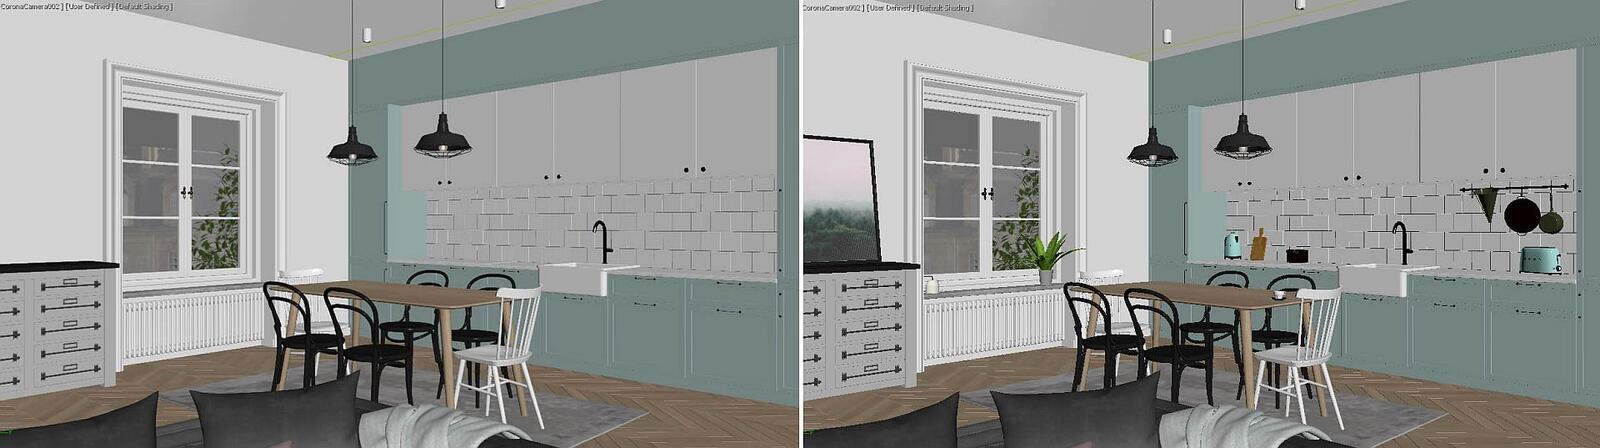
Finally, it's worth making sure that our scene doesn't look empty and boring. Adding various details, such as flowers, books, decorations, will bring the scene to life and make it look more realistic.
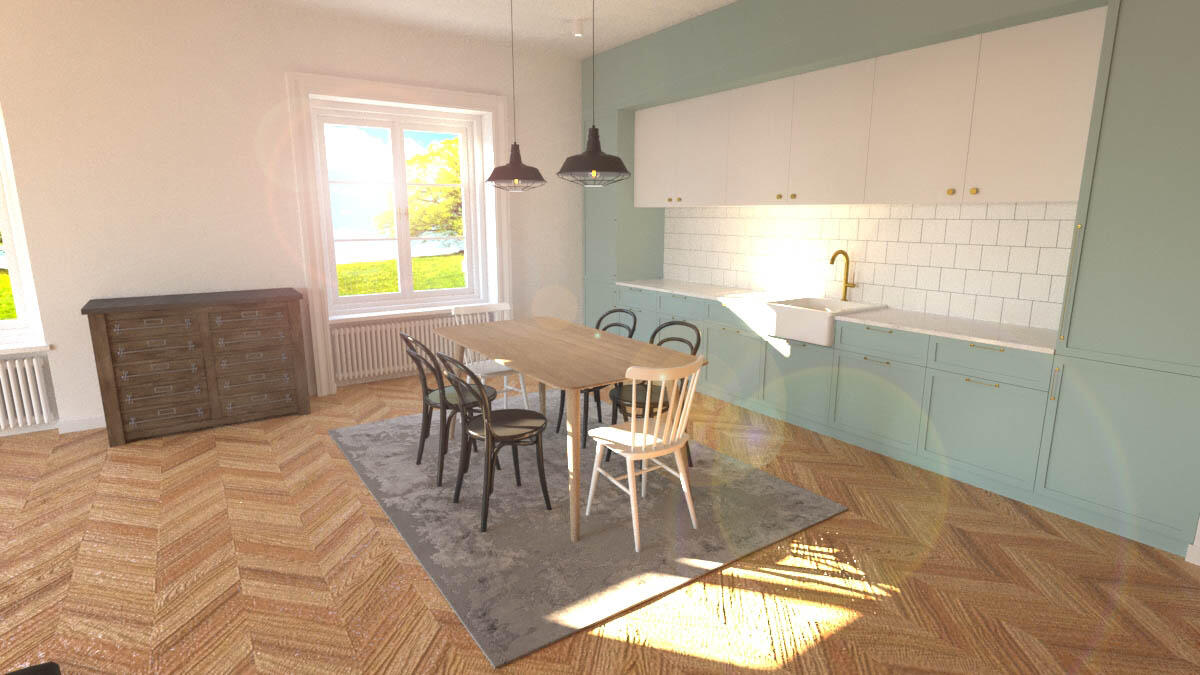
Avoiding Cheap Effects
Once the visualization is ready, it's important to ensure proper post-production. Remember not to overdo it with cheap effects like adding flares just for the sake of it. This is not as common nowadays as it used to be in previous years :)
I hope this tutorial will be helpful for you and allow you to significantly improve the quality of your own visualizations. As you can see, these are not any secret techniques, but simple things that are worth remembering and taking into account.
Best regards!
Author

Read on our blog
-
![AI for furniture manufacturers - See how to create furniture packshots and catalog arrangements with raya.design]()
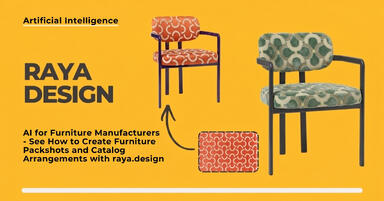
AI for furniture manufacturers - See how to create furniture packshots and catalog arrangements with raya.design
Packshots without time-consuming sessions? Discover Raya Design. Change upholstery and create arrangements with AI in moments. See how it works! -
![Virtual AI home staging - how to furnish an empty apartment from a photo in one minute using Ray?]()
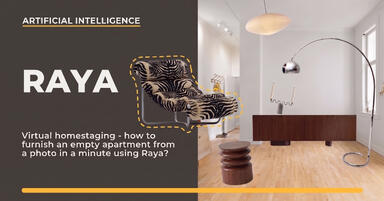
Virtual AI home staging - how to furnish an empty apartment from a photo in one minute using Ray?
Fast interior transformation without 3D modeling? Meet Ray Design. Furnish an empty apartment from a photo in one minute with AI. Come in and see how it works! -
![Quick AI visualizations from SketchUp - Meet Raya: an alternative to V-Ray]()
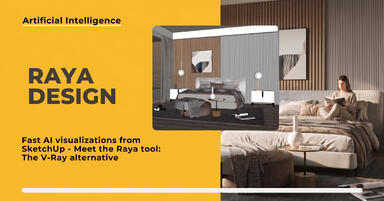
Quick AI visualizations from SketchUp - Meet Raya: an alternative to V-Ray
Done with tedious V-Ray? Test Raya Design in SketchUp! Create photorealistic interior visualizations without prompts. Click to find out! -
![Raya - The simplest AI tool for designers: zero prompts, maximum control!]()
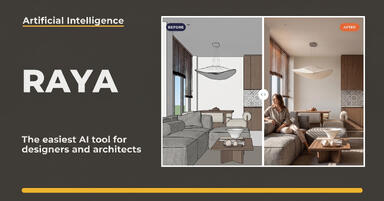
Raya - The simplest AI tool for designers: zero prompts, maximum control!
Try raya.design for free! Get 20 credits to start and create photorealistic 3D visualizations without prompts. Click to check it out!