Publication date: 20-02-2025 | Update date: 20-02-2025 | Author: Adrian Szerszeń

-
Online courses
- All
 3ds Max
 AI - Artificial Intelligence
 Blender
 Corona renderer
 GstarCAD
 LayOut
 Photoshop
 Interior Design
 Revit
Revit Sketchup
 Stable Diffusion
 V-ray
V-ray
"Online courses" are comprehensive online training programs that will help you quickly master the software you are interested in.
- Plugins
- 3D Models
- Help
- Articles
Autocad - Preparing a drawing for printing - Guide, tutorial
Preparing a drawing for printing is the final stage of each project, so it is one of the most important skills to master. In the AutoCad program, two ways of preparing the print can be distinguished – from the work area and by using so-called sheets. In this guide, you will learn how to prepare a print in the work area.
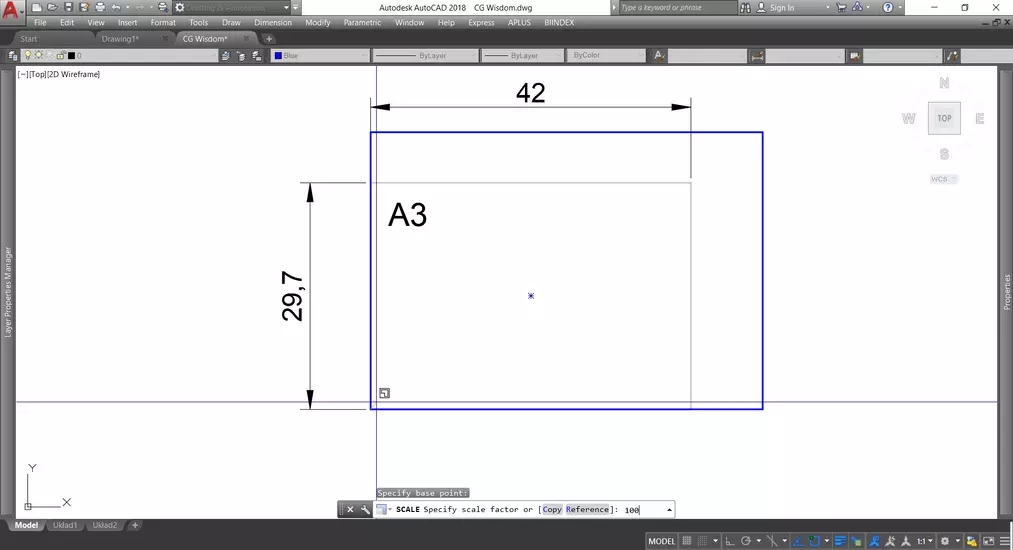
Selection and drawing of a sheet in the work area
First of all, you should consider which sheet format will be the most appropriate. The next step is to draw the selected sheet in the work area. Depending on the adopted scale and units, the drawn print area will need to be appropriately scaled.
For example, a drawing prepared in centimeters fits on an A3 sheet for a scale of 1:100. This sheet has dimensions of 42 x 29.7 cm, and a rectangle with such dimensions should be drawn (e.g., using the "Rectangle" function). To scale to 1:100, use the "Scale" function x100.
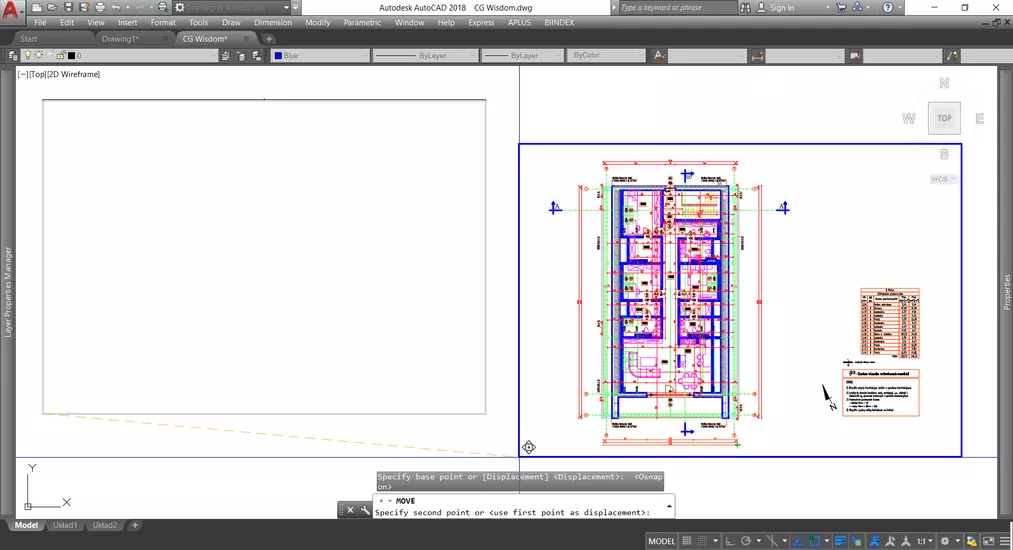
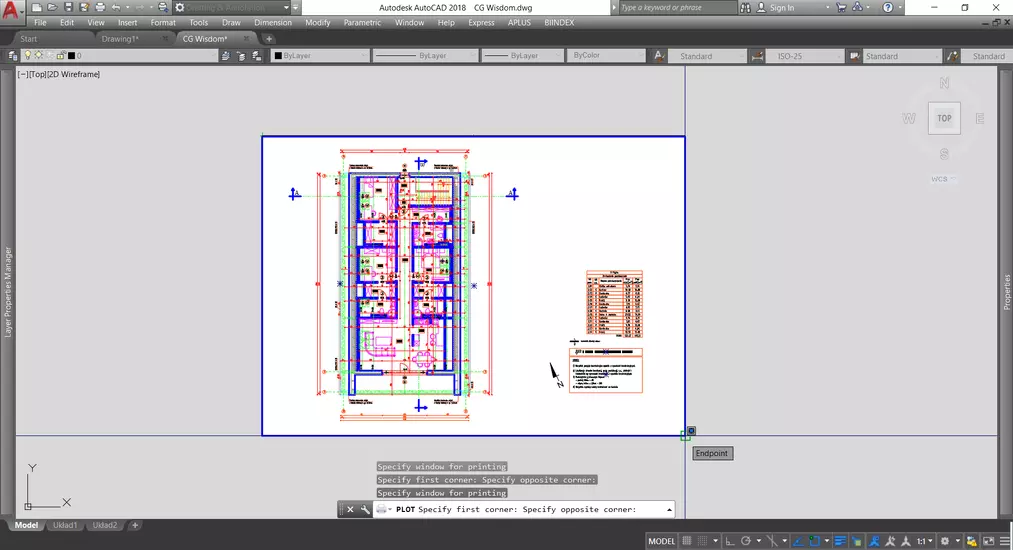
Enlarged in this way, the rectangle, representing the print area, should be positioned to encompass the entire printed drawing. For this task, the "Move" function will be useful. Before moving on to the next step, make sure that all layers have appropriate settings for line thickness, color, and line type. Also, check for objects with overridden properties, if they occur in the drawing.
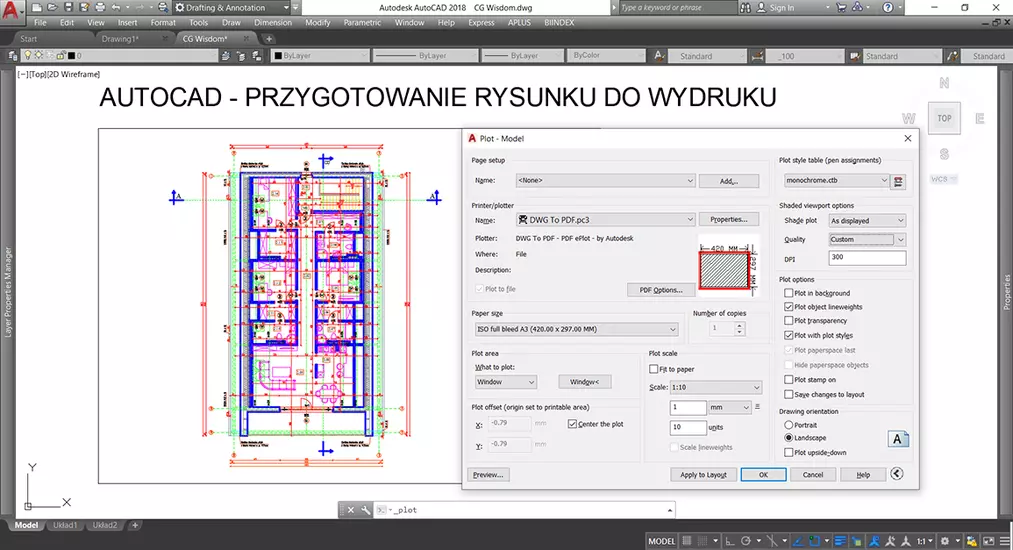
AutoCAD - Print settings
To access the print settings window, the easiest way is to use the shortcut CTRL+P. Using it will display a window where you first need to select the available printer (if you want to print directly from AutoCAD) or, in the case of exporting to a PDF file, select the "DWG to PDF" option.
Then, select the sheet format corresponding to the one in the work area. It's advisable to select a sheet with the "ISO Full bleed" designation, which means a full print area, to avoid cropping the drawing. If the sheet orientation is incorrect, in the lower right corner, you can change the drawing orientation.
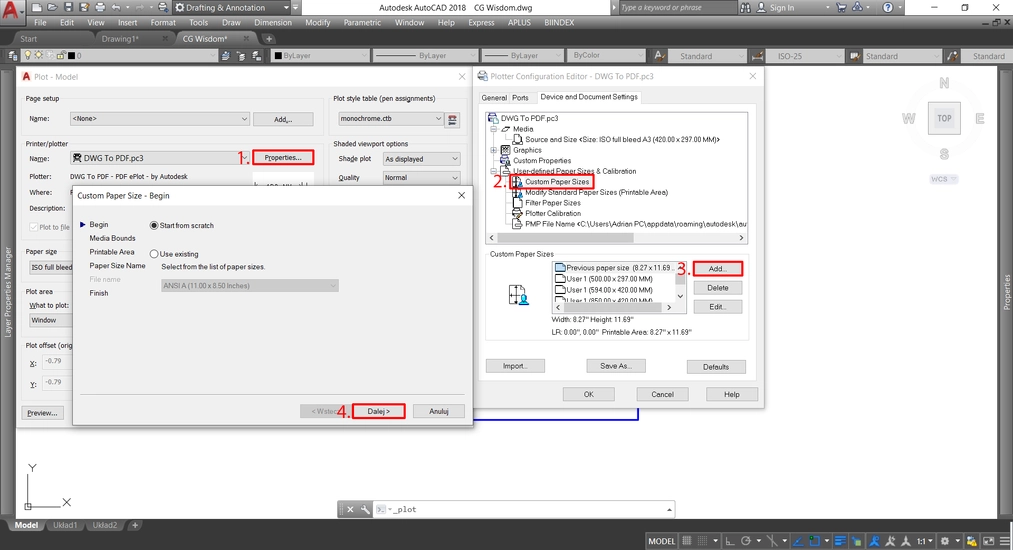
If needed, AutoCAD allows for creating custom sheets. Simply click on the "Properties" button next to the printer selection. This will open a window where you can find the "User paper sizes and calibration" tab. Expanding it, select "Custom paper sizes", then click "Add". At this point, the sheet creation wizard will start.
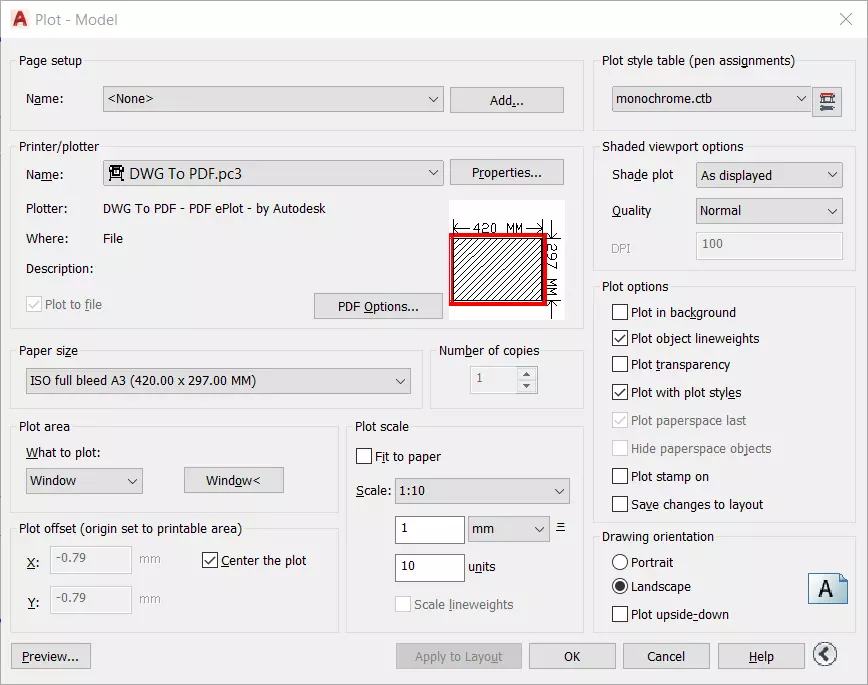
For printing to scale, uncheck the "Fit to sheet" option and select the desired scale. If it is not available in the drop-down list, enter it manually by choosing a custom scale. One issue to note is that AutoCAD reads units as millimeters, regardless of the set units. So if your drawing is in centimeters, it will be reduced tenfold. As a result, for a scale of 1:100, set the scale to 1:10.
An important part of the settings is selecting the print style, located in the upper right corner. The most popular option is "monochrome", which makes the printed drawing black and white. As for other styles and customizations, a separate guide will be created soon.
In the final step, decide whether the print should include line widths, object transparency, or the selected printing style. Before printing, it's advisable to save the print settings by clicking "Apply to layout". This allows for quickly printing multiple drawings with the same or similar print parameters.
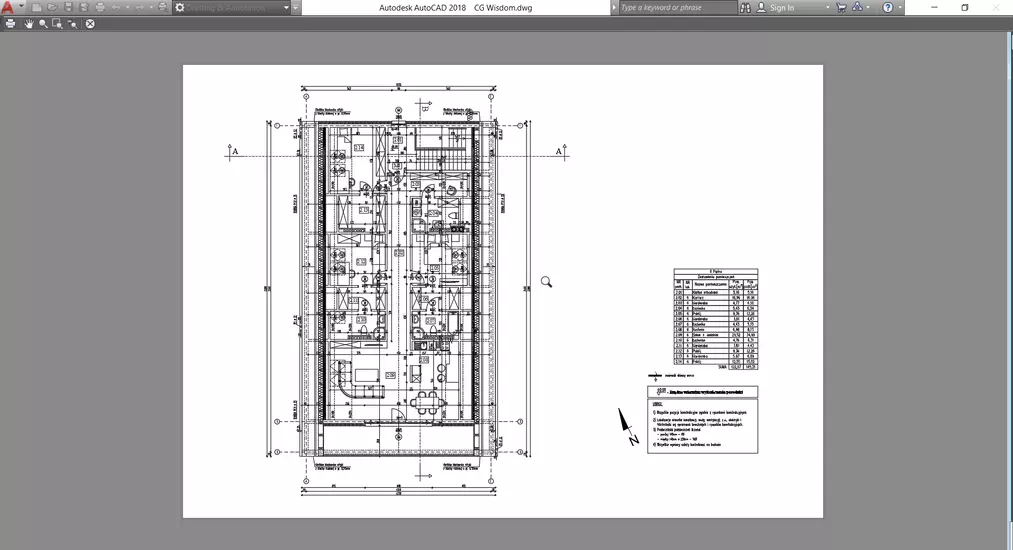
To preview the print, click on "Preview". If exporting to PDF, clicking "OK" will prompt you to select a save location. The finished file will open automatically.
We hope this guide helps! Follow our blog for more tutorials, and if you have suggestions, leave a comment below.
Best regards!
Author

Read on our blog
-
![AI for furniture manufacturers - See how to create furniture packshots and catalog arrangements with raya.design]()
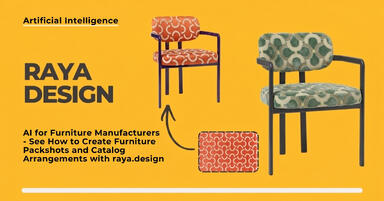
AI for furniture manufacturers - See how to create furniture packshots and catalog arrangements with raya.design
Packshots without time-consuming sessions? Discover Raya Design. Change upholstery and create arrangements with AI in moments. See how it works! -
![Virtual AI home staging - how to furnish an empty apartment from a photo in one minute using Ray?]()
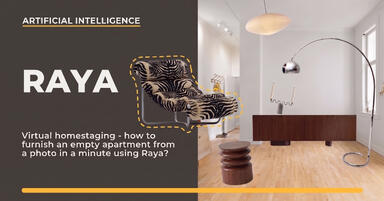
Virtual AI home staging - how to furnish an empty apartment from a photo in one minute using Ray?
Fast interior transformation without 3D modeling? Meet Ray Design. Furnish an empty apartment from a photo in one minute with AI. Come in and see how it works! -
![Quick AI visualizations from SketchUp - Meet Raya: an alternative to V-Ray]()
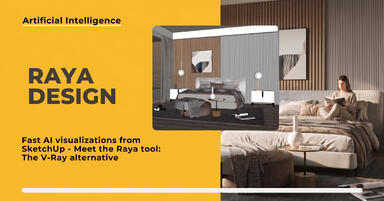
Quick AI visualizations from SketchUp - Meet Raya: an alternative to V-Ray
Done with tedious V-Ray? Test Raya Design in SketchUp! Create photorealistic interior visualizations without prompts. Click to find out! -
![Raya - The simplest AI tool for designers: zero prompts, maximum control!]()
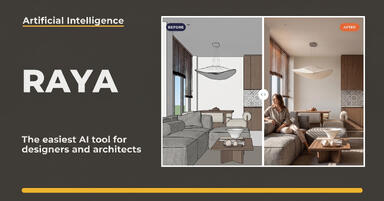
Raya - The simplest AI tool for designers: zero prompts, maximum control!
Try raya.design for free! Get 20 credits to start and create photorealistic 3D visualizations without prompts. Click to check it out!