EN
EN PL
PL ES
ES


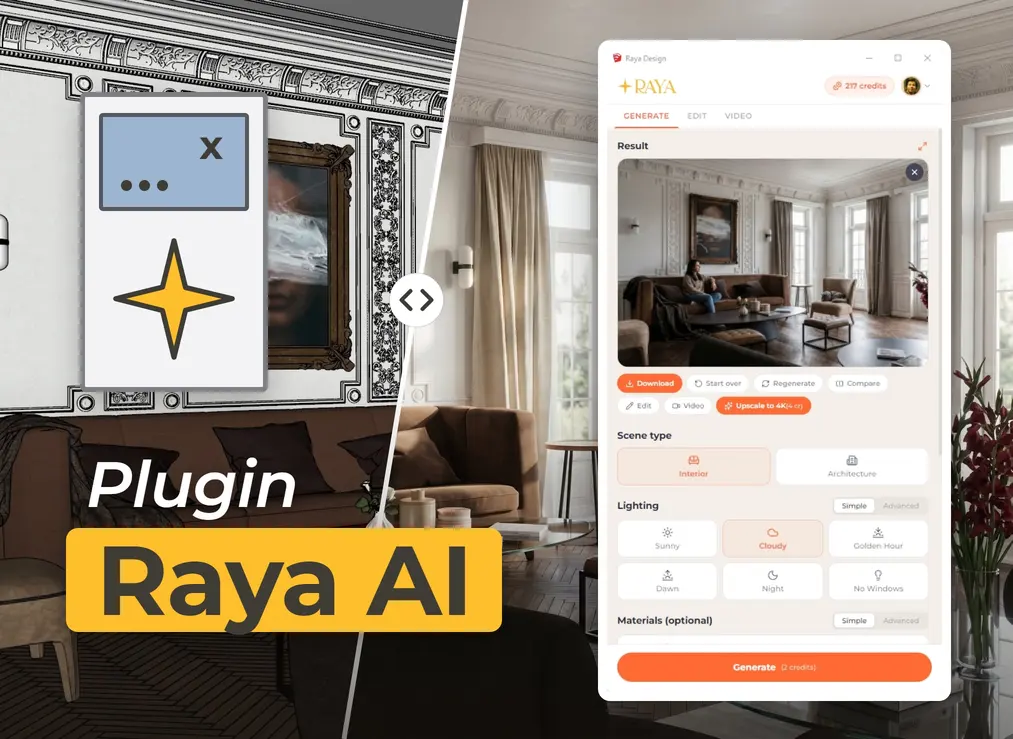


Photorealistic visualization straight from a SketchUp model
Everyone who has done an interior visualization in SketchUp knows this scenario. You install a rendering engine, apply materials to every surface, set the sun, lamps and exposure, and then wait for the render, which depending on the scene and the computer takes from a few to several dozen minutes. The client asks for a lighter floor and everything starts from scratch. With several shots and two rounds of revisions, rendering alone takes an entire day.
Raya is a free AI plugin for SketchUp that shortens this process to a few clicks. You set up the shot in the model, capture it in the Raya panel, choose the scene type and lighting, and in under a minute you get a photorealistic visualization. The artificial intelligence sticks to the form and perspective of your view, adding materials, light and details as they would appear in a real interior. The image is created in the cloud, so you only need the computer you use for modeling every day.
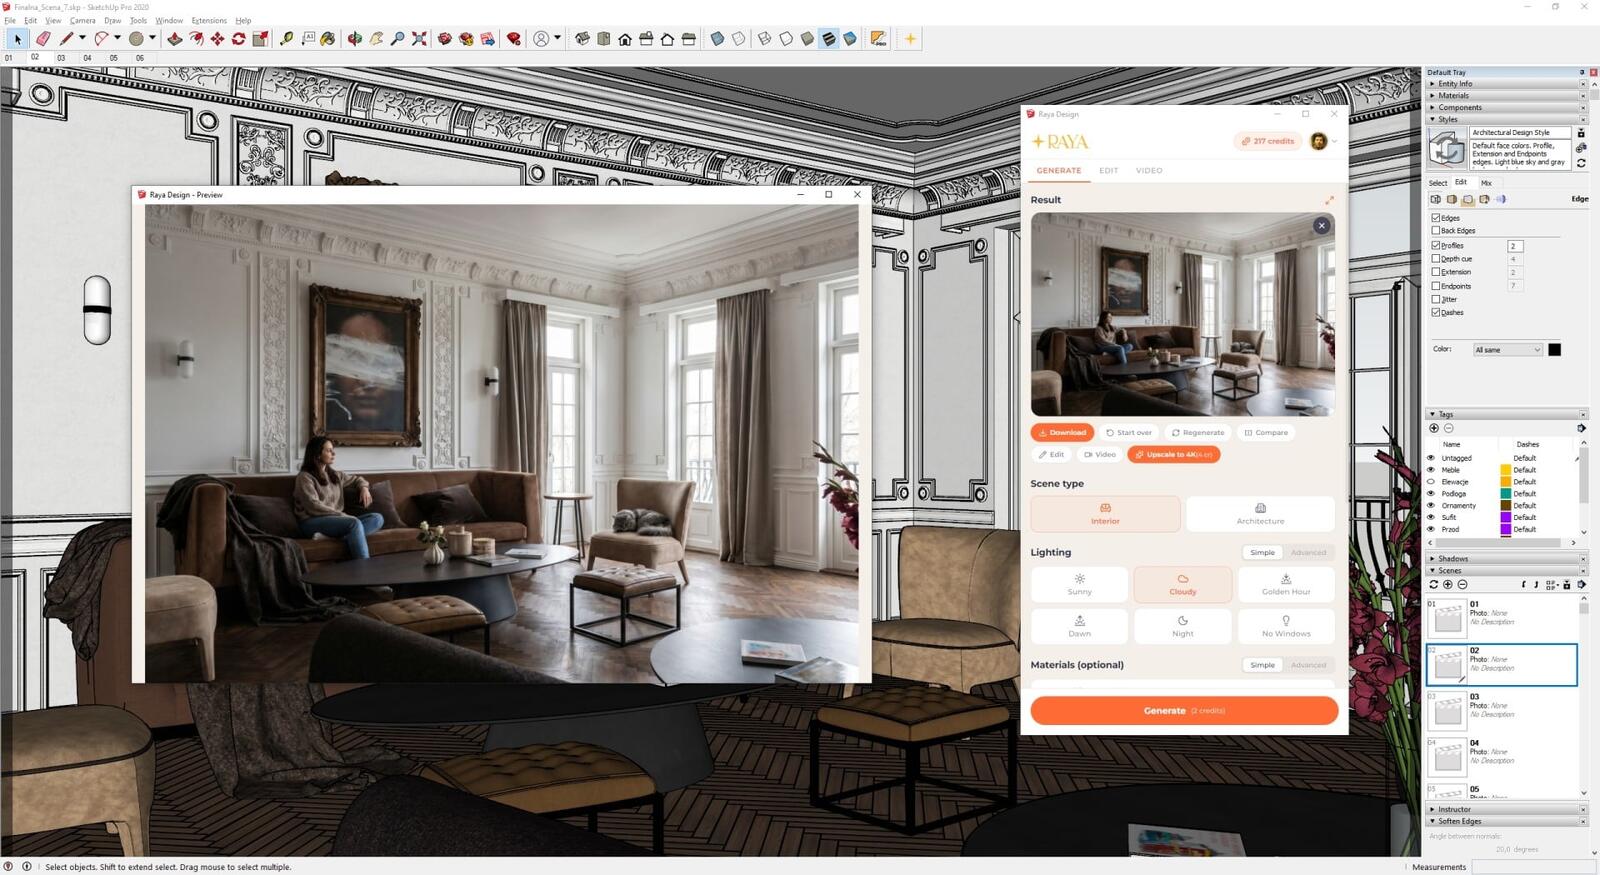
How does the AI rendering plugin in SketchUp work?
You open the Raya panel from the Extensions menu and work with it alongside your model. The entire workflow consists of four steps:
- You capture the view. You position the camera in SketchUp as you would for a regular render and click “Capture View.”
- You choose the scene type and lighting. You also set the season and image quality: 2K or 4K.
- You refine the details. You describe materials, add images of specific furniture, or mark areas of the view that should look different.
- You click “Generate.” In under a minute, the visualization appears in the panel, ready to download, edit or animate.
Interior, architectural and any-scene visualizations
At the start, you choose the scene type, because AI treats a room differently from a building in context.
Interior visualizations
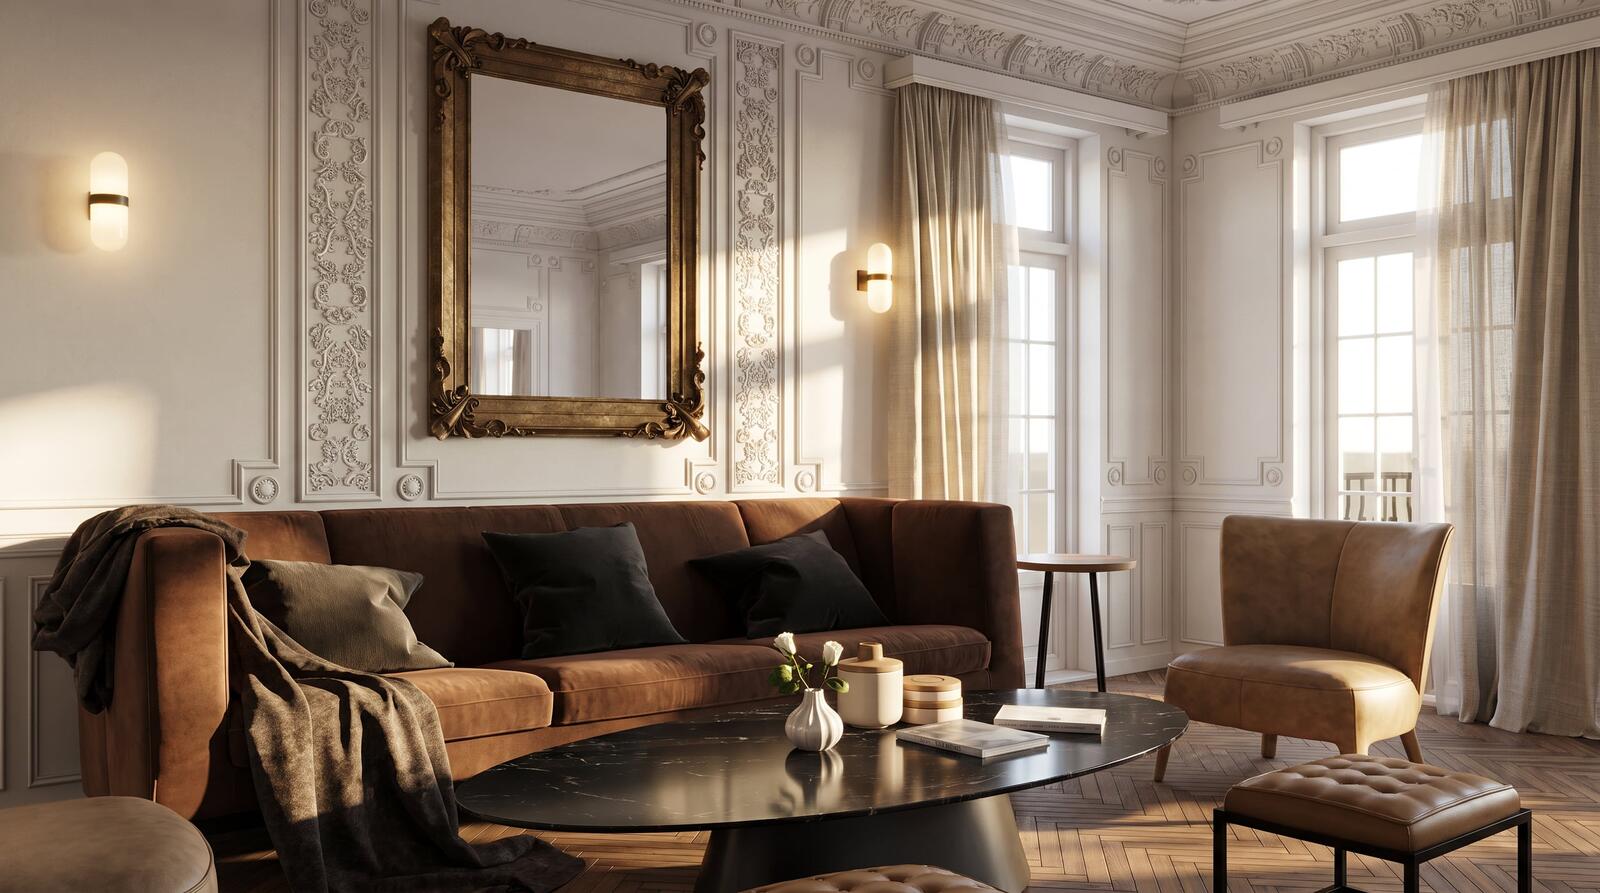
The interior mode works well in living rooms, kitchens, bathrooms and offices. From a working model with basic materials, you get an interior with realistic fabrics, reflections on countertops and light streaming through the windows. With one option you add decorations—books on shelves, plants on the windowsill and small objects that make the room look inhabited. Another option switches on the lights inside.
Architectural visualizations
The architecture mode is used for visualizing masses in context. From a conceptual model of a house, pavilion or multi-family building you create an image to show an investor, and you can view the same shot at dawn, in full sun and after dark.
Advanced mode
When the scene doesn’t fit any category, in advanced mode you describe it in your own words, for example “industrial machine in a production hall.” You can also describe the lighting when the presets aren’t enough: soft, warm light from the left or strong, dramatic shadows.
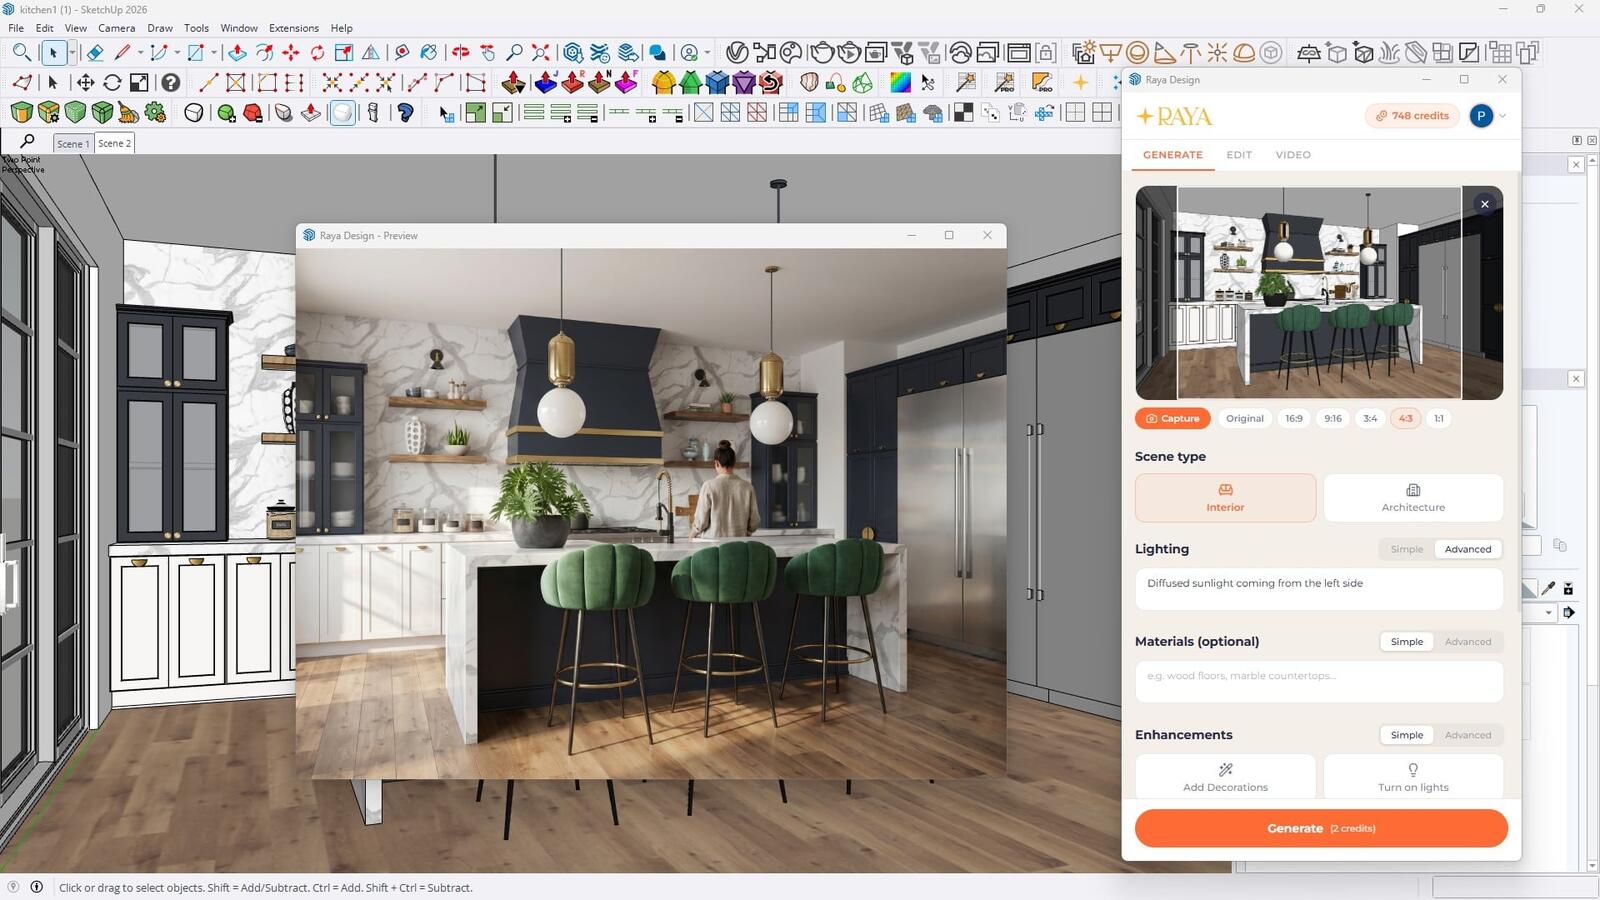
Time of day, weather and season with one click
In the simple lighting mode you select one of the presets: sunny, cloudy, golden hour, dawn, night or interior without windows. You also choose the season: spring, summer, autumn or winter. With one shot in SketchUp you can create a whole series of variants in minutes and show the client how the living room looks on a winter afternoon versus a summer morning.
Do you have a photo of an interior whose atmosphere you want to replicate? Upload it in the Match Style option, and Raya will transfer its lighting, materials and atmosphere to your scene. This way you maintain a consistent look across all shots of a single project: you provide the first completed visualization as a reference for the rest.
You decide what appears in the frame
AI selects furnishings and finishes on its own, but anything you care about you can specify directly:
- Materials. You describe them in your own words and assign them to elements, for example kitchen fronts in bleached oak or a terrazzo floor.
- Objects from a photo. You upload a photo of a specific chair, lamp or fabric and indicate where it should appear. The visualization will include the piece of furniture the client selected.
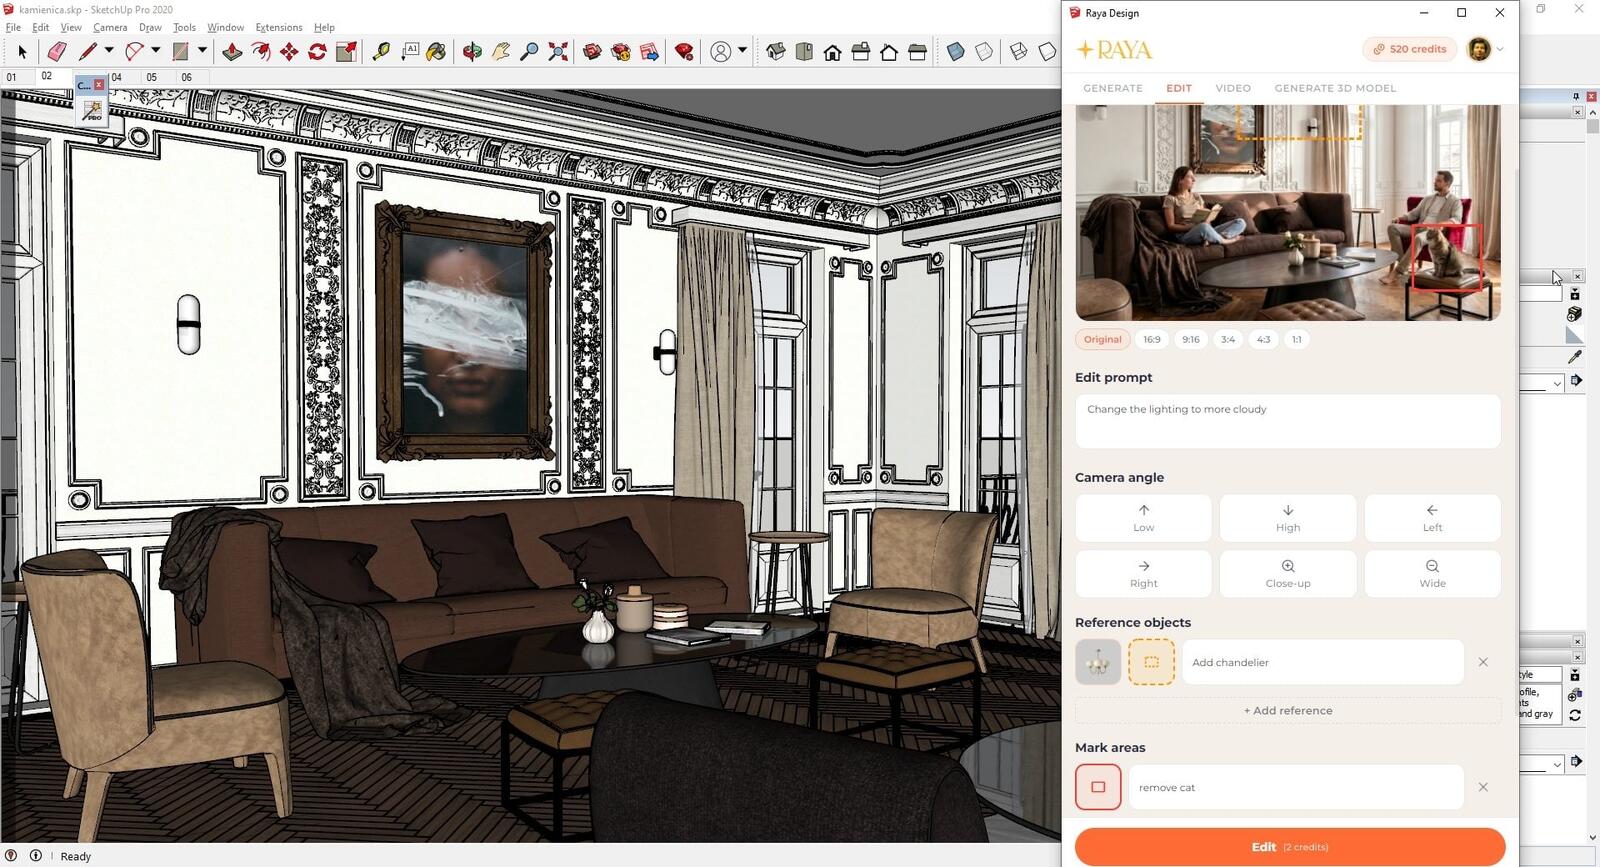
- Selected areas. You drag your cursor over the image to mark an area and write what should change there, for example “this brick wall.”
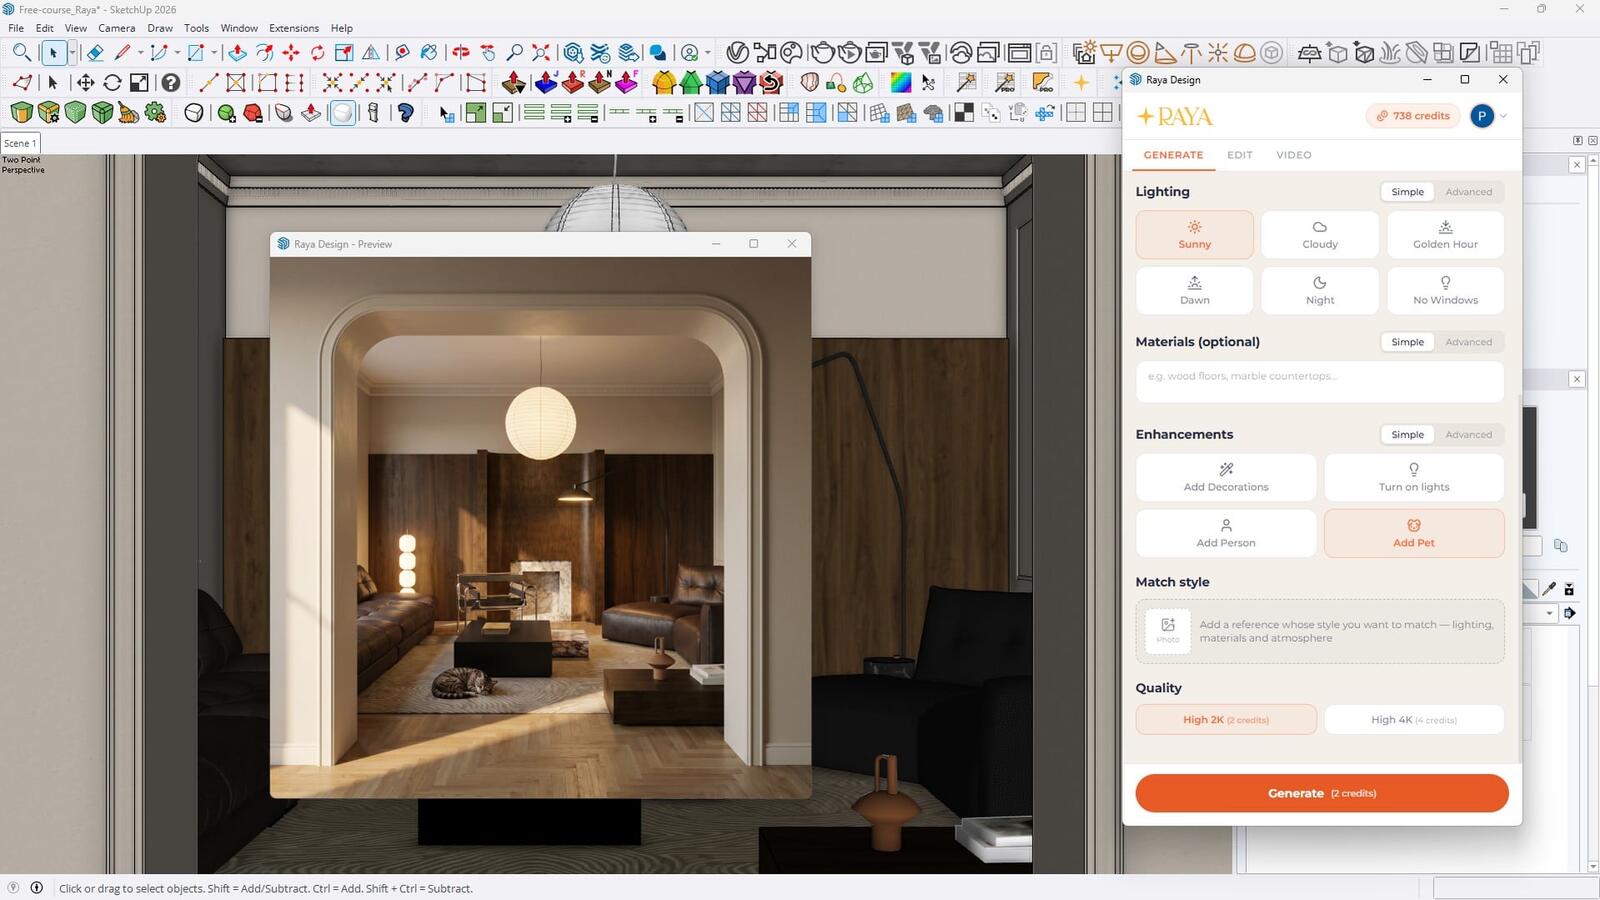
- People and animals. You add a person or an animal to the frame and describe the scene: a woman reading on the sofa or a dog sleeping on the rug.
- Comments. Anything not covered by the preset options you add as a regular sentence.
Mirrors with real reflections
The mirror is one of the most challenging elements for artificial intelligence. In the model view you only see a uniform surface, so AI has to guess what it reflects, and it often gets the perspective or room contents wrong.
In the SketchUp plugin you solve this with the Indicate Mirrors button. You click the mirror planes in the model, and the plugin calculates the reflection from your scene’s geometry and applies it to the mirror. AI receives a ready-made, correct reflection, so in a bathroom or dressing room the mirror shows what actually stands opposite. When reflections are no longer needed, you remove them from the model with one button.
Editing the completed visualization
When the client asks for a change, you edit the completed image in the Edit tab. You describe the correction, mark the relevant area or add an object from a photo. You can also change the camera angle and view the interior from above, below or the side, zoom in on a detail or create a wider shot.
You generate visualizations in 2K or 4K quality. For print or a large board you can upscale the image to 6K, and the Compare button juxtaposes the model view with the final result.
Visualization video
A static render does not always convey the scale of an interior. In the Video tab you turn the completed visualization into a short film. You describe the camera movement in your own words or choose a preset shot: furniture sliding into an empty room, furniture popping out of a box or a timelapse of changing light from morning to evening. You can also add an end frame, and the video will smoothly transition to the chosen graphic. Such material is perfect for Instagram and client presentations.
3D furniture model from a photo, inserted directly into the scene
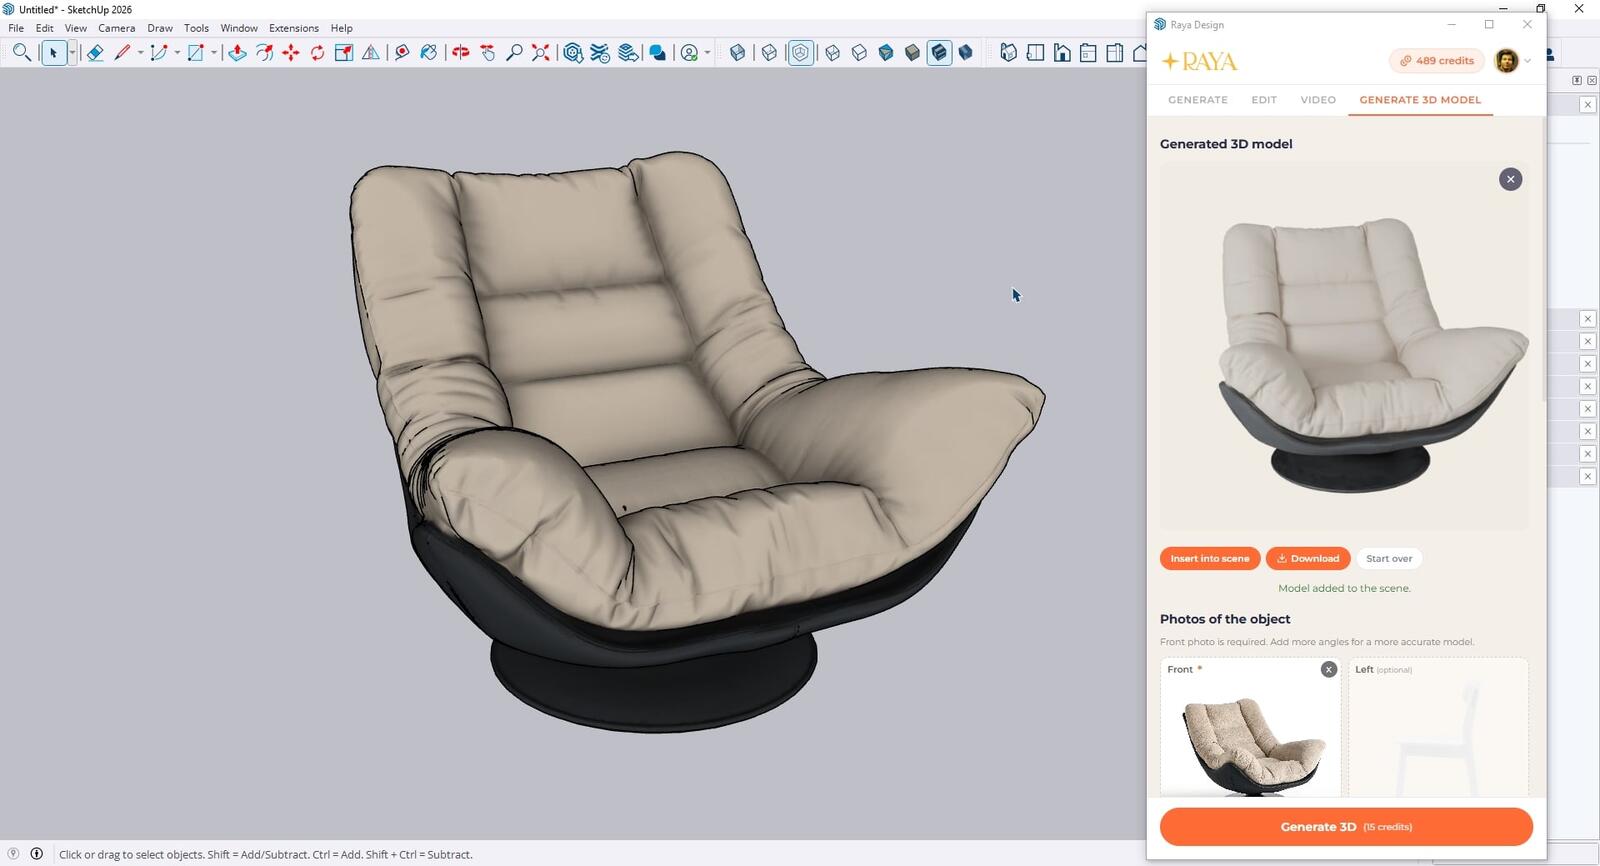
When a client sends a photo of a chair that isn’t available in any library, in the Generate 3D Model tab you turn it into a textured model. One front-view photo is enough, and with a set of four shots (front, both sides and back) you get a more accurate shape. You set the geometry quality, textures, PBR materials and mesh density, and generation takes about 1–2 minutes.
From SketchUp 2025 you insert the finished model into the scene with one button, complete with textures. In older versions you download the file and convert it to a format supported by your SketchUp before importing.
How much does the free AI plugin for SketchUp cost?
You download and install the plugin for free, and log in with a free Raya account. You pay for generation with credits. New accounts receive 20 free credits valid for 14 days, which is enough for up to 10 visualizations in 2K. That’s enough to test the plugin on your own projects. You can purchase more credits in a package or subscription, and current prices are listed in the Raya pricing.
| What you do | Cost |
|---|---|
| Plugin download and installation | free |
| Raya account | free |
| Starter credits (valid for 14 days) | 20 free credits |
| 2K / 4K visualization | 2 / 4 credits |
| Editing 2K / 4K visualization | 2 / 4 credits |
| Upscale to 4K / 6K | 4 / 5 credits |
| Visualization video | from 5 credits |
| 3D model from photo | from 6 credits |
If a visualization fails due to a technical error, the credits are automatically returned to your account.
Will Raya replace V-Ray or Enscape?
It depends on the project. Raya generates an image based on the model view, so it offers less control over individual details than a traditional rendering engine, and two generations of the same shot may differ in details. It works best for concepts, variants and presentations where time is critical, and many people also use it for final visualizations for clients.
After V-Ray or Enscape you'll reach where the project requires reproducing the model down to the millimeter, such as a specific material solution.One account in SketchUp, the browser, and other programs
- Interface in five languages: Polish, English, Spanish, Italian, and German.
- Windows and macOS, SketchUp 2020 or newer.
- The same account and the same credits in the Raya web app and in plugins for 3ds Max, Revit, ArchiCAD, Rhino, and pCon.planner.
- Generation history. All visualizations are saved to your account, so you can also access them from the browser.
Show the client the design at the same meeting
Raya was created so that visualization helps in project discussions. When an image is generated in under a minute, you review three front colors with the client instead of one, and decisions are made at the first meeting. You download the plugin for free, and you generate your first visualizations from your model using the credits you receive at the start.
Photorealism is also achieved through details. You add baseboards, cornices, and wall panels in the model with the Magic Molding plugin, and if you're just starting to work in the program, check out the SketchUp Pro 2026 course from scratch.
Show off your visualizations
We want to see what you create with Raya. By posting visualizations on Instagram or Facebook, tag us: @cgwisdom.pl. We'll share the most interesting works further.