Publication date: 06-05-2025 | Update date: 06-05-2025 | Author: Piotr Kurpiewski

-
Online courses
- All
 3ds Max
 AI - Artificial Intelligence
 Blender
 Corona renderer
 GstarCAD
 LayOut
 Photoshop
 Interior Design
 Revit
Revit Sketchup
 Stable Diffusion
 V-ray
V-ray
"Online courses" are comprehensive online training programs that will help you quickly master the software you are interested in.
- Plugins
- 3D Models
- Help
- Articles
BlenderKit - what is it and how to use it?
BlenderKit is the biggest asset library for Blender users, offering access to thousands of models, materials, HDRi maps, and scenes. With integration into the program and a wide community of creators, using the resources becomes fast and intuitive. Check how to install BlenderKit, use its capabilities, and speed up your work in 3D graphics.

Index
In the world of 3D graphics, we are constantly looking for tools that will speed up and facilitate our work. BlenderKit is one of such solutions – a huge asset base created by Blender users for Blender users. Thanks to it, we can significantly reduce the time needed to create models, materials, or scenes. In this article, we will introduce what BlenderKit is, how to use it, and what benefits it brings to professionals and amateurs.
What is BlenderKit?
BlenderKit is a platform offering access to thousands of high-quality 3D assets, such as models, materials, HDRi maps, scenes, or brushes. It is the largest such library dedicated to Blender users. What sets BlenderKit apart?
- Community: assets are created by the Blender community, ensuring their compatibility with the software and high quality.
- Availability: currently, there are over 13,000 free models, almost 14,000 materials, hundreds of scenes, and HDRi maps available.
- Integration: thanks to the dedicated add-on, we can use the library directly in Blender.
BLENDER COURSE - BEGINNER TRAINING
How to Install and Configure BlenderKit?
Step 1: Downloading the Add-on
To start using BlenderKit, we need to install the Blender add-on. We can download it from the website: blenderkit.com/get-blenderkit.

Step 2: Installation in Blender
- Open Blender and go to Edit > Preferences > Add-ons.
- Click Install and select the downloaded add-on file (.zip).
- After installation, check the box next to the add-on name to activate it.

Step 3: Logging in or Registering
To fully use BlenderKit, log in to your account or register directly from the add-on.
Using BlenderKit in Practice
Searching for Assets
- In the top part of the workspace, you will find the BlenderKit panel.
- Choose the type of asset you are interested in (e.g., model or scene).
- Enter the name of the desired asset in the search field.

Adding Models to the Scene
- After finding the model of interest, drag it directly into the scene.
- The model will be automatically downloaded and imported.
Using Materials
- In Shader Editor mode, select the object to which you want to apply a material.
- In the BlenderKit panel, search for the appropriate material.
- Click on the material to apply it to the selected object.
Comparison with 3D Warehouse for SketchUp
Similar to BlenderKit for Blender, 3D Warehouse is a huge library of 3D models dedicated to SketchUp users. Both platforms offer:
- Access to free assets.
- Software integration (BlenderKit through add-on, 3D Warehouse directly in SketchUp).
- Community of creators and users.
However, BlenderKit stands out with much deeper integration with Blender and a greater emphasis on the diversity of assets, such as materials or HDRi maps. You can read more about 3D Warehouse in the article: 3D Warehouse – What is it and how to use it?
Benefits of Using BlenderKit
BlenderKit is a tool that stands out for its versatility and ease of use. For both professionals and beginners in Blender, its integration with the program and rich asset base significantly streamline the 3D graphics creation process.
Expert's opinionJarosław PiszczekArchitekt, Grafik 3D
BlenderKit significantly speeds up my work. Thanks to the access to high-quality models and materials directly in Blender, I can focus on the creative aspects of projects without wasting time creating everything from scratch. This tool has become an indispensable part of my workflow.
Key benefits of BlenderKit:
- Time saving: quick access to ready-made assets.
- High quality: models and materials created by professionals.
- Integration: seamless use directly in Blender.
- Creative environment: the ability to share your own work and use the creativity of others.
Summary
BlenderKit is a powerful tool that can greatly facilitate the work of both beginners and advanced Blender users. Thanks to the huge asset base and easy integration with the program, it becomes an indispensable element in the process of creating 3D graphics.
If you haven't tried BlenderKit yet, it's worth a try to see its capabilities. And if you're not sure where to start, check out our free course - Blender + Cycles that will help you take the first steps in this software.
Author

Read on our blog
-
![AI for furniture manufacturers - See how to create furniture packshots and catalog arrangements with raya.design]()
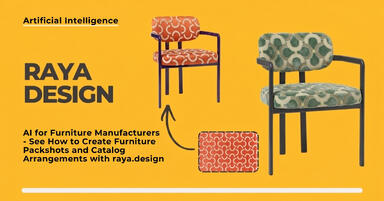
AI for furniture manufacturers - See how to create furniture packshots and catalog arrangements with raya.design
Packshots without time-consuming sessions? Discover Raya Design. Change upholstery and create arrangements with AI in moments. See how it works! -
![Virtual AI home staging - how to furnish an empty apartment from a photo in one minute using Ray?]()
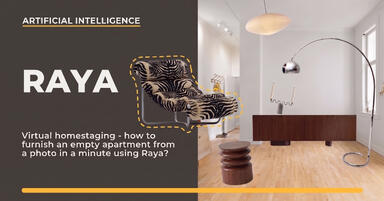
Virtual AI home staging - how to furnish an empty apartment from a photo in one minute using Ray?
Fast interior transformation without 3D modeling? Meet Ray Design. Furnish an empty apartment from a photo in one minute with AI. Come in and see how it works! -
![Quick AI visualizations from SketchUp - Meet Raya: an alternative to V-Ray]()
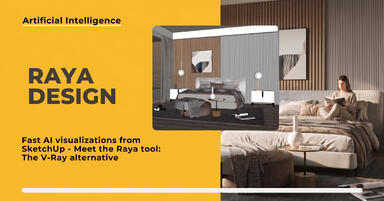
Quick AI visualizations from SketchUp - Meet Raya: an alternative to V-Ray
Done with tedious V-Ray? Test Raya Design in SketchUp! Create photorealistic interior visualizations without prompts. Click to find out! -
![Raya - The simplest AI tool for designers: zero prompts, maximum control!]()
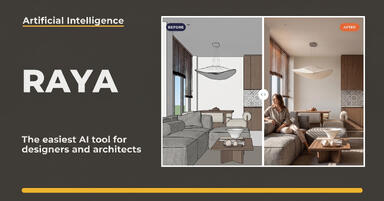
Raya - The simplest AI tool for designers: zero prompts, maximum control!
Try raya.design for free! Get 20 credits to start and create photorealistic 3D visualizations without prompts. Click to check it out!