Publication date: 18-02-2025 | Update date: 24-03-2025 | Author: Piotr Kurpiewski

-
Online courses
- All
 3ds Max
 AI - Artificial Intelligence
 Blender
 Corona renderer
 GstarCAD
 LayOut
 Photoshop
 Interior Design
 Revit
Revit Sketchup
 Stable Diffusion
 V-ray
V-ray
"Online courses" are comprehensive online training programs that will help you quickly master the software you are interested in.
- Plugins
- 3D Models
- Help
- Articles
SketchUp - Vray - How to Render a Section - Clipper
Rendering a section of small spaces can be a challenging task.Start by setting the section plane and adjusting the camera settings. Avoid showing cut furniture elements. To control the section visibility and eliminate undesired effects, properly configure the Clipper. Finally, ensure proper light adjustments. Read the text and see how to prepare an attractive visualization.

Index
Moving a camera in a small room is quite complicated. In small bathrooms, it is even impossible to set up a view in which the interior will look favorable. Often, the furniture is arranged in such a way that it cannot be shown in its entirety. Sometimes, one piece covers the others. If you've ever encountered these types of problems, today I come to you with a ready solution!
If you prefer listening over reading, watch this video that will show you step by step how to create the perfect visualization of the cross-section:
Sketchup - Setting the cross-section plane
To enable proper camera positioning, you need to cut the visualized interior with a cross-section plane. This will not only facilitate framing but also help to get rid of unnecessary equipment elements. To do this, choose the Section Plane from the Tools tab, and then specify the axis along which the cut will be made.

Now you can easily look inside the room. It's time to position the camera and save the scene so that you can easily return to it. It's important not to show intersecting equipment, walls, and floor in the frame. However, compose the picture so that the largest area of the interior is visible.
Ready? Before you start rendering, make sure to adjust the settings of the so-called Clipper.
Check our video tutorial:
V-ray Clipper
Adding a section in SketchUp automatically creates advanced geometry in V-Ray. If you go to the Geometry tab in the Asset Editor, you will find a new element there: Section Plane. This is the Clipper. It should be enabled if you want it to be visible in the render.
In the settings of the Clipper in the Options tab, uncheck Affect Light if you don't want light to enter the interior through the open wall. In the image below, the visualization on the left side has Affect Light enabled; and on the right, Affect Light is disabled.

Notice that the sky still reflects in the mirror above the sink and in the cabinet above the toilet. To ensure that reflective materials behave as if there were no section at all, you should select Camera Rays Only.

Use Object Material
It sometimes happens that despite following the above-mentioned rules, some strange planes and pieces of geometry are still visible in the cross-section visualization. This problem is somehow related to the material that V-Ray assigns to intersected models. In this situation, deselecting the Use Object Material option will help.
Summary
After disabling the Affect Light option, enabling the Camera Rays Only option, and deselecting Use Object Material, there is nothing else to be criticized in the visualization. Thanks to these Clipper settings, perfect cross-section visualizations are created.
The given parameters are universal and can be successfully used for other spaces where there is no room for setting up a traditional camera.
If you want to get to know this program better, check out our online Sketchup courses.
Best regards!
Author

Read on our blog
-
![AI for furniture manufacturers - See how to create furniture packshots and catalog arrangements with raya.design]()
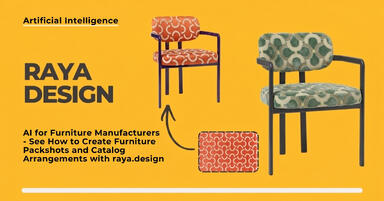
AI for furniture manufacturers - See how to create furniture packshots and catalog arrangements with raya.design
Packshots without time-consuming sessions? Discover Raya Design. Change upholstery and create arrangements with AI in moments. See how it works! -
![Virtual AI home staging - how to furnish an empty apartment from a photo in one minute using Ray?]()
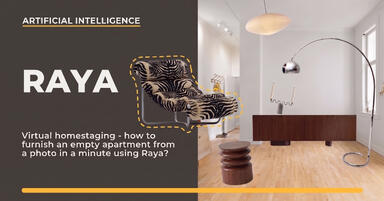
Virtual AI home staging - how to furnish an empty apartment from a photo in one minute using Ray?
Fast interior transformation without 3D modeling? Meet Ray Design. Furnish an empty apartment from a photo in one minute with AI. Come in and see how it works! -
![Quick AI visualizations from SketchUp - Meet Raya: an alternative to V-Ray]()
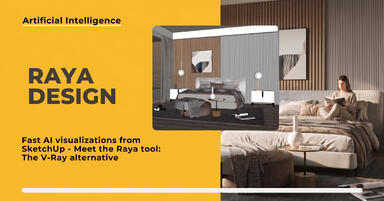
Quick AI visualizations from SketchUp - Meet Raya: an alternative to V-Ray
Done with tedious V-Ray? Test Raya Design in SketchUp! Create photorealistic interior visualizations without prompts. Click to find out! -
![Raya - The simplest AI tool for designers: zero prompts, maximum control!]()
Raya - The simplest AI tool for designers: zero prompts, maximum control!
Try raya.design for free! Get 20 credits to start and create photorealistic 3D visualizations without prompts. Click to check it out!
Want to learn Sketchup? Check out our free online course!