EN
 PL
 ES


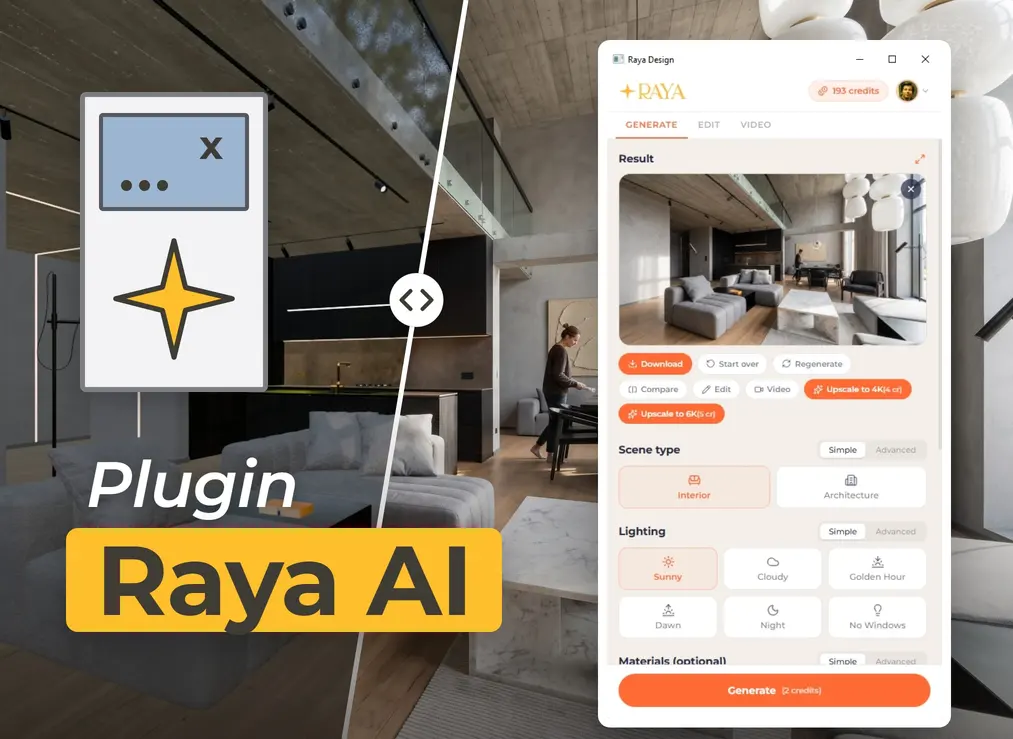
AI visualization straight from Blender’s 3D view
Blender includes Cycles and Eevee for free, so you do not pay a cent for the rendering engine.You pay with time.Before creating a photorealistic interior, you build node-based shaders, choose an HDRI, set up the sun and lights, then wait for Cycles to calculate samples and denoise the image.On a laptop, a single interior frame can take more than a dozen minutes with fans roaring, and every change of time of day means another render.
Raya is a free AI add-on for Blender that turns a 3D view into a photorealistic visualization in under a minute. You capture the view you are looking at, choose the scene type and lighting, and artificial intelligence fills in the materials, lighting and details.The image is processed in the Raya cloud, so your graphics card does not work on any samples, and the .blend file remains exactly as it was.
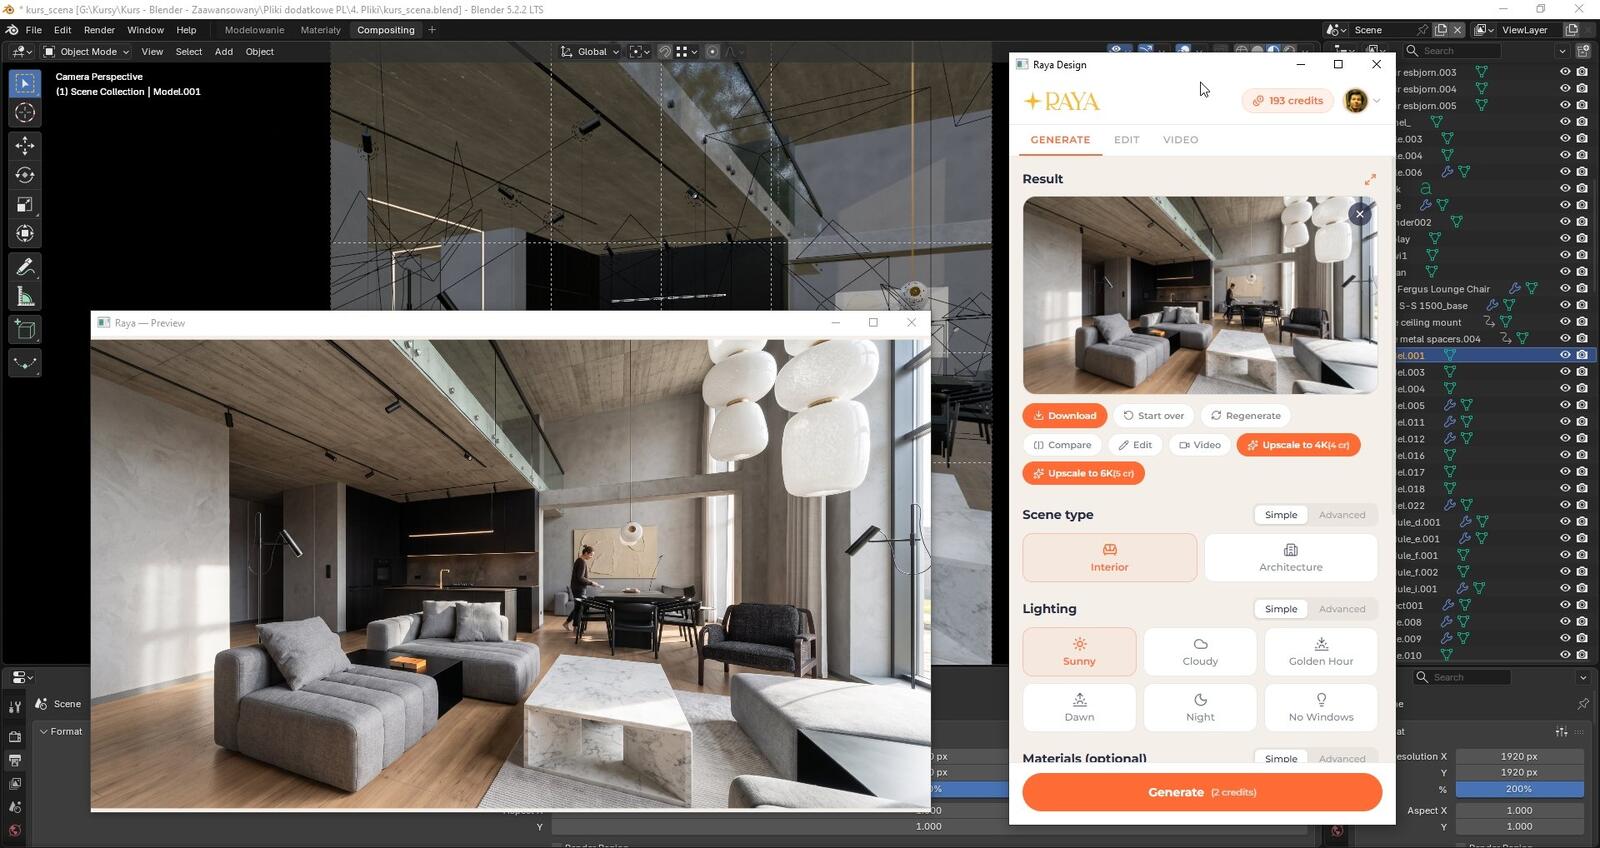
Installing the Raya extension in Blender
Raya is installed like any other Blender extension, from a single ZIP file:
- Download the package and keep it compressed.Blender installs extensions directly from the archive.
- Install from disk. In the Edit > Preferences > Get Extensions menu, click the arrow in the upper-right corner, choose Install from Disk and select the ZIP file.
- Enable network access. The add-on connects to the Raya cloud, so in Preferences > System > Network, select Allow Online Access.
- Open the panel. In the 3D Viewport, press N, go to the Raya tab and click Open Raya.The panel will open in its own window above Blender, and you will log in through a browser tab.
You can change the panel language with the Language setting in the same Raya tab.
Solid, Material Preview or Rendered?
Raya captures the 3D view from which you open the panel, in the shading mode visible on screen.It skips the floor grid, gizmos and overlays, so you do not need to disable them beforehand.Each mode gives the AI a slightly different hint:
- Solid is enough to get started.A gray model without a single material conveys shapes and proportions, while the AI chooses the finish.
- Material Preview shows the colors and textures already assigned in the scene, so the visualization stays true to your palette.
- Rendered also gives the AI a preview of your lighting when the scene is already lit.
Several cameras, several shots, one scene
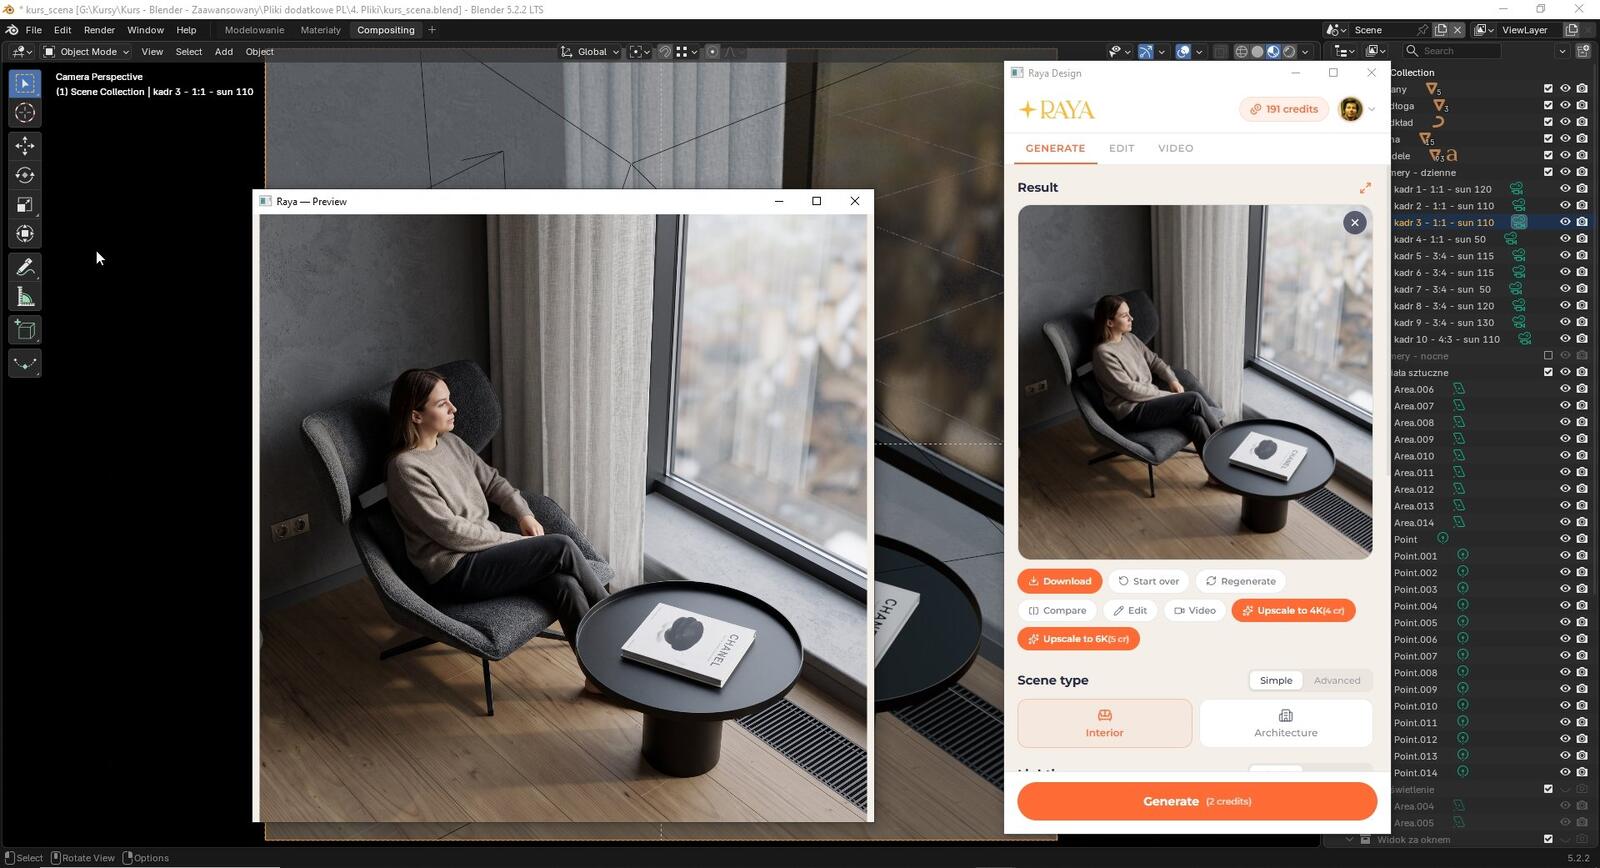
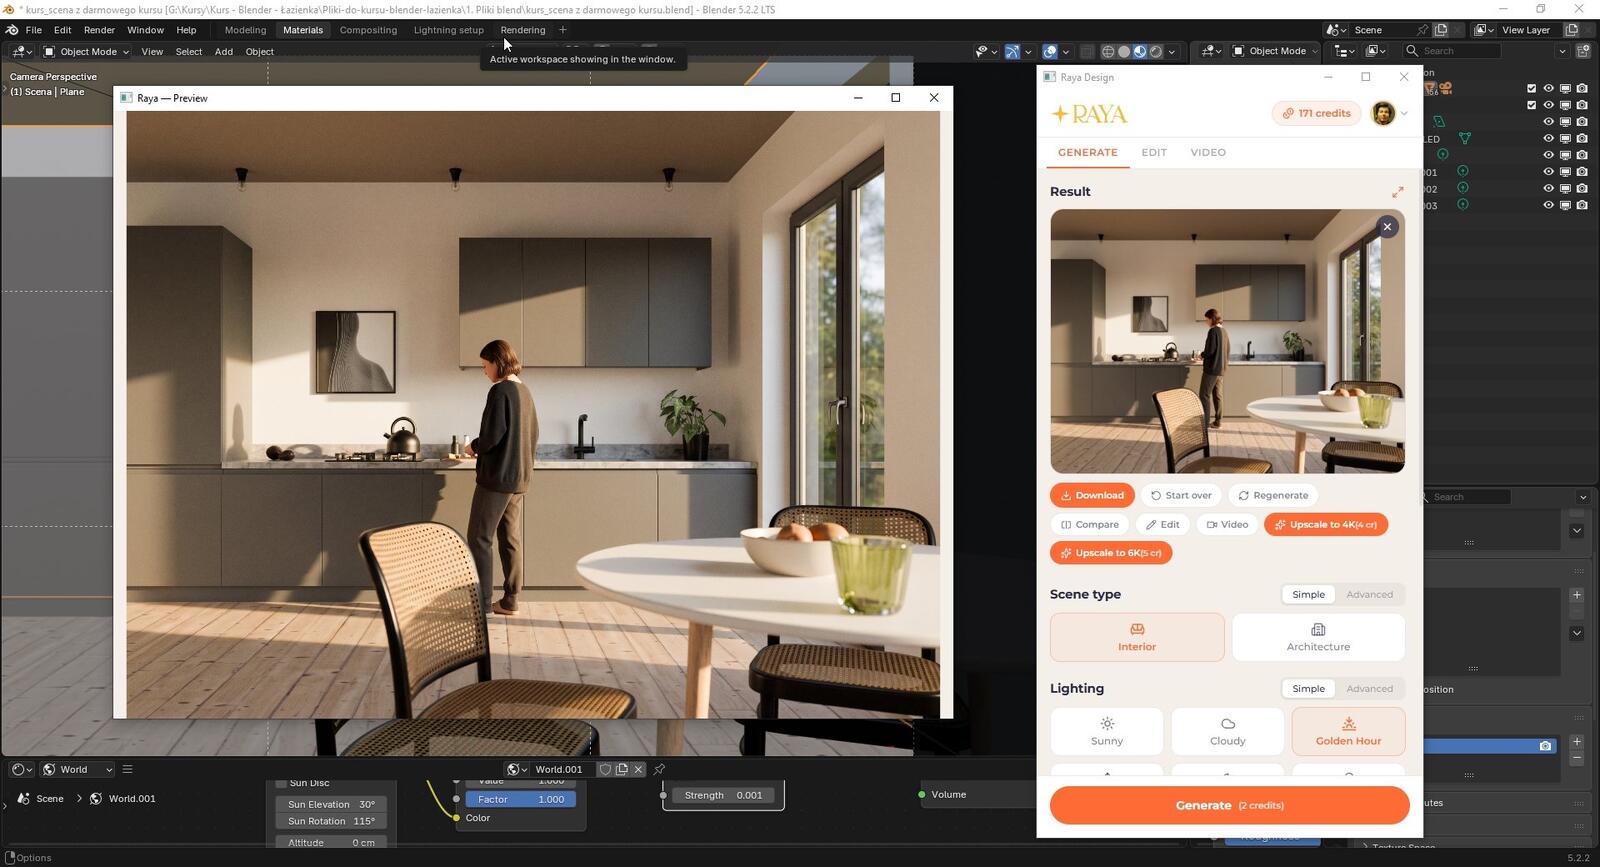
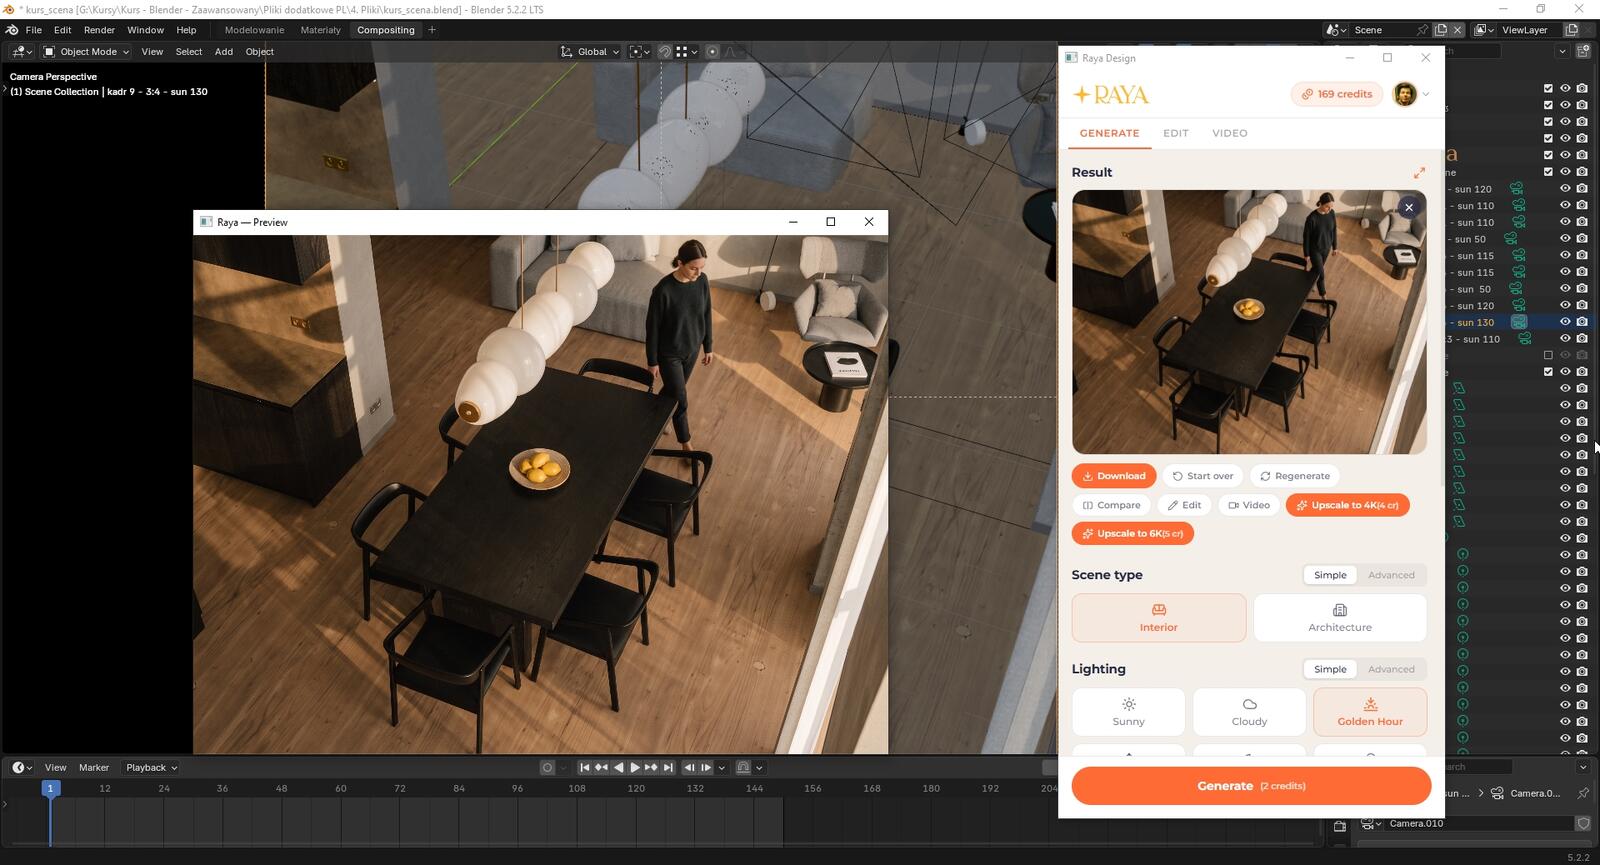
If the scene has several cameras, switch the active camera, capture the view and generate subsequent shots one after another.In the panel, you can also choose the frame proportions, such as a square for a social media post or a vertical 3:4 image for a detail shot.Both images below were created from cameras in the same scene as the living room above.
Golden hour instead of adjusting Sun Elevation
In Blender, you change the time of day with the sun angle in the World settings or with a new HDRI map, then wait for another render.In the Raya panel, you choose it with one click: sunny, cloudy, golden hour, dawn, night or an interior without windows.You can also select the season, from summer greenery outside the window to snow.From one camera, you can create a series of shots in different lighting conditions in just a few minutes, while the World settings in the file remain untouched.
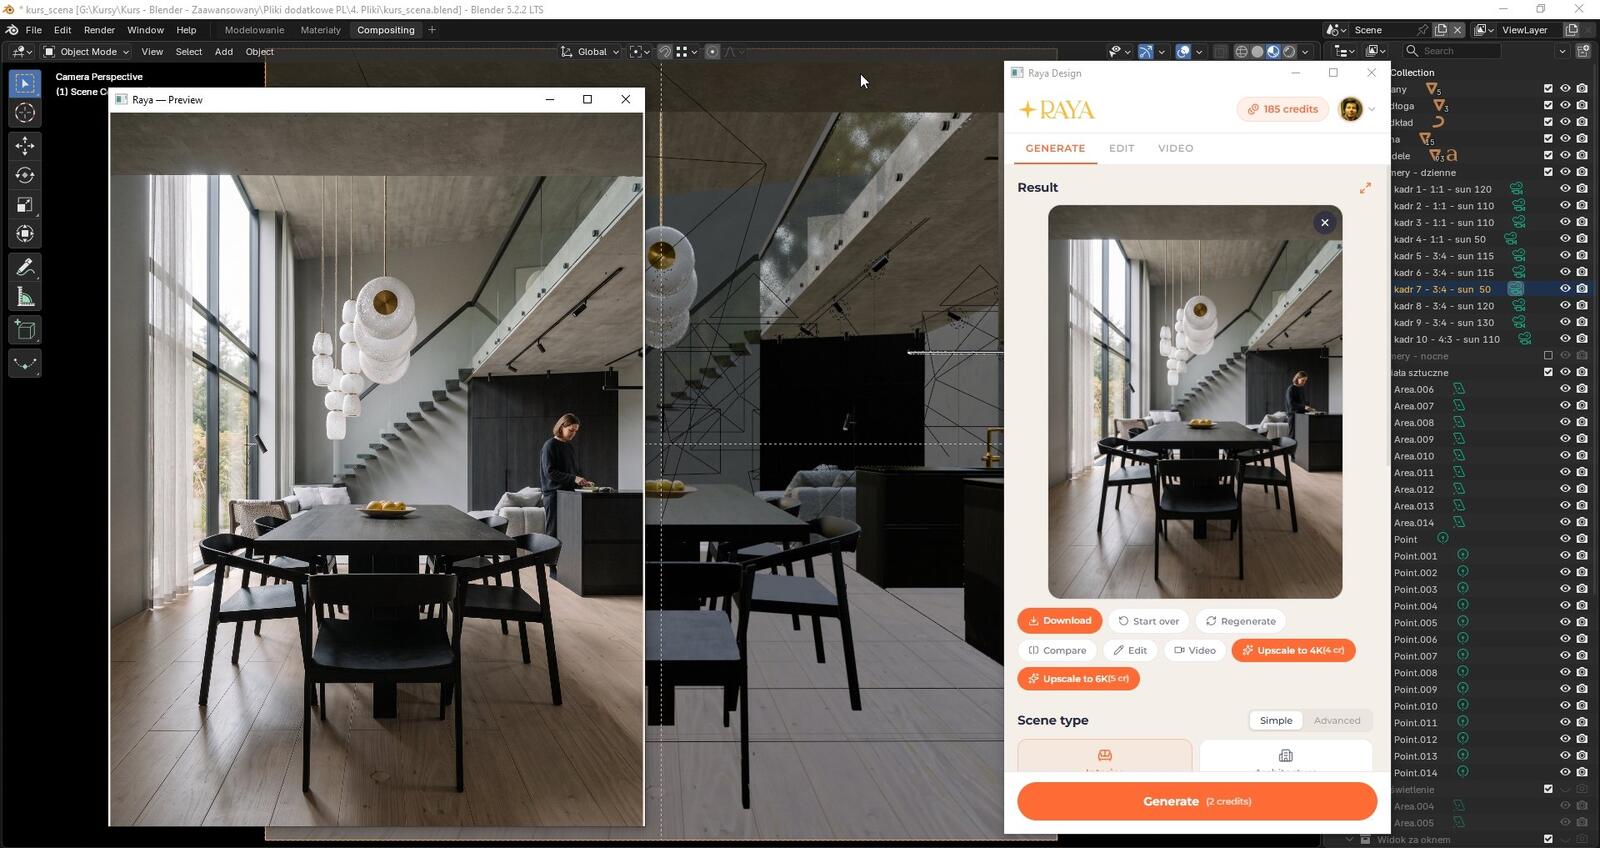
If you have an interior photograph whose atmosphere you want to recreate, upload it using the Match style option.Raya will transfer its lighting, color palette and mood to your scene.In the same way, the first successful visualization can become a reference for the remaining cameras in the project.
Tell the AI what matters to you
- Describe the finish in words. Enter materials for individual elements, such as a light stone countertop or an oak floor.
- An object from a photo. Add a photo of a specific lamp or chair as a reference and indicate where it should be placed.
- An area to change. Select part of the image and describe what it should become.
- Life in the frame. A person or animal will show the scale of the interior, while decorations and lit lamps will make the room look less like an empty model.
Editing and short video
You can refine the finished image in the Edit tab: change a selected area, add an object from a photo, or view the interior from a different height, from the side or in close-up.For printing, you can upscale it to 6K, and the Compare button places the Blender view next to the result.
In the Video tab, the same visualization turns into a short video.You describe the camera movement in words or choose from ready-made shots, and you do not need to set a single keyframe in Blender to create it.
How much does the Raya add-on for Blender cost?
The extension and Raya account are free, and you only use credits for finished images and videos.After creating an account, you receive 20 credits to use within 14 days, which means ten 2K frames—just right for testing the add-on on your own scene.You may also use images generated from this allocation commercially.You can buy additional credits as a package or subscription from the Raya pricing page.
| What you generate | Credit usage |
|---|---|
| Blender extension and account | 0 |
| Welcome allocation | +20 for 14 days |
| 2K frame | 2 |
| 4K frame | 4 |
| Frame edit (2K / 4K) | 2 / 4 |
| Print file (4K / 6K) | 4 / 5 |
| Frame animation | from 5 |
If generation is interrupted by a technical error, the credits are automatically returned to your account.
Raya, Cycles and Eevee in one workflow
Raya builds an image based on the view, so you have less control over individual details than in Cycles, and two generations of the same frame will turn out slightly differently.In return, during the time of one test render, you get several lighting and finishing versions to compare.It works well for concepts, client presentations and social media, and many people also use it to create final images.Keep Cycles for frame-by-frame animation and shots that must match the scene pixel-perfectly.
Requirements and a shared account
- Blender 4.2 LTS or later, including 5.x releases, on 64-bit Windows 10 or 11.
- macOS and Linux are not supported yet.You can upload a 3D view screenshot to the Raya web application instead.
- One Raya account also works in the browser and in plug-ins for SketchUp, Revit, ArchiCAD, 3ds Max, Rhino and pCon.planner.
- Five panel languages: Polish, English, Spanish, Italian and German.
Your course scene as a finished visualization
The interiors in the screenshots above are scenes from Blender courses on CG Wisdom.If you are taking any of them, you can immediately see your scene in several lighting versions and compare the result with a Cycles render.Download the add-on for free and generate your first frames using the welcome credits.
Want to learn how to light and render interiors from a practical perspective?Check out the course Blender: advanced interior visualization training, or, if you are just getting started, the course Blender: interior visualizations from scratch.You can find the remaining training courses in the Blender courses section.
Show what came out of your scene
Publish visualizations from Blender and Raya on Instagram or Facebook with the tag @cgwisdom.pl.We will showcase the most interesting frames on our profiles.