EN
EN PL
PL ES
ES


Publication date: 24-09-2026 | Update date: 12-09-2026 | Author: Piotr Kurpiewski

-
Online courses
- All
 3ds Max
 AI - Artificial Intelligence
 Blender
 Corona renderer
 GstarCAD
 LayOut
 Photoshop
 Interior Design
 Revit
Revit Sketchup
 Stable Diffusion
 V-ray
V-ray
"Online courses" are comprehensive online training programs that will help you quickly master the software you are interested in.
- Plugins
- 3D Models
- Help
- Articles
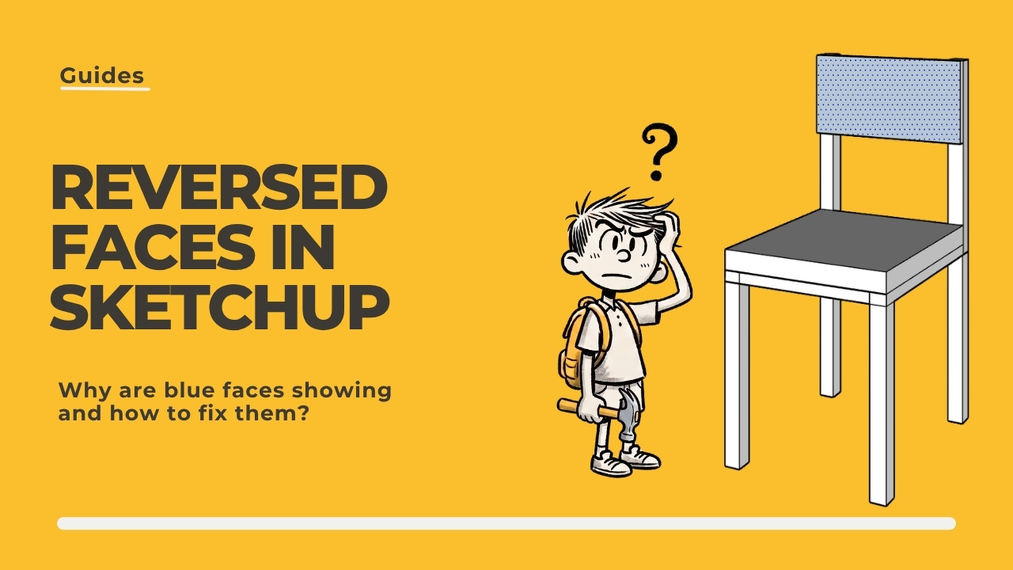
Reversed Faces in SketchUp – why are blue faces showing and how to fix them?
Blue faces in SketchUp are reversed faces, meaning they're facing you with their back side instead of the front. The program treats both sides separately and lets you keep working without warning, but in a rendering engine such a face can disappear, turn black, or pick up a completely different material than the one you applied. In this article, I show you where they come from, how to find them in half a minute, and how to fix them.
Index
What are the front and back sides of a face in SketchUp?
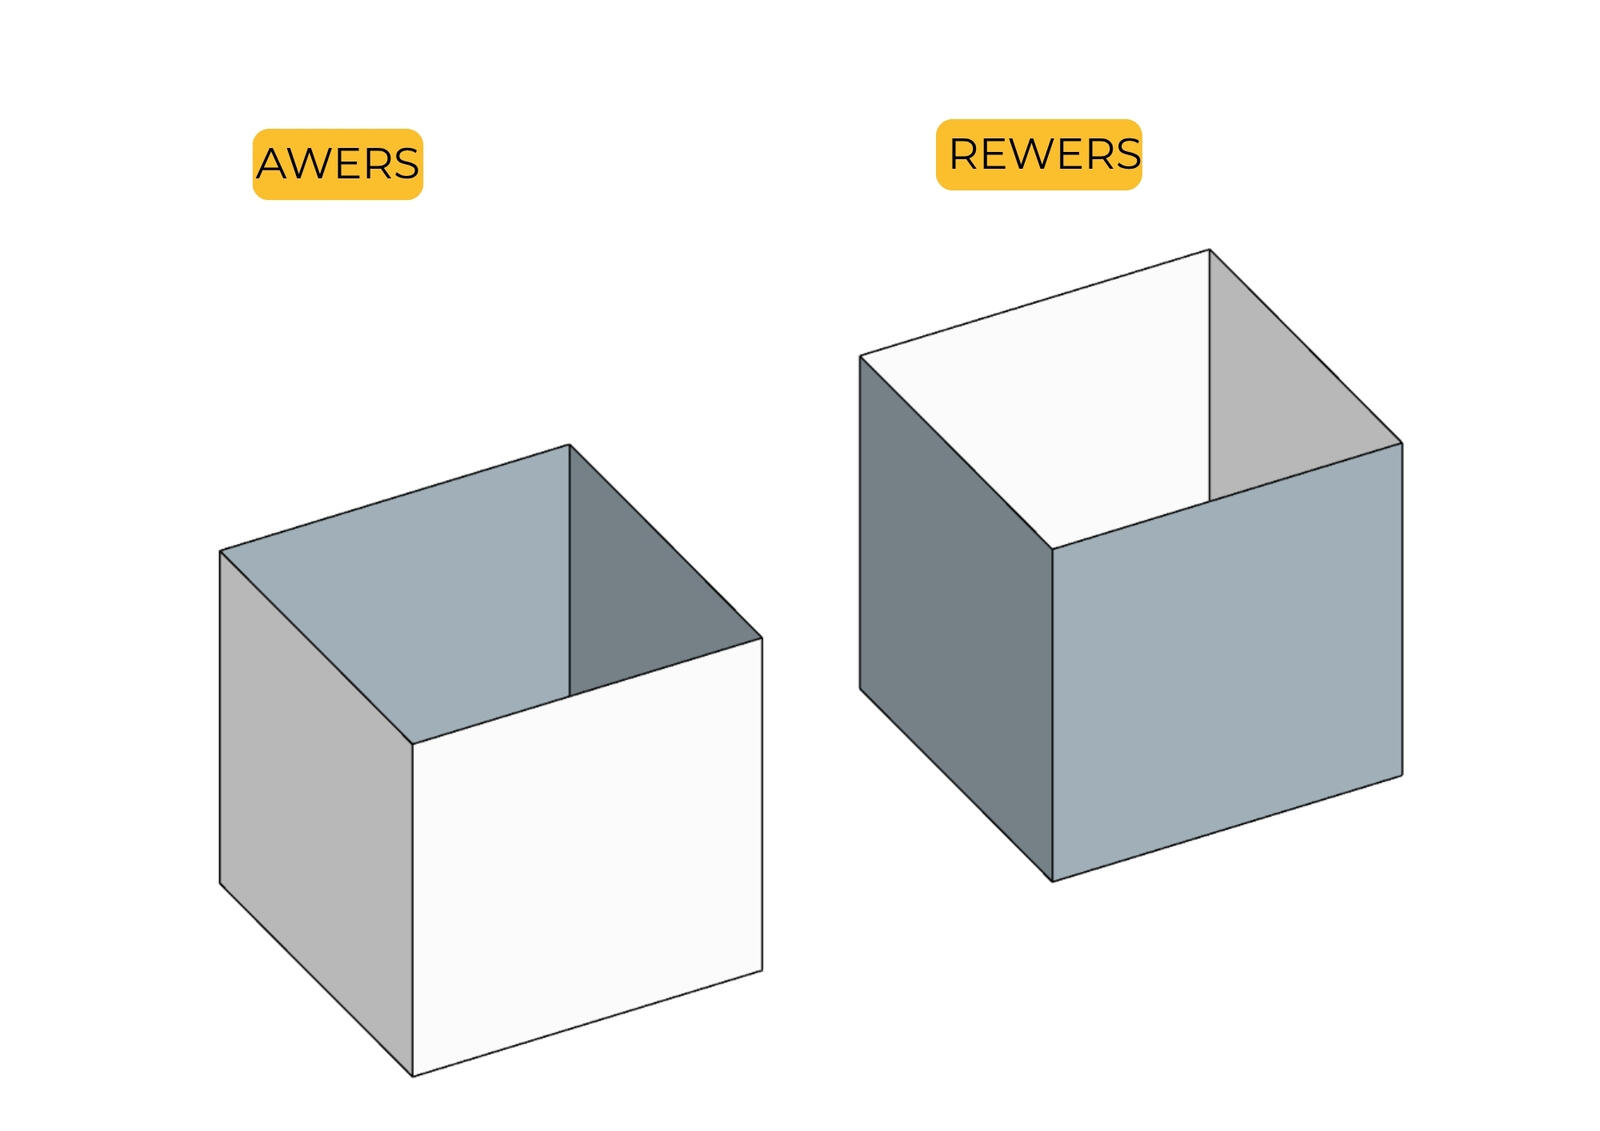
A face has no thickness, but it does have two sides. The front displays in a light shade, the back in a cool, blue-gray hue. The simple rule is: the front should face outward from the model, the back toward its interior. It’s a bit like wallpaper that you apply with the printed side facing the room, not the wall, or a T-shirt that you wear on the right side, not inside out (unless it’s Balenciaga).
You apply materials separately to each side, which is where most misunderstandings come from. If you put a texture on the front and it faces into the wall, from the outside you’ll see the bare back. You can spend hours searching, but the material is exactly where you placed it: on the other side.
Why are reversed faces bad?
V-Ray, Corona, and Enscape calculate lighting based on the normal vector, i.e. the direction the face is facing. A reversed face receives light from the wrong side and the results can vary: the wall renders black, disappears completely, or casts a shadow from inside the room.
Outside of SketchUp it is even less forgiving. Export to STL for 3D printing, sending the file to a CNC machine, importing into a game engine, exchanging the model with an engineer. Each of these tools reads face orientation and, when the geometry is inconsistent, either refuses to cooperate or flips the model inside out.
Where do reversed faces come from?
Sometimes from inattention, but usually they occur on their own during operations you perform dozens of times a day.
Pushing a face inward
Pulling a face outward gives the correct orientation. Pushing the same face inward can leave the back side on the outside, especially around recesses and indentations.
Direction of drawing the outline
A face created from a closed contour inherits its orientation from the order in which you drew the edges. The same rectangle drawn in the opposite direction will have its back side facing up.
External models and Follow Me
Import from a DWG file, a component downloaded from 3D Warehouse, a model from a furniture manufacturer. The author rarely checks orientation since everything looked fine on their side. A separate case is a profile flipped backwards before using Follow Me, because then the entire generated molding comes out reversed. We detailed this in the Follow Me tool guide.
How to find reversed faces in the model?
SketchUp’s default colors are very subtle. Light beige and cool gray differ so little that with textures and shadows enabled you can’t see it at all.
A good idea is to switch the view to monochrome. Materials disappear, leaving two colors, and all reversed faces stand out.
In the style settings you can also change the back-face color to anything you want. Set a bright magenta or red, save the style as your template, and from then on every reversed face will scream at you from the screen, even in textured view.
How to fix reversed faces?
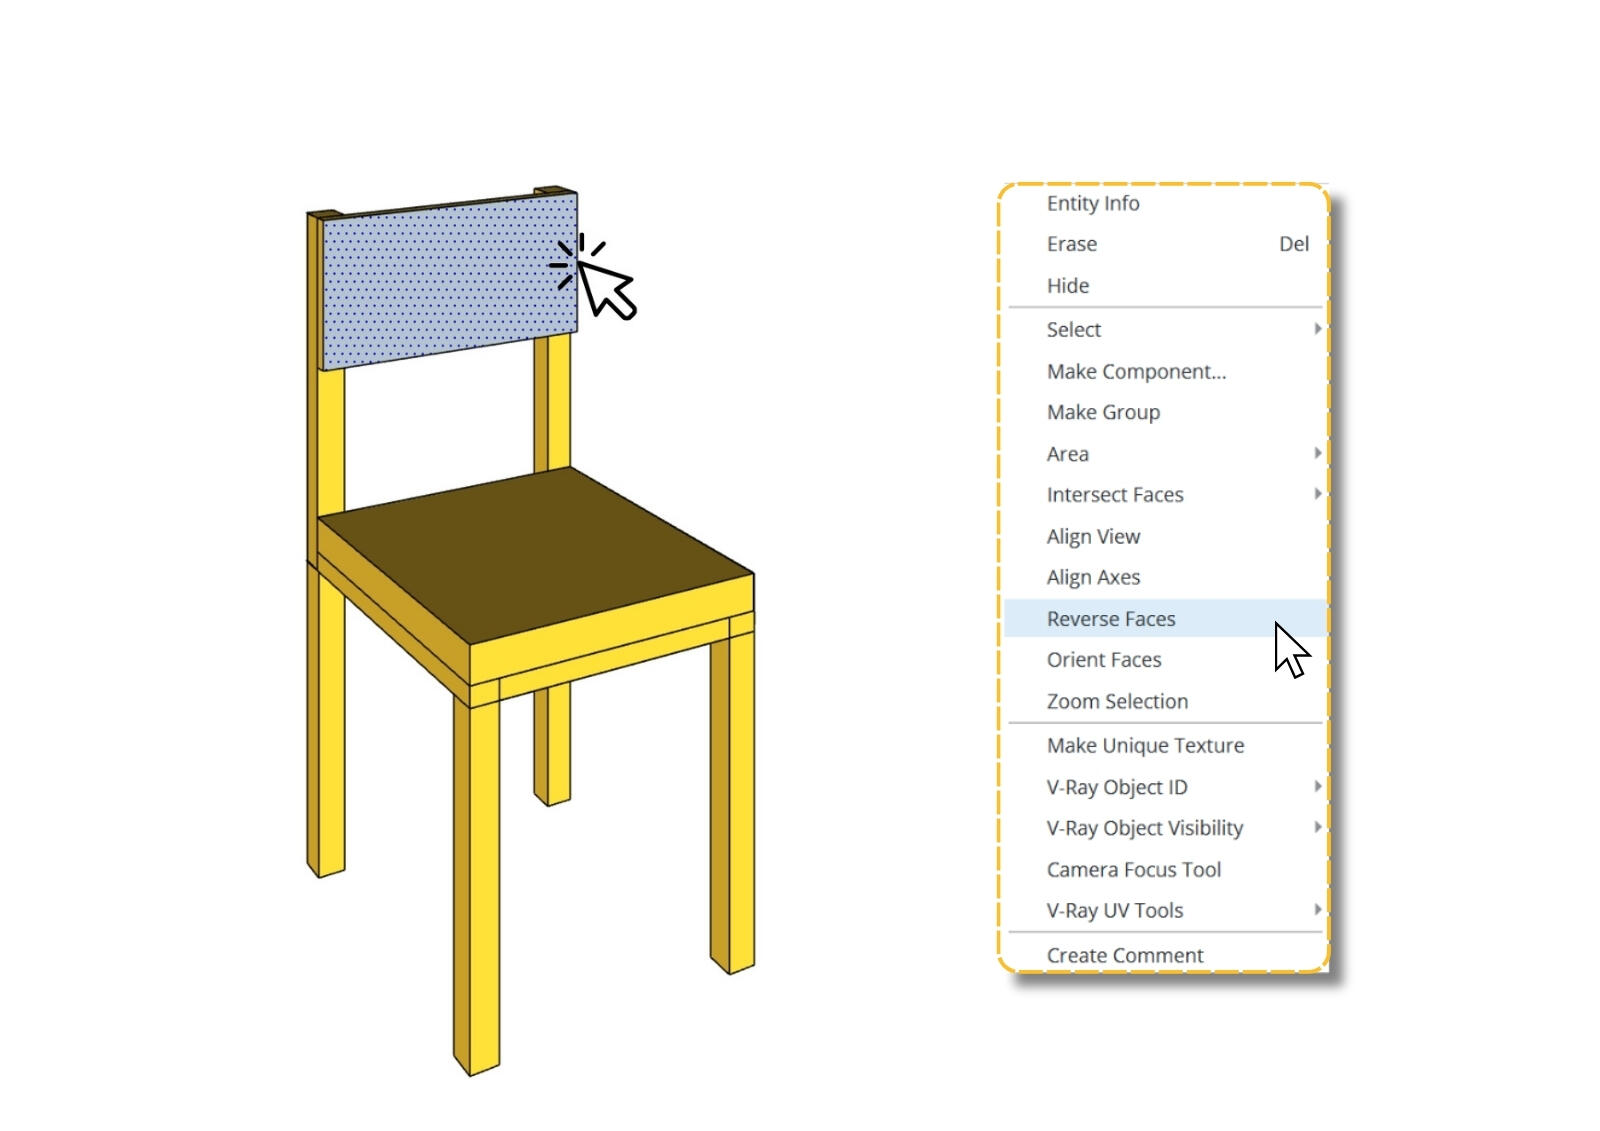
You can fix individual faces by right-clicking and then selecting "Reverse Faces". It also works on multiple selections, so you can fix several scattered faces at once.
For a solid made of dozens of faces, use the Orient Faces option, available in the same menu. You select one correctly oriented face, then right-click and choose "Orient Faces", and SketchUp aligns all adjacent faces to match it.
If a material was applied separately to the front and back, after reversing the face you’ll see the latter. You’ll need to change it as well!
How to stop creating reversed faces in SketchUp?
Build solids by pulling outward whenever possible. Give walls real thickness. A closed solid has an obvious interior and exterior, making it easier to control. As a bonus you get window jambs, without which a window lets light in flatly, without a soft shadow under the frame.
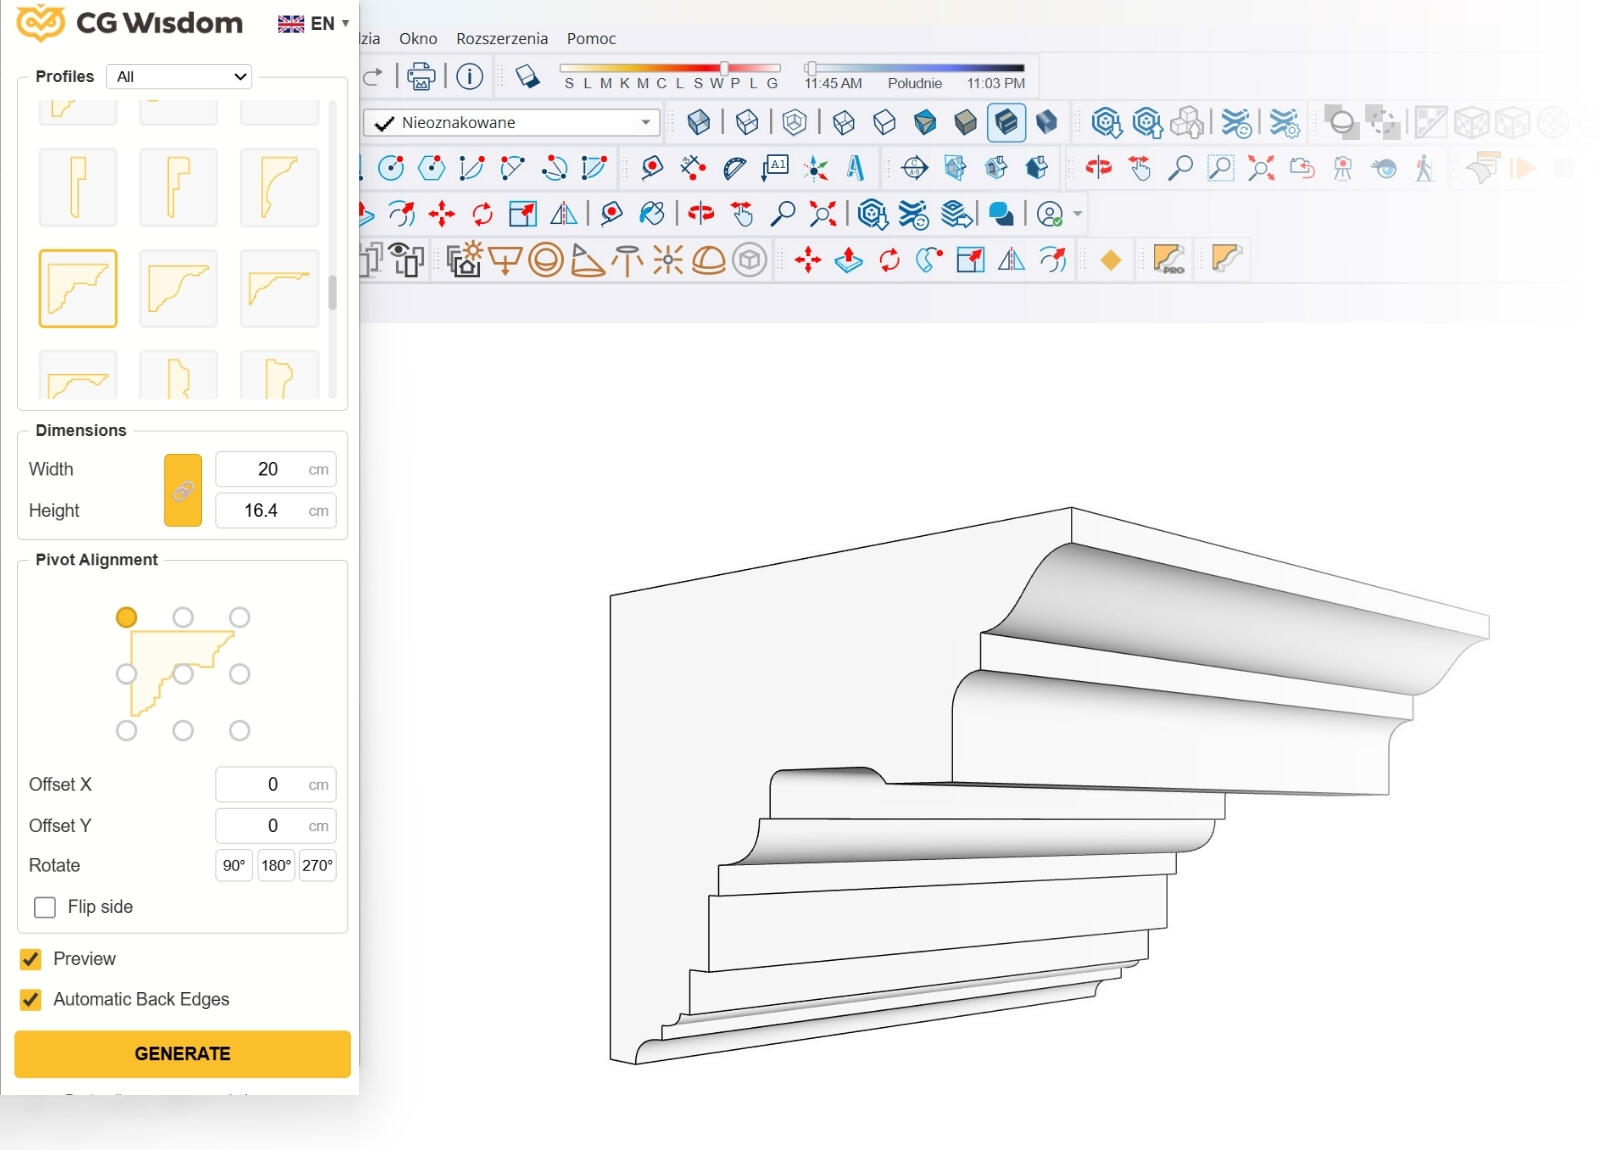
There’s also another approach: not creating this geometry manually. Moldings, cornices, and decorative frames from the Magic Molding plugin come out with correct orientation right away because the algorithm, not the order of your clicks, sets it. It’s a tool that replaces the primitive Follow Me and helps you handle ornamentation in your projects.
CHECK OUT THE MAGIC MOLDING PLUGIN
Summary
Reversed faces aren’t a huge problem, but when they do make themselves known, they can hurt. The model looks fine in the working view, but in the render the wall disappears or turns black, and you spend an hour searching for the cause. Set a bright back-face color in your template, check orientation after every mirror, and remember the Orient Faces option to align adjacent faces instead of clicking each one individually. These will save you more time than many a keyboard shortcut.
Author

Przeczytaj o programie Sketchup na naszym blogu
-
![Magic Molding - stucco, moldings, and cornices in SketchUp in seconds]()
Magic Molding - stucco, moldings, and cornices in SketchUp in seconds
Does modeling baseboards, cornices, and stucco take you precious hours? Give up traditional methods and try the Magic Molding plugin, which will generate them for you. -
![AutoCAD or SketchUp - choose a course to start in architecture]()
AutoCAD or SketchUp - choose a course to start in architecture
Wondering which to choose: AutoCAD or SketchUp? Discover the differences, choose the right course, and start designing architecture and interiors -
![Unusual Shapes and Tiles in SketchUp – Gores, Hexagons, and Fans]()
Unusual Shapes and Tiles in SketchUp – Gores, Hexagons, and Fans
Hexagons and gores in SketchUp in 5 seconds? Discover how to model the most challenging tile shapes. Read now! -
![3 ways to create a floor in SketchUp – from texture to a 3D model]()
3 ways to create a floor in SketchUp – from texture to a 3D model
From a flat texture to advanced 3D. Discover 3 methods for creating a floor in SketchUp and uncover our reliable "gamechanger". Read on!
Want to learn Sketchup? Check out our free online course!