Publication date: 11-02-2026 | Update date: 11-02-2026 | Author: Piotr Kurpiewski

-
Online courses
- All
 3ds Max
 AI - Artificial Intelligence
 Blender
 Corona renderer
 GstarCAD
 LayOut
 Photoshop
 Interior Design
 Revit
Revit Sketchup
 Stable Diffusion
 V-ray
V-ray
"Online courses" are comprehensive online training programs that will help you quickly master the software you are interested in.
- Plugins
- 3D Models
- Help
- Articles
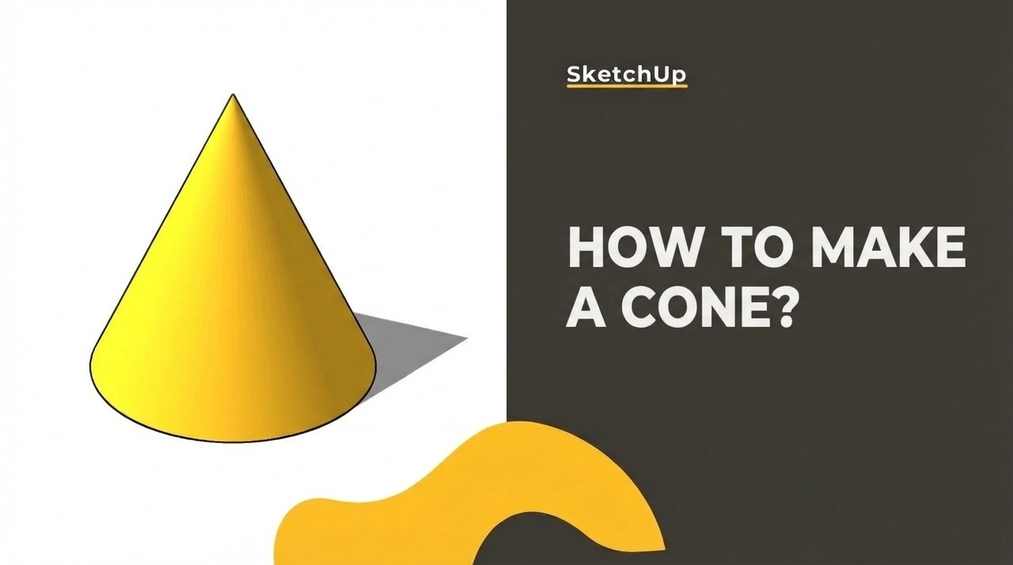
SketchUp - how to create a cone? Guide, tutorial
Follow the steps below to create a cone in SketchUp. Start by drawing the cone's cross-section, a right triangle. The orientation of the figure in the coordinate system is important, and it's best to draw the triangle's height along the blue axis right away. Next, create the rotation path, i.e. the circle for the cone. Use the Circle tool to draw it, paying attention to its orientation in the coordinate system. When both shapes are ready, i.e., the right triangle and the circle, use the Follow Me tool, select the rotation path (circle) and click on the right triangle to create a straight cone. Understanding the process of creating solids of revolution in SketchUp is key; once you master it, you'll easily apply these steps to other shapes as well.
Index
Anyone who has had the chance to use SketchUp knows that creating basic solids is incredibly simple. The intuitive interface and dedicated tools make it possible even for a layperson to handle cuboids, or even somewhat more complex 3D models. The problem arises when curved-surface meshes come into play.
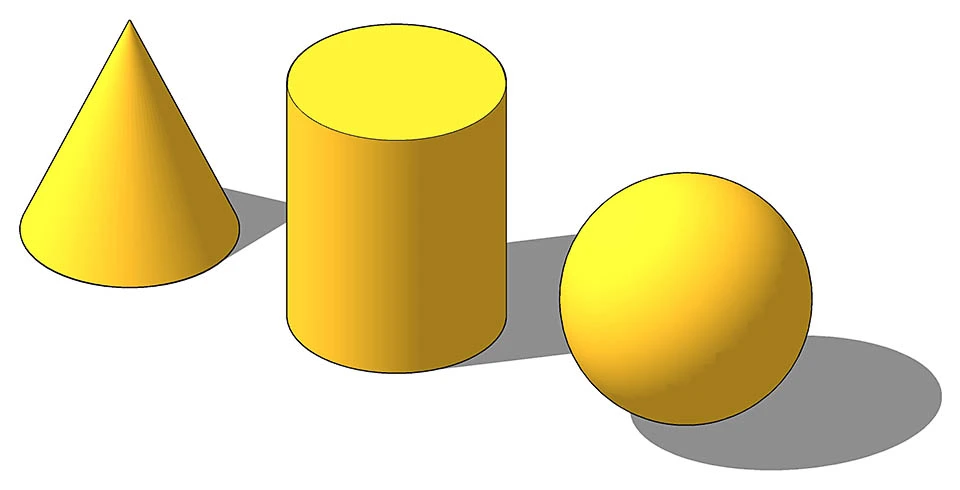
Revolved Solids
Revolved solids are among the simplest curved-surface meshes. They are geometric solids bounded by a surface generated by rotating a 2D shape around an axis of revolution. The most popular examples of such solids include: cylinder, sphere, and cone.
Understanding this term and the way these meshes are created is key not only for the cone but also for the entire category of solids.
How to make a cone?
According to the definition of a solid of revolution, making a cone requires a 2D shape and an axis of revolution. Start with the first and draw the cone’s cross section, which is a right triangle—that is, one that has one angle equal to 90o. The orientation of this shape in the coordinate system is important. It’s best to immediately draw the triangle’s altitude on the blue axis, that is, in the vertical direction, using the simplest Line tool (keyboard shortcut: L). Create the other leg parallel to the green or red axis.
Proper orientation of the shape will facilitate the next step, which is creating the axis of revolution. It’s simply the path along which the 2D shape will move (for a straight cone it’s the right triangle). In the case of the cone, and any other solid of revolution, this path is a circle. In SketchUp, you create it using the Circle tool (keyboard shortcut: C).
Again, the orientation of the figure in the coordinate system is crucial. It should be drawn parallel to the leg that forms the base radius of the cone. You need to set the orientation before drawing. To do this, select the appropriate plane (XY, XZ or YZ) using the arrow keys on the keyboard. In this case use the up arrow (↑), which denotes the XY plane. Place the center of the circle at the right-angle vertex and specify its radius so that it aligns with the shorter leg.
With both shapes ready—the right triangle and the circle, properly oriented in the coordinate system—you can proceed to create the straight cone based on them. The Follow Me tool will help you with this; it doesn’t have a default keyboard shortcut. You can find it in the Tools menu. But before you select it, first select the axis of revolution, i.e., the circle. It’s important to select the circle’s outline, not its surface! With the selection active, choose the Follow Me tool, then click on the right triangle. The straight cone will be generated automatically.
Summary
As you can see, creating solids of revolution in SketchUp is not complicated at all. It requires just three steps. Understanding the entire process that leads to this is essential. You can use this principle to model other solids of revolution as well, like a cylinder or a sphere. If things are not yet completely clear to you, be sure to check out our tutorial: How to make a sphere in SketchUp?.
And if you’re looking for a course that will give you knowledge of the basics of SketchUp and effectively introduce you to the world of 3D graphics, check out my SketchUp 2021 Pro Course from the basics. It’s a 6-hour, well-structured video material that will be an excellent start to your future career!
Author

Przeczytaj o programie Sketchup na naszym blogu
-
![Unusual Shapes and Tiles in SketchUp – Gores, Hexagons, and Fans]()
Unusual Shapes and Tiles in SketchUp – Gores, Hexagons, and Fans
Hexagons and gores in SketchUp in 5 seconds? Discover how to model the most challenging tile shapes. Read now! -
![3 ways to create a floor in SketchUp – from texture to a 3D model]()
3 ways to create a floor in SketchUp – from texture to a 3D model
From a flat texture to advanced 3D. Discover 3 methods for creating a floor in SketchUp and uncover our reliable "gamechanger". Read on! -
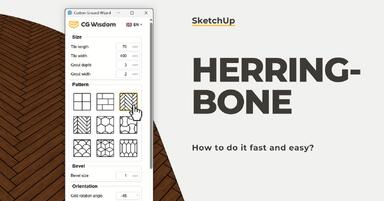
![French and Classic Herringbone in SketchUp – how to do it quickly and error-free?]()
French and Classic Herringbone in SketchUp – how to do it quickly and error-free?
Manual herringbone installation is a nightmare! See how to automate this process in SketchUp and save hours of work. Click to find out! -
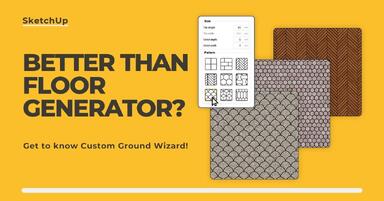
![Floor Generator for SketchUp not working? Discover the best alternative in 2026!]()
Floor Generator for SketchUp not working? Discover the best alternative in 2026!
Tired of Floor Generator errors? Discover the reliable Custom Ground Wizard plugin and create 3D floors stress-free. Read the article!
Want to learn Sketchup? Check out our free online course!