Publication date: 30-01-2026 | Update date: 30-01-2026 | Author: Piotr Kurpiewski

-
Online courses
- All
 3ds Max
 AI - Artificial Intelligence
 Blender
 Corona renderer
 GstarCAD
 LayOut
 Photoshop
 Interior Design
 Revit
Revit Sketchup
 Stable Diffusion
 V-ray
V-ray
"Online courses" are comprehensive online training programs that will help you quickly master the software you are interested in.
- Plugins
- 3D Models
- Help
- Articles
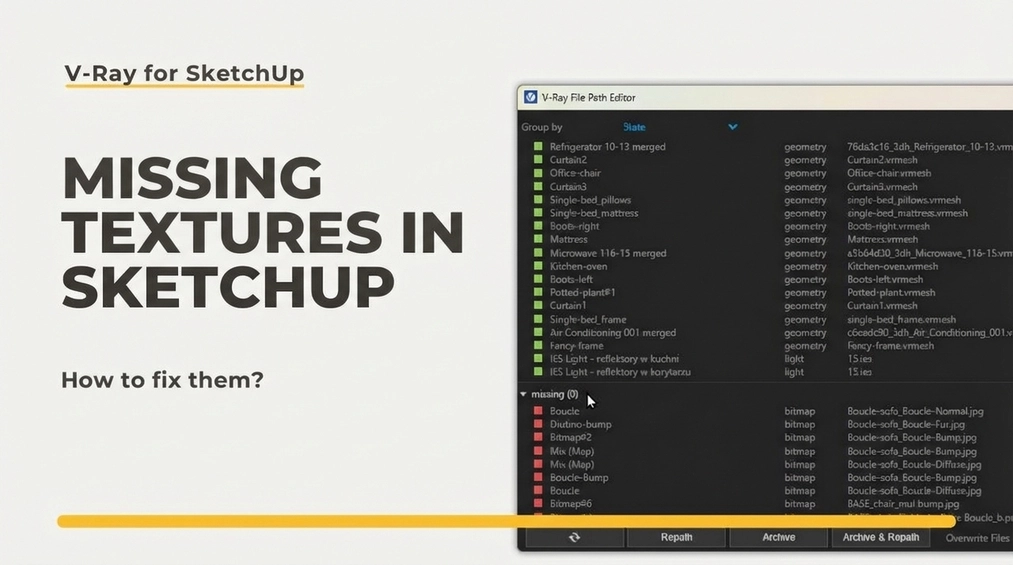
How to find and fix missing textures in SketchUp?
Tired of dealing with missing textures in V-Ray for SketchUp? Are your renders losing quality after transferring a project to another computer or downloading a file from someone else? In our latest article, we reveal how to quickly and effectively fix this issue using the File Path Editor in V-Ray. We walk you through each step to restore lost textures and ensure your projects always look perfect. Additionally, we share practical tips to help you avoid these situations in the future. Don't let missing textures hold back your creativity — learn how to tackle them!
Index
When you download a .skp file or move a model between computers, textures often fail to load correctly. Missing textures in V-Ray for SketchUp can significantly affect render quality and hinder project workflow. In this article, we will discuss how to solve this problem.
Causes of the Missing Texture Issue in SketchUp
SketchUp has limitations in storing textures. It only temporarily keeps basic Diffuse textures, which means they can be lost when the file is moved. If you use V-Ray, your materials may include additional textures such as Bump or Roughness. Unfortunately, SketchUp does not store information about these files, leading to issues locating them after the project is transferred.
Effects of Missing Additional Textures
Missing textures negatively impact render quality. Models may look flat or unnatural, and effects like surface irregularities or reflections will not appear. When V-Ray cannot find the Diffuse path, it assigns the material a default gray color. Wood that looks normal in SketchUp may not resemble it at all after rendering. This mess can lead to extra work and unnecessary delays in project completion.
File Path Editor Is the Solution to Missing Texture Issues
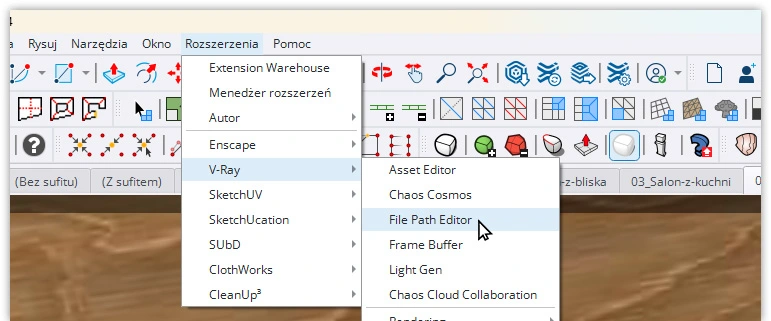
To fix missing textures, use the File Path Editor tool in V-Ray. This tool allows you to manage texture file paths and easily update them. You can find it in V-Ray’s menu in SketchUp.

Color Codes in the File Path Editor
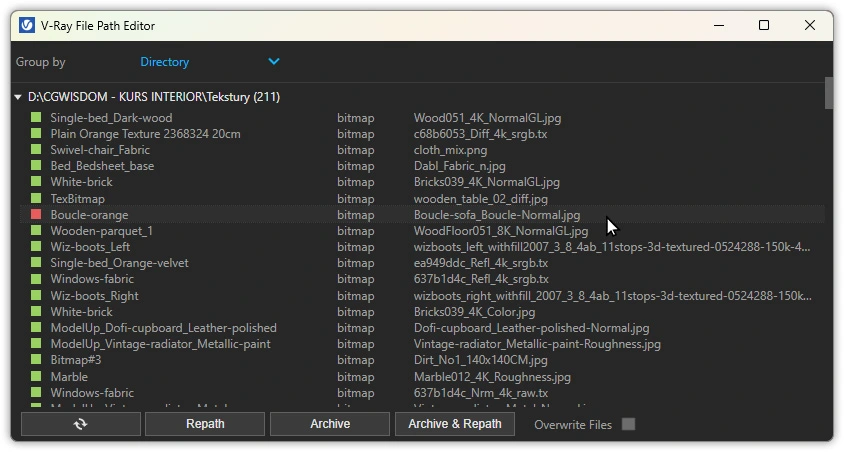
In the File Path Editor, textures are marked with different colors to help identify issues:
- Green: Textures with a correct path. Everything is fine and requires no action.
- Yellow: Textures for which V-Ray stores temporary information. They may work correctly now but can cause issues in the future.
- Red: Textures that have "lost" their location. They require immediate attention to restore proper functionality.
Fixing Missing Textures in SketchUp, Step by Step
Fixing missing textures using the File Path Editor is a straightforward process but requires precision. Below are the detailed instructions:
- To get started, open SketchUp and load your project. Then go to the V-Ray menu, usually found on the toolbar or in the main menu. Select the File Path Editor option to open the texture file path management tool.
- After opening the File Path Editor, you will see a list of all textures used in the project. Textures will be color-coded as green, yellow, or red depending on their status. Focus on the yellow and red textures, as they require attention.
- Click on a red-marked texture to select it. You can select one or multiple textures at once by holding the Ctrl key while clicking. After selecting the textures, click the Repath button located in the File Path Editor window.
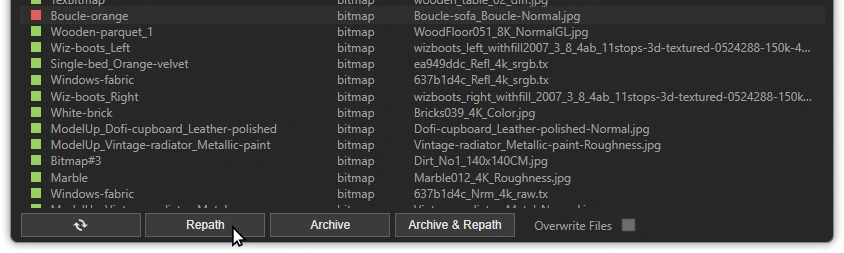
- After clicking Repath, a dialog box will open where you can specify the new location of the texture file on your local drive. Navigate to the folder containing the original texture file, select it, and click Open. Make sure you choose the correct file to avoid further issues.
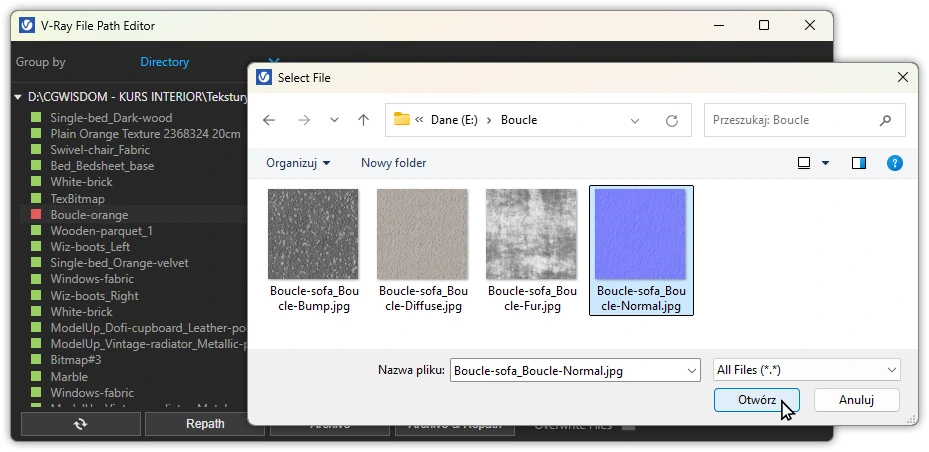
- Once the file path has been updated, the texture status should turn green, indicating the path was updated successfully. Repeat this process for all red and yellow textures. For yellow textures the procedure is the same, but note that they may work correctly until they are moved or deleted. That’s why it’s a good idea to update their paths as well to prevent future issues.

- After updating all paths, close the File Path Editor and perform a test render to ensure that all textures are loading correctly. If you notice any issues, return to the tool and check that all paths are correct.
Practical Tips
To avoid missing texture issues in the future, it’s helpful to follow some best practices. First, always store all project files and textures in consistent, organized folders. A good approach is to create a single main folder for each project containing subfolders for models, textures, renderings, etc. This way, all necessary files are in one place, making them easier to move and manage.
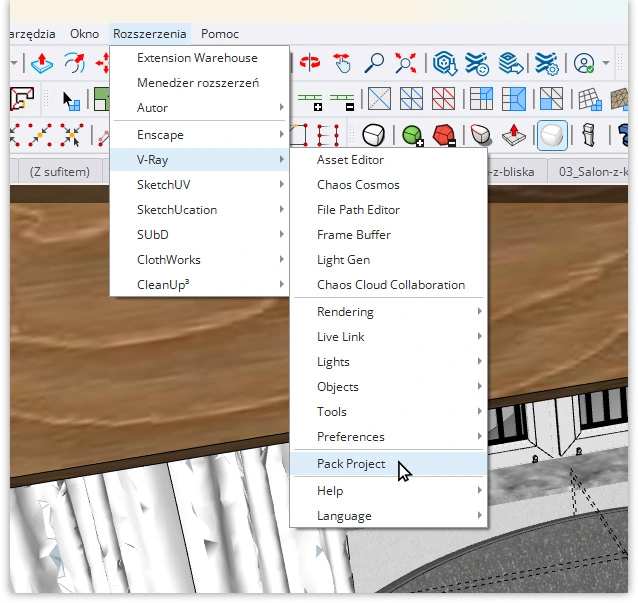
Second, when transferring a project between computers, always copy the entire project folder, including all subfolders. Avoid copying only the .skp file, as this can break texture links. When possible, use V-Ray’s file-saving feature, Pack Project. This feature collects all related files and saves them in one archive, making project transfer easier.
Third, regularly check texture links in large projects. The bigger and more complex the project, the greater the risk of lost or incorrectly loaded textures. Using the File Path Editor as a preventive tool will allow you to quickly detect and fix potential issues before they affect the final render.
Finally, it’s important to back up your projects and textures. Regularly creating backups on external drives or in the cloud ensures that even in the event of hardware failure or data loss, you can quickly restore your files and continue working without major interruptions.
Conclusion
Missing textures in V-Ray for SketchUp can be a frustrating issue, but with the File Path Editor tool, it’s easy to resolve. Proper management of texture file paths is crucial for maintaining render quality and efficient project workflow. Remember best practices for file organization and regularly checking texture links.
If you want to learn more about using the File Path Editor and other advanced V-Ray tools, be sure to check out our SketchUp courses, especially the SketchUp + V-Ray 6 Course - Interior Visualization Training from Scratch. With it, you’ll learn not only how to fix missing textures but, most importantly, how to create stunning architectural visualizations.
Author

Przeczytaj o programie Sketchup na naszym blogu
-
![Unusual Shapes and Tiles in SketchUp – Gores, Hexagons, and Fans]()
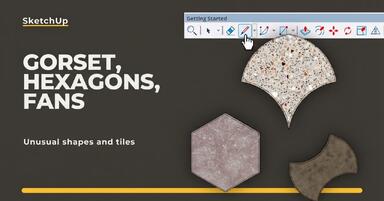
Unusual Shapes and Tiles in SketchUp – Gores, Hexagons, and Fans
Hexagons and gores in SketchUp in 5 seconds? Discover how to model the most challenging tile shapes. Read now! -
![3 ways to create a floor in SketchUp – from texture to a 3D model]()
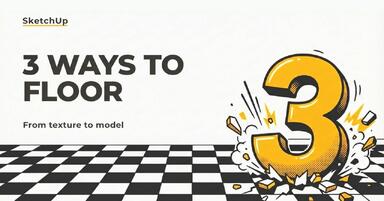
3 ways to create a floor in SketchUp – from texture to a 3D model
From a flat texture to advanced 3D. Discover 3 methods for creating a floor in SketchUp and uncover our reliable "gamechanger". Read on! -
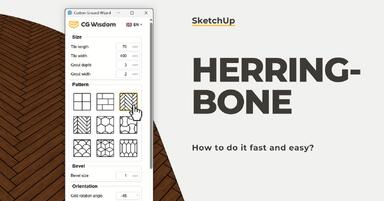
![French and Classic Herringbone in SketchUp – how to do it quickly and error-free?]()
French and Classic Herringbone in SketchUp – how to do it quickly and error-free?
Manual herringbone installation is a nightmare! See how to automate this process in SketchUp and save hours of work. Click to find out! -
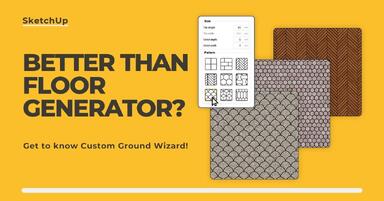
![Floor Generator for SketchUp not working? Discover the best alternative in 2026!]()
Floor Generator for SketchUp not working? Discover the best alternative in 2026!
Tired of Floor Generator errors? Discover the reliable Custom Ground Wizard plugin and create 3D floors stress-free. Read the article!
Want to learn Sketchup? Check out our free online course!