Publication date: 25-02-2026 | Update date: 25-02-2026 | Author: Piotr Kurpiewski

-
Online courses
- All
 3ds Max
 AI - Artificial Intelligence
 Blender
 Corona renderer
 GstarCAD
 LayOut
 Photoshop
 Interior Design
 Revit
Revit Sketchup
 Stable Diffusion
 V-ray
V-ray
"Online courses" are comprehensive online training programs that will help you quickly master the software you are interested in.
- Plugins
- 3D Models
- Help
- Articles
3 ways to create a floor in SketchUp – from texture to a 3D model
An overview of the three most popular methods for creating floors in SketchUp. We go from the simplest but least realistic flat texture, through tedious manual modeling using the hidden Array function, to the ultimate "gamechanger", which is the fully automatic generation of smart geometry using the Custom Ground Wizard plugin.
When we start our journey in interior modeling, the floor seems like the simplest part of the puzzle. After all, you just need to draw a rectangle and fill it with color. Over time, however, our expectations grow, and with them comes the need to achieve an authentic look of the materials used. In this guide, we will go through three completely different approaches to this topic. I will start with the most basic methods and end with the solutions used by professional design studios.
Spoiler alert: the third method is an absolute "gamechanger" in the world of visualization. If you value your time and are looking for a ready-made solution that will automate your work, you can confidently skip straight to the end of this article. However, if you want to understand why flat graphics ruin your renders and how the 3D modeling process has evolved, keep reading!
Method One: Traditional Image Application
The first and most instinctive step for any user is to reach for the Paint Bucket tool. This process is ridiculously simple: you import a wood or tile image file, set its scale appropriately, and click on the chosen surface. In just a few seconds, the entire room is covered with the new finish. The SketchUp file hardly grows in size, and the computer doesn't lag when rotating the camera.
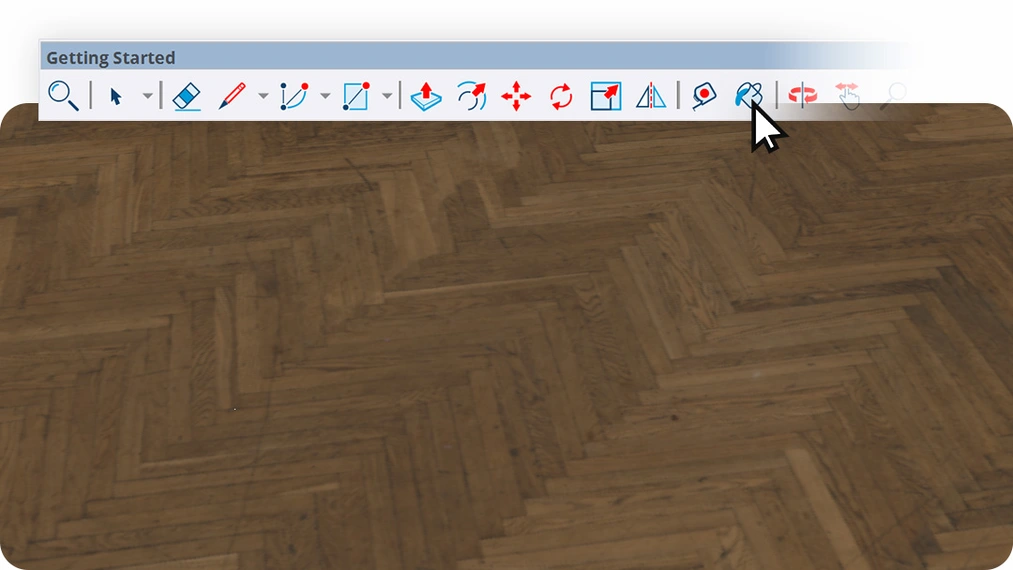
Unfortunately, this speed comes at a high price. When you launch V-Ray or another rendering engine, the image instantly exposes the artificiality of this solution. There are no physical gaps between the planks. Light has nothing to work with—it simply slides over the perfectly smooth surface, giving the impression of cheap flooring. Moreover, in large living rooms, the so-called tiling quickly becomes noticeable, with the annoying, repetitive cloning of the same grain pattern across the entire room width.
Method Two: Manual Modeling and the Hidden Array Feature
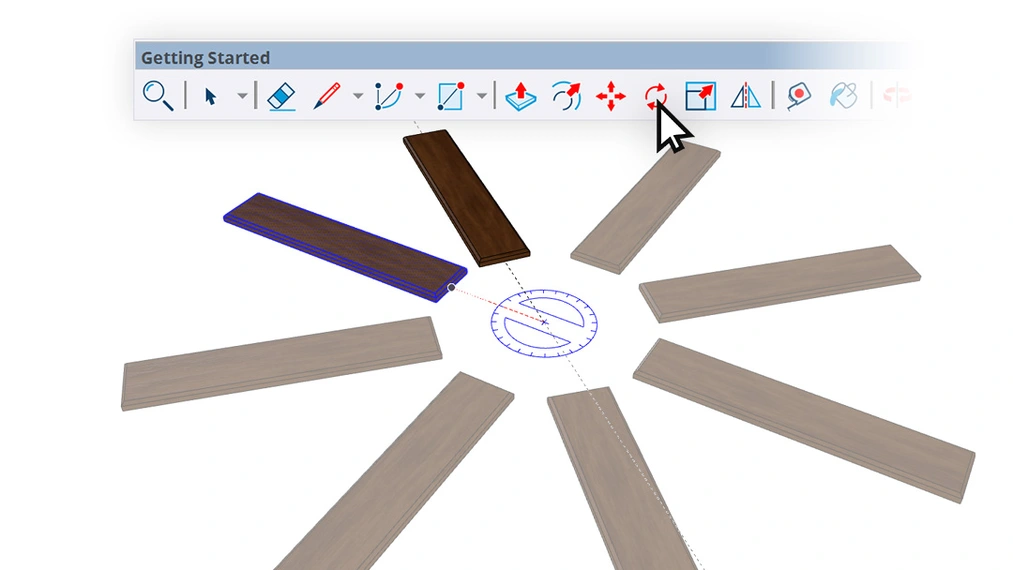
When flat graphics are no longer enough, the natural next step is to physically build each element. It's a school of patience but yields excellent visual results. You draw a single plank, give it thickness, and convert it into a Component. To avoid copying it hundreds of times by hand, it's worth using the little-known trick with the built-in array.

By grabbing the element with the Move tool and copying it with the Ctrl key held down, you can then immediately type, for example, *20 on the keyboard.
SketchUp will instantly duplicate our object twenty times at perfectly equal intervals. The same trick works brilliantly when copying elements in a circle using the Rotate tool (Rotate), which greatly speeds up creating things like paved driveways.
Although this process gives us full control and great-looking joints, it can be very exhausting in the long run. The most frustration arises when our carefully laid planks meet walls of irregular shapes. You then have to use the Intersect faces function (Intersect faces) to cut off protruding fragments centimeter by centimeter. The file becomes very heavy, and any client request to change the tile format means removing everything and starting from scratch.
Method Three: The Golden Mean, or Automatic Geometry
The third path is the answer for those who want the highest quality but can't afford to spend all day on a single floor. Instead of compromising, you can combine the lightning-fast action of the bucket tool with the spatial realism of manual modeling. These possibilities are offered by the latest floor generator, Custom Ground Wizard.

Its operation is based on intelligent algorithms that analyze the room's layout automatically. Simply select the area, and the software will generate physical tiles on its own, bypassing arches, sloped walls, or columns located in the middle of the room. Very important for aesthetes, this tool eliminates the age-old problem of randomly cut pieces at the entrance. It allows you to define a starting point, guaranteeing that the layout always begins with a full, elegant plank right at the doorway threshold.
CHECK OUT OUR EXTENSION - Custom ground wizard pro
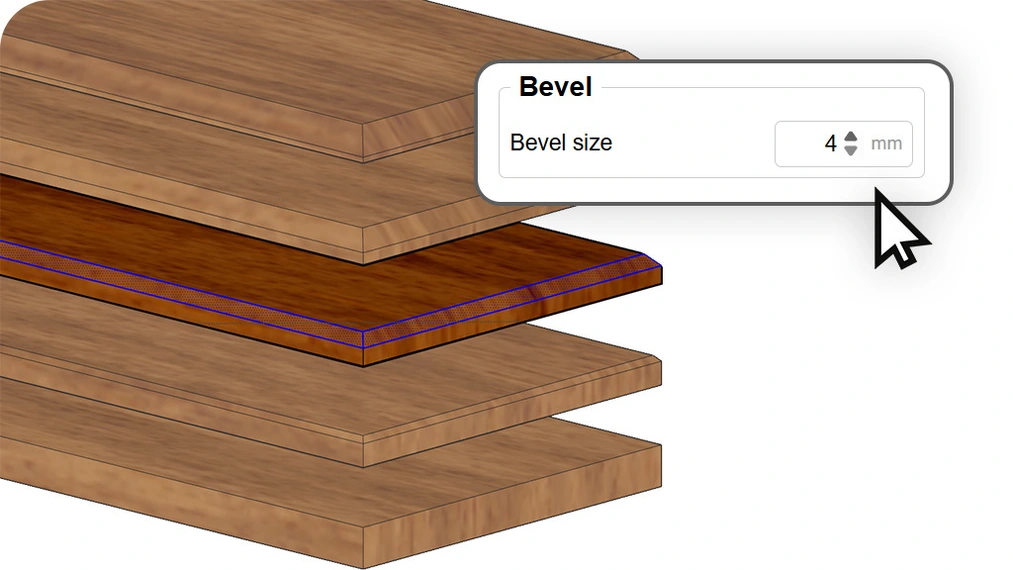
You also don't have to worry about overly sharp, digital edges, because the system includes a built-in chamfer option that softly breaks the light in renders.
The PRO version also introduces a randomness feature. Thanks to random shifts of the Texture positioning mapping (Texture positioning) along different axes, each generated plank receives a unique fragment of the applied texture, perfectly mimicking the true nature of wood or porcelain stoneware.
Summary and Choosing the Right Path
Going through all these stages is a natural process when learning SketchUp. It's worth knowing each of the presented techniques to respond flexibly to different types of projects. However, if maximum efficiency in your daily professional work matters, using dedicated algorithms is simply a smart decision you can't ignore.
Download Custom Ground Wizard
You can see for yourself how working with spatial floors looks in practice. Just download the completely free version of Custom Ground Wizard, which allows you to generate basic layouts like a uniform grid or brick pattern while retaining full commercial usage rights.
On the other hand, for designers aiming for the most demanding layouts, there is the full version of Custom Ground Wizard PRO. It is this version that opens immediate access to advanced patterns such as French herringbone or complex hexagons, offering a lifetime license and permanently changing how you approach finishing virtual interiors.
Author

Przeczytaj o programie Sketchup na naszym blogu
-
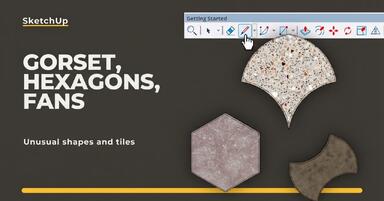
![Unusual Shapes and Tiles in SketchUp – Gores, Hexagons, and Fans]()
Unusual Shapes and Tiles in SketchUp – Gores, Hexagons, and Fans
Hexagons and gores in SketchUp in 5 seconds? Discover how to model the most challenging tile shapes. Read now! -
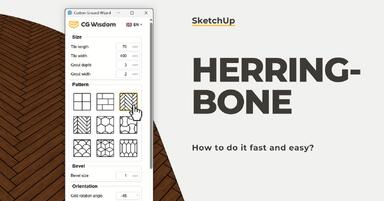
![French and Classic Herringbone in SketchUp – how to do it quickly and error-free?]()
French and Classic Herringbone in SketchUp – how to do it quickly and error-free?
Manual herringbone installation is a nightmare! See how to automate this process in SketchUp and save hours of work. Click to find out! -
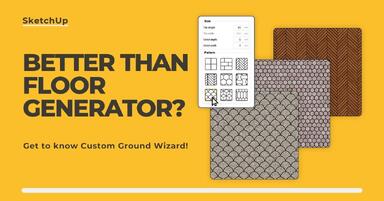
![Floor Generator for SketchUp not working? Discover the best alternative in 2026!]()
Floor Generator for SketchUp not working? Discover the best alternative in 2026!
Tired of Floor Generator errors? Discover the reliable Custom Ground Wizard plugin and create 3D floors stress-free. Read the article! -
![SketchUp, V-Ray - Frame Buffer Window Not Responding - Tutorial Guide]()
SketchUp, V-Ray - Frame Buffer Window Not Responding - Tutorial Guide
Can't preview the progress of your visualization? You click on the taskbar, but the Frame Buffer doesn't respond? Don't worry, there's a simple solution.
Want to learn Sketchup? Check out our free online course!