Publication date: | Update date: 25-02-2026 | Author: Piotr Kurpiewski

-
Online courses
- All
 3ds Max
 AI - Artificial Intelligence
 Blender
 Corona renderer
 GstarCAD
 LayOut
 Photoshop
 Interior Design
 Revit
Revit Sketchup
 Stable Diffusion
 V-ray
V-ray
"Online courses" are comprehensive online training programs that will help you quickly master the software you are interested in.
- Plugins
- 3D Models
- Help
- Articles
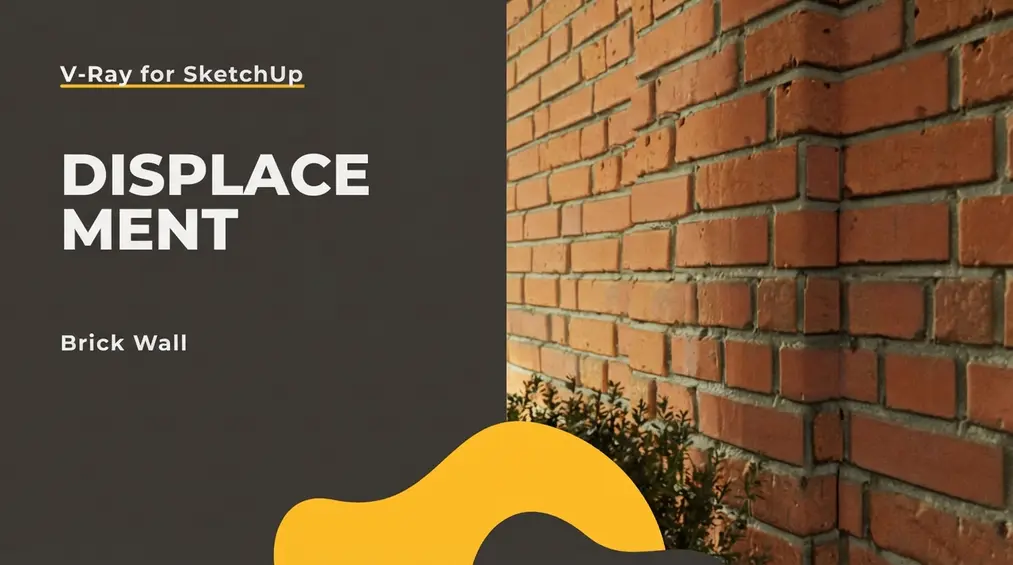
SketchUp - Displacement - brick wall
The Displacement feature in SketchUp allows you to achieve advanced surface geometry. It is especially useful when modeling details such as brick walls, stones, or sandy beaches. Displacement works based on a flat grayscale map, where each pixel is assigned a height vector, enabling the creation of bumps and dents. To use Displacement in SketchUp, enclose the plane in a group and add the Displacement effect to it. Then configure parameters like the map texture, effect strength, and Displacement mode. Remember to enable Keep continuity – this prevents gaps at the edges. Although Displacement is an effective tool, use it judiciously. The feature consumes RAM and can sometimes cause rendering issues.
Displacement is an excellent way to achieve geometrically advanced surfaces without the need for complex modeling operations. It comes in handy, for example, when you need to create a brick wall.
How Does Displacement Work?
Displacement involves processing data from a flat grayscale map into a three-dimensional environment in such a way that each pixel (which makes up the map) is assigned a certain height vector. White pixels receive a value of 1, and black pixels -1. Between these values lies a full spectrum of gray pixels. The light ones will be higher, and the dark ones lower, according to the data contained in the image.
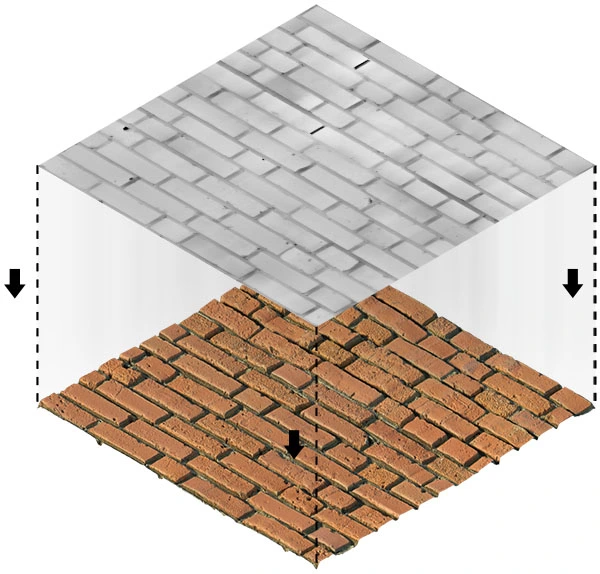
Look at the graphic above. The mortar between the bricks is black, and the bricks themselves are white. For V-Ray, this is very precise information indicating that the bricks should be protruding and the mortar recessed.
Displacement vs. Bump
If you are already familiar with SketchUp and V-Ray, then you probably know that Bump works on the same principle. However, there is a fundamental difference between these two transformations.
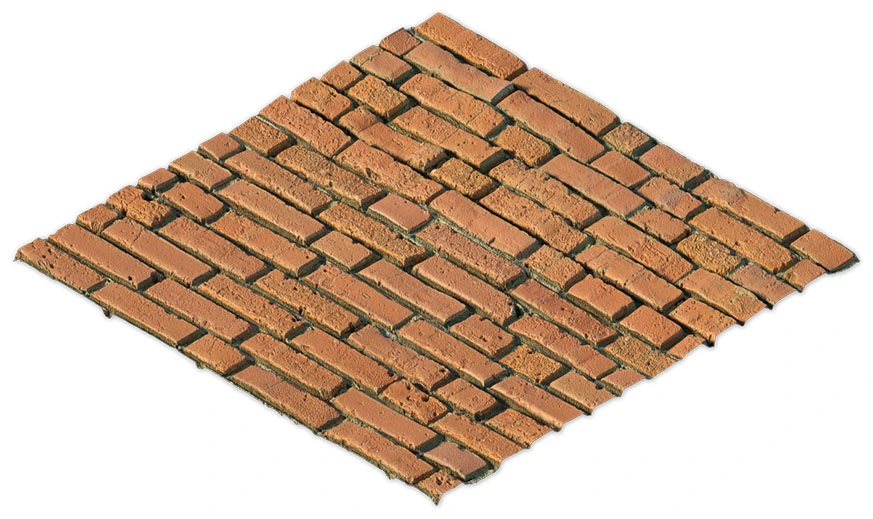
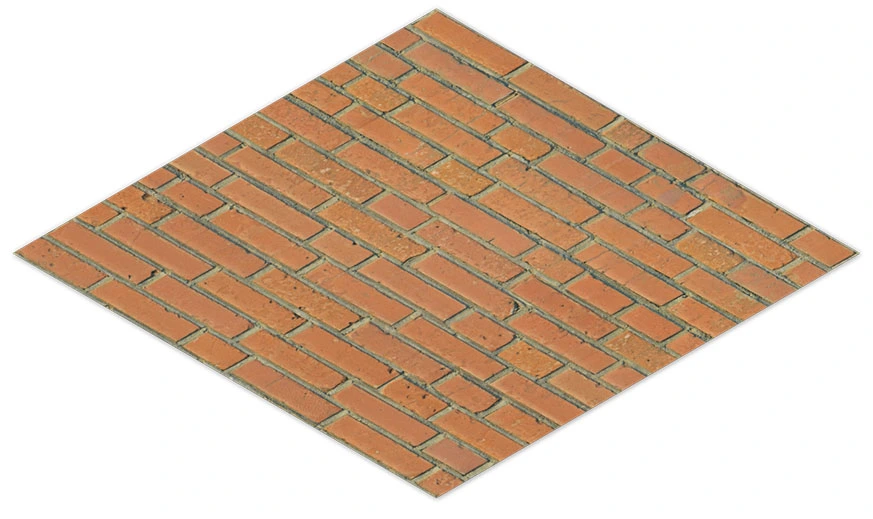
With Bump, the concave and convex effect is merely an illusion created by manipulating light and shadow on a flat, two-dimensional surface. Displacement, on the other hand, is an actual geometric deformation with no optical tricks. Below you can compare both effects using a brick example. Which one do you think is Displacement?
How to Enable Displacement?
Until now, Displacement was one of the attributes of the traditional Generic material. In V-Ray 5, however, it has been moved to a geometry attribute (the same happened earlier with the Fur effect). You can still add Displacement exactly the same way as Bump, but the developer suggests using the more stable and user-friendly option of adding Displacement as V-Ray Geometry.
To add Displacement to any surface (e.g., a brick wall), you must first enclose that surface (or multiple surfaces) in a group. Inside the group there must be no additional groups—only so-called raw geometry. Only then will you be able to apply this effect. This is exactly the same as when adding Fur or a Mesh Light.
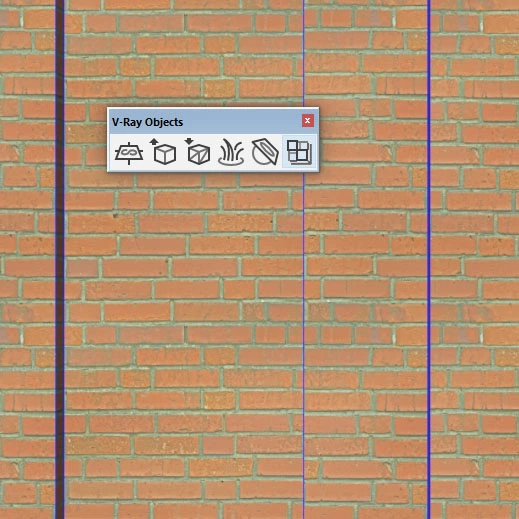
The above icon activates Displacement. You can also, with the geometry selected, choose from the menu: Extensions / V-Ray / V-Ray Objects / Add Displacement to Selection.
If a red dashed frame is added to the group, it is a sign that everything went according to plan. Further confirmation is the special Displacement parameter, which should appear at the same time in the Geometry Asset Editor tab.

Displacement Parameters
The most important attribute is, of course, the texture, which should be added to the Mode / Map parameter. You can download the black-and-white map (and other PBR maps) described in the first section from here: AmbientCG. Reading such a texture is crucial for the entire operation. Without a Displacement map, the deformation cannot be applied.
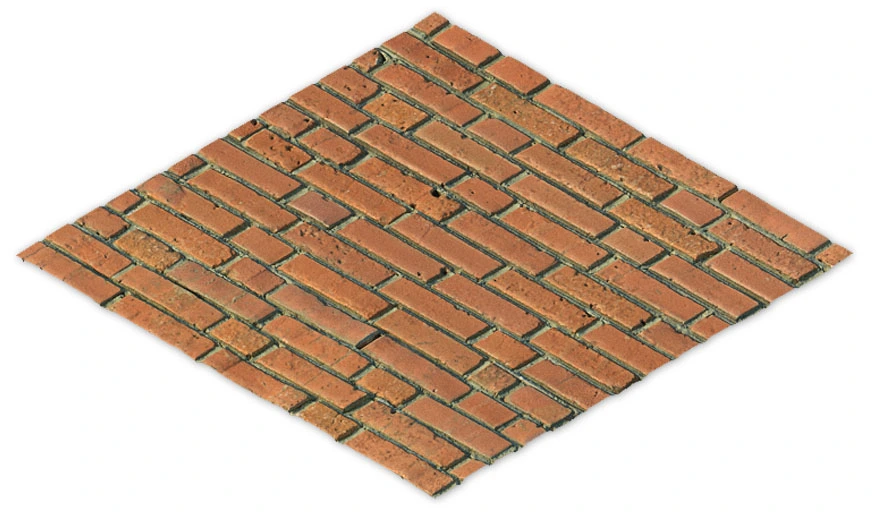
The next in line is Amount, which controls the strength of the effect. The larger it is, the stronger the deformation, as clearly shown in the graphic below.
The Displacement mode is also very important. It defines how the final three-dimensional structure is created. Normal Displacement subdivides the base surfaces into triangles, performing operations on progressively smaller parts of the original geometry. With more complex models, this may lead to unexpected results. If you have a high-quality texture, it is a better idea to use 2D Displacement, which relies more on the source map than on geometric data.

Finally, it is worth enabling Keep continuity so that the deformation effect does not leave gaps at the edges. Only then will V-Ray attempt to fill the holes created by the displaced surfaces.
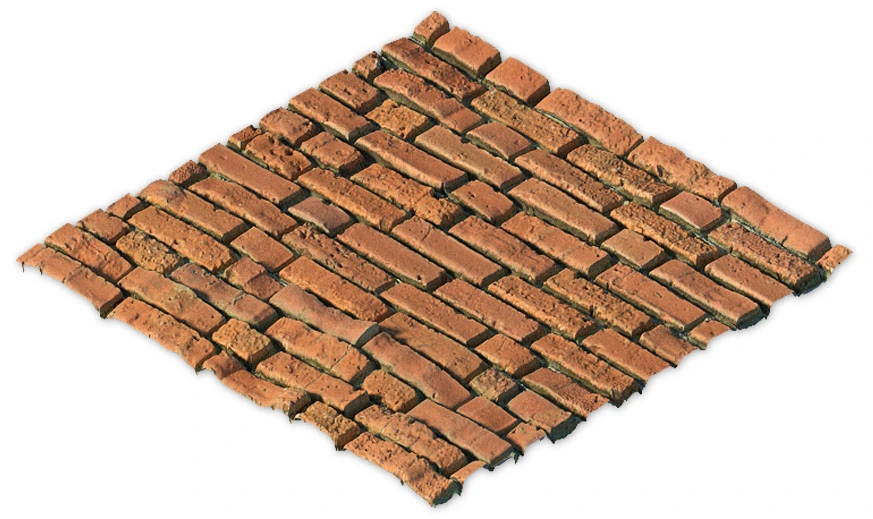
Now, with the above settings selected, the brick wall actually looks like it does in reality. The true geometric deformation captures shadows plastically and vividly highlights the smallest structural details. The benefits of this workflow are clearly visible in the visualization below.

Summary
Remember that Displacement puts a heavy load on the computer's RAM and should only be used in justified cases. It often contributes to rendering issues and can cause critical errors. It should definitely not be used for reproducing wood materials, smooth plastic, or fine-structural plaster.
However, it is worth using it when creating bricks, fieldstone, or a sandy beach. After reading this article, you should no longer have problems with these types of materials ;-)
Author

Przeczytaj o programie Sketchup na naszym blogu
-
![Unusual Shapes and Tiles in SketchUp – Gores, Hexagons, and Fans]()
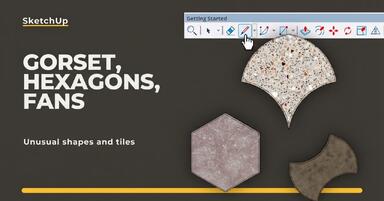
Unusual Shapes and Tiles in SketchUp – Gores, Hexagons, and Fans
Hexagons and gores in SketchUp in 5 seconds? Discover how to model the most challenging tile shapes. Read now! -
![3 ways to create a floor in SketchUp – from texture to a 3D model]()
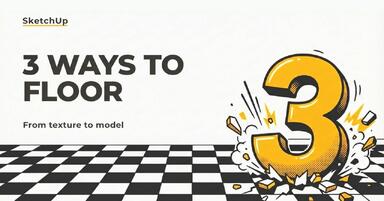
3 ways to create a floor in SketchUp – from texture to a 3D model
From a flat texture to advanced 3D. Discover 3 methods for creating a floor in SketchUp and uncover our reliable "gamechanger". Read on! -
![French and Classic Herringbone in SketchUp – how to do it quickly and error-free?]()
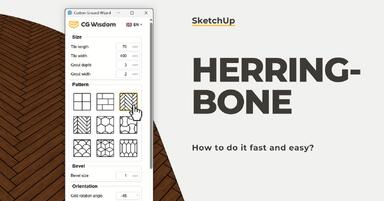
French and Classic Herringbone in SketchUp – how to do it quickly and error-free?
Manual herringbone installation is a nightmare! See how to automate this process in SketchUp and save hours of work. Click to find out! -
![Floor Generator for SketchUp not working? Discover the best alternative in 2026!]()
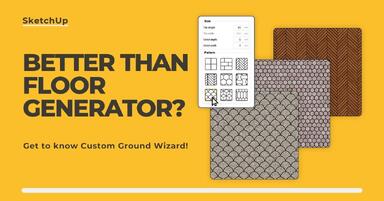
Floor Generator for SketchUp not working? Discover the best alternative in 2026!
Tired of Floor Generator errors? Discover the reliable Custom Ground Wizard plugin and create 3D floors stress-free. Read the article!
Want to learn Sketchup? Check out our free online course!