Publication date: | Update date: 25-02-2026 | Author: Piotr Kurpiewski

-
Online courses
- All
 3ds Max
 AI - Artificial Intelligence
 Blender
 Corona renderer
 GstarCAD
 LayOut
 Photoshop
 Interior Design
 Revit
Revit Sketchup
 Stable Diffusion
 V-ray
V-ray
"Online courses" are comprehensive online training programs that will help you quickly master the software you are interested in.
- Plugins
- 3D Models
- Help
- Articles
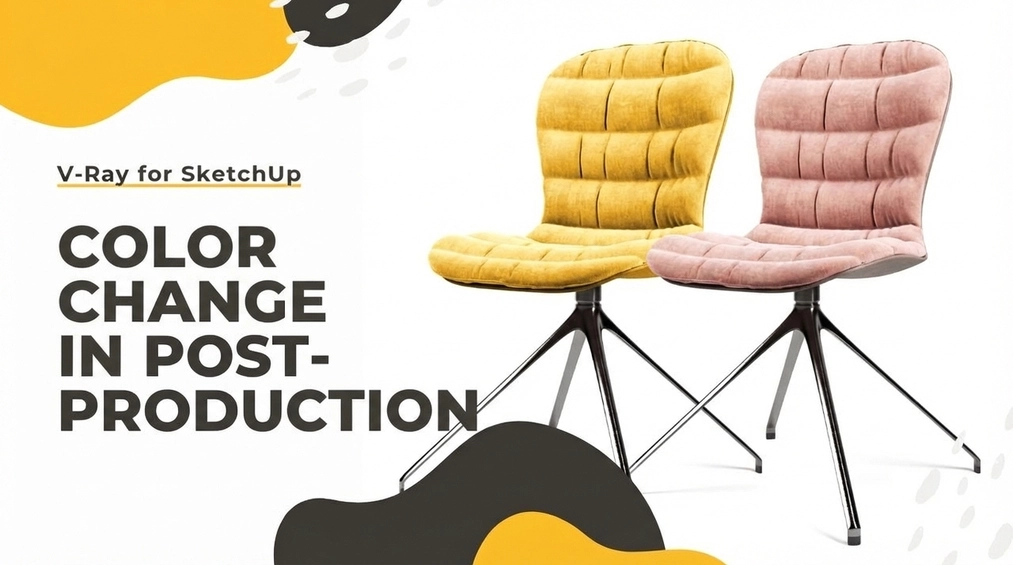
SketchUp - How to change the color of furniture in a completed render?
To change the color of a piece of furniture in a finished SketchUp model render using V-Ray 5, you can use the Frame Buffer feature, which allows you to adjust the render directly in the program. To do this set up the appropriate render channels, such as Cryptomatte, which adds masks to selected elements. Cryptomatte assigns random colors to render elements, making them easy to identify. Next, add the mask to a correction layer, such as Color Balance, and select the Cryptomatte mask. In the interface, you can select the area you want to change, for example, the chair upholstery color. The adjustments will be limited to the selected area only. This process allows for a quick and precise color change of furniture in a finished render.
Index
The latest version of V-Ray 5 brings many very useful enhancements. One of them is the new Frame Buffer window, which, besides receiving a graphic facelift, has also been equipped with highly advanced post-production tools. Thanks to them, the render correction process can be performed directly in V-Ray, without the need to use external software like Photoshop. A major convenience is the ability to change the color of any element in the finished visualization. It's this function that we'll explore in more detail in today's article.
Render elements
In order to leverage the full potential of V-Ray Frame Buffer, you must first properly set up additional rendering channels. Besides the so-called beauty pass, which is the result of all V-Ray processing, it also generates additional images that store information regarding, among other things: transparency in glass surfaces, depth of field, or technical shadow properties. You can read more about this topic –SketchUp - V-Ray - What are render channels and how to use them?

Render elements help increase the intensity of the scene’s lighting or boost the reflections of individual elements in the visualization. The channel we will need to change the color in the finished render is the so-called Cryptomatte.

Cryptomatte
Cryptomatte is a channel that adds masks to selected elements. There are three systems to choose from: objects, materials, and layers, which you can set in the ID Type parameter. Depending on the chosen system, random colors are assigned to parts of the render so that they can be easily distinguished from each other. In the preview, you will therefore see a rather peculiar image of color patches, which ultimately facilitates effective masking.

SketchUp - Adding a Mask
The mask allows you to restrict the effect of any correction layer to a specified area. In this way, you can limit the impact of a transformation, e.g. Color Balance, only to the chair’s backrest, its legs, or the background. The upholstery color can thus be easily changed even after the rendering process is complete. Cryptomatte is also very precise. With appropriate resolution, the mask edges are sharp across all areas of the render.
To add a mask, first create any correction layer (e.g. the aforementioned Color Balance), select the Add new mask layer icon, and then choose Cryptomatte mask.

This will give us access to an additional menu where you can remove or add selections to the mask. After clicking on + pick, we choose, for example, the chair’s backrest. This operation will cause the selected backrest group to appear under New item in the table below. In my case, it’s Grupuj#1, because that’s what the group is called in my file hierarchy, in the Entity Info in SketchUp.

If performed correctly, the process will ensure that all transformations of the Color Balance layer are restricted to the group selected this way. Masks can be combined by adding more elements in the + pick interface. Selections can also be inverted using the Invert Mask parameter.
All these transformations make post-production in V-Ray much faster now, and the entire process easier to control without the need for external software.
We also encourage you to watch our tutorial, in which you’ll see how to perform all the above steps.
Do you want to learn SketchUp without leaving home? Check out our course – SketchUp 2021 Pro from scratch.
Author

Przeczytaj o programie Sketchup na naszym blogu
-
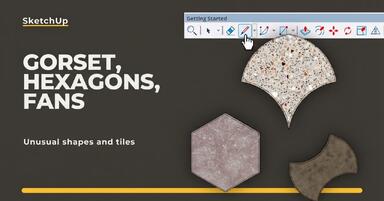
![Unusual Shapes and Tiles in SketchUp – Gores, Hexagons, and Fans]()
Unusual Shapes and Tiles in SketchUp – Gores, Hexagons, and Fans
Hexagons and gores in SketchUp in 5 seconds? Discover how to model the most challenging tile shapes. Read now! -
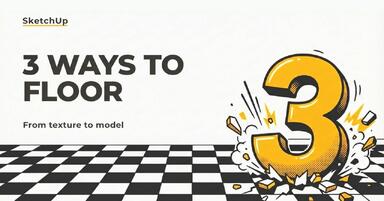
![3 ways to create a floor in SketchUp – from texture to a 3D model]()
3 ways to create a floor in SketchUp – from texture to a 3D model
From a flat texture to advanced 3D. Discover 3 methods for creating a floor in SketchUp and uncover our reliable "gamechanger". Read on! -
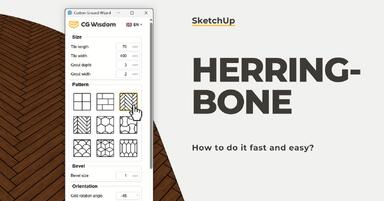
![French and Classic Herringbone in SketchUp – how to do it quickly and error-free?]()
French and Classic Herringbone in SketchUp – how to do it quickly and error-free?
Manual herringbone installation is a nightmare! See how to automate this process in SketchUp and save hours of work. Click to find out! -
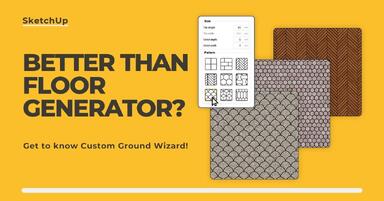
![Floor Generator for SketchUp not working? Discover the best alternative in 2026!]()
Floor Generator for SketchUp not working? Discover the best alternative in 2026!
Tired of Floor Generator errors? Discover the reliable Custom Ground Wizard plugin and create 3D floors stress-free. Read the article!
Want to learn Sketchup? Check out our free online course!