Publication date: 29-01-2026 | Update date: 29-01-2026 | Author: Piotr Kurpiewski

-
Online courses
- All
 3ds Max
 AI - Artificial Intelligence
 Blender
 Corona renderer
 GstarCAD
 LayOut
 Photoshop
 Interior Design
 Revit
Revit Sketchup
 Stable Diffusion
 V-ray
V-ray
"Online courses" are comprehensive online training programs that will help you quickly master the software you are interested in.
- Plugins
- 3D Models
- Help
- Articles
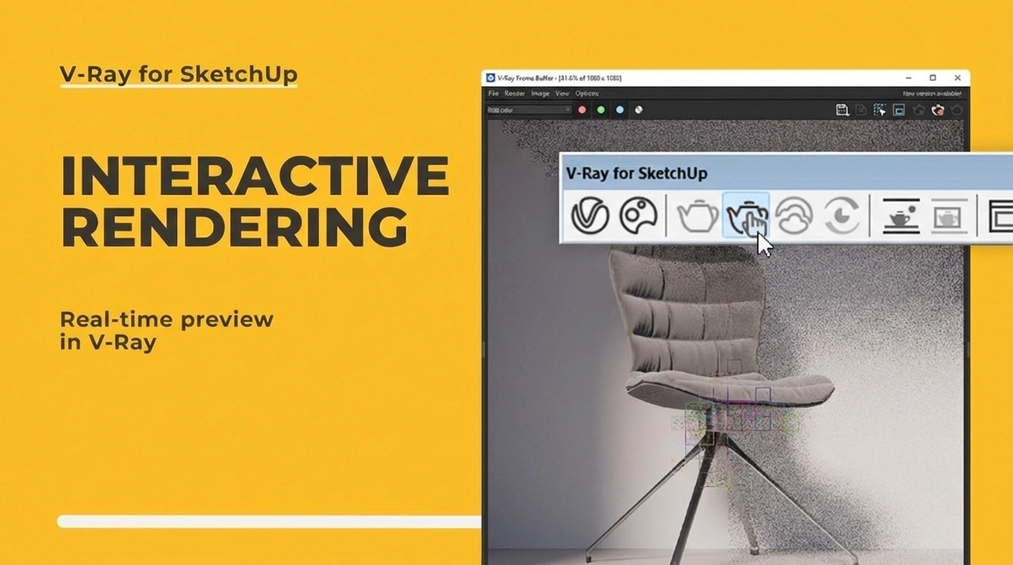
SketchUp - Interactive Rendering - Real-Time Preview in V-Ray - Guide, Tutorial
V-Ray allows you to preview your visualization in several modes.The interactive rendering mode lets you see the rendering result in a separate V-Ray Frame Buffer window. There you can track all changes in the SketchUp view (zoom, pan) in real time or lock the camera.When you enable the Denoiser feature, V-Ray's output will appear even faster. Read the article to learn more about the different rendering modes.
Index
Often what you see in the SketchUp workspace bears little resemblance to how the scene appears in V-Ray once rendered. You’ve probably worked with a complex 3D model expecting equally spectacular visualization results and more than once been disappointed. To avoid this, it’s worth previewing your work as you go.
Rendering Modes
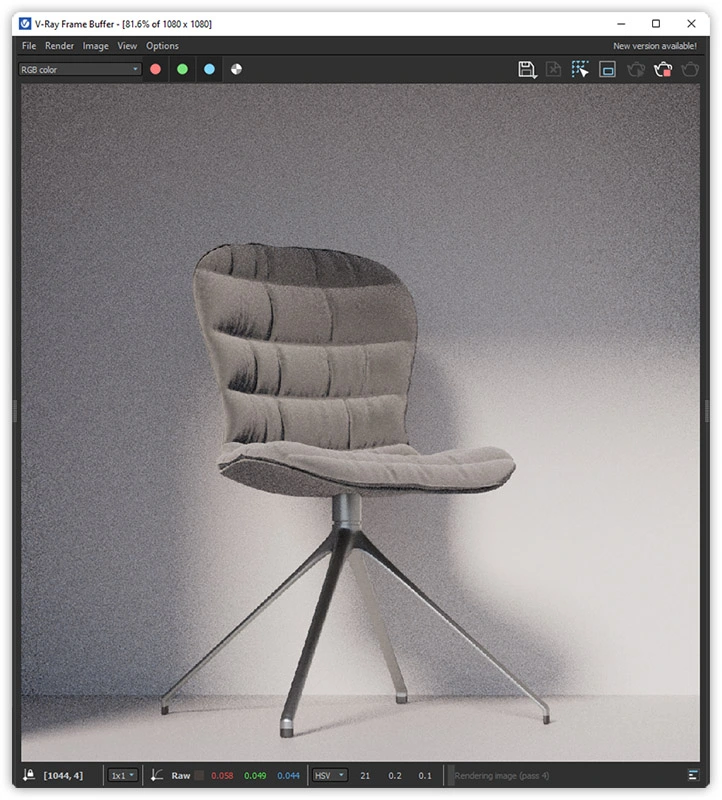
The default rendering mode in V-Ray is the so-called progressive rendering. In this mode, the program quickly creates a noisy image based on the view from the SketchUp workspace and gradually denoises it. As a rule, the overall effect is visible almost immediately.
If you disable the Progressive mode, rendering will run using the final settings. This means that initially you’ll see only a dark, pixelated image, and the result only becomes visible once the so-called buckets (moving squares) denoise it. You can use this mode for final renders, but it isn’t ideal for quick previews.
The interactive mode is, in a sense, a variation of progressive rendering. Here, too, the overall visualization is visible from the start, becoming sharper and less noisy over time. The difference lies in its interactivity: each time you make a change in SketchUp, V-Ray automatically updates the preview in the Frame Buffer window. This is how you view changes in real time.
Interactive rendering
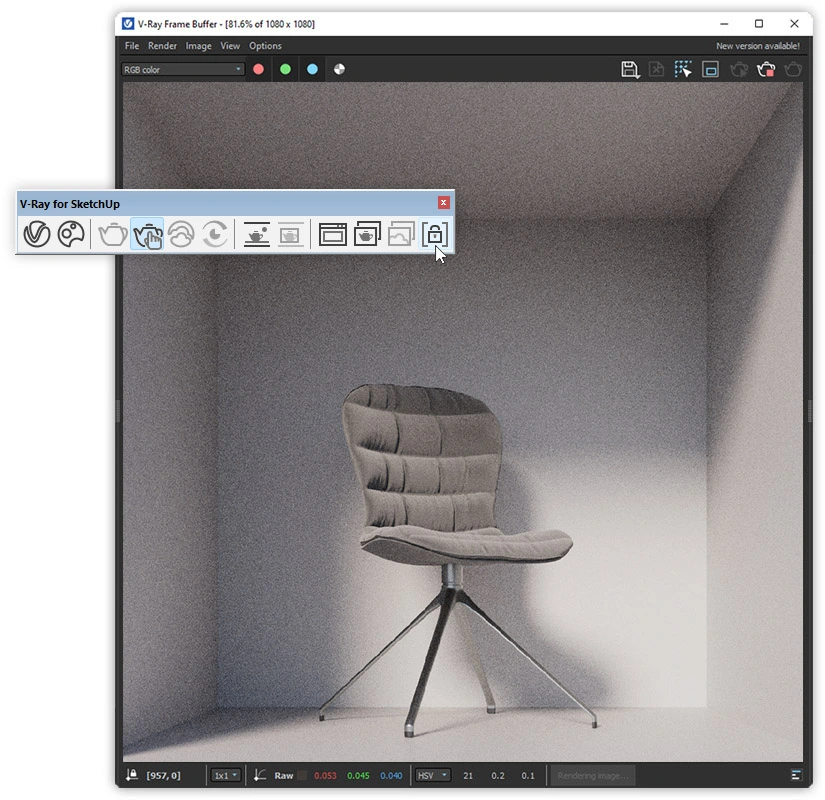
To enable interactive mode, simply click the kettle icon with the handle. The Interactive option can also be activated in the Render tab within the Asset Editor settings.

The render result will appear in a separate window. If you’re using two monitors (which I highly recommend), arrange the windows so that SketchUp is on one monitor and the V-Ray Frame Buffer on the other. This way, you can follow the progress in both applications simultaneously.
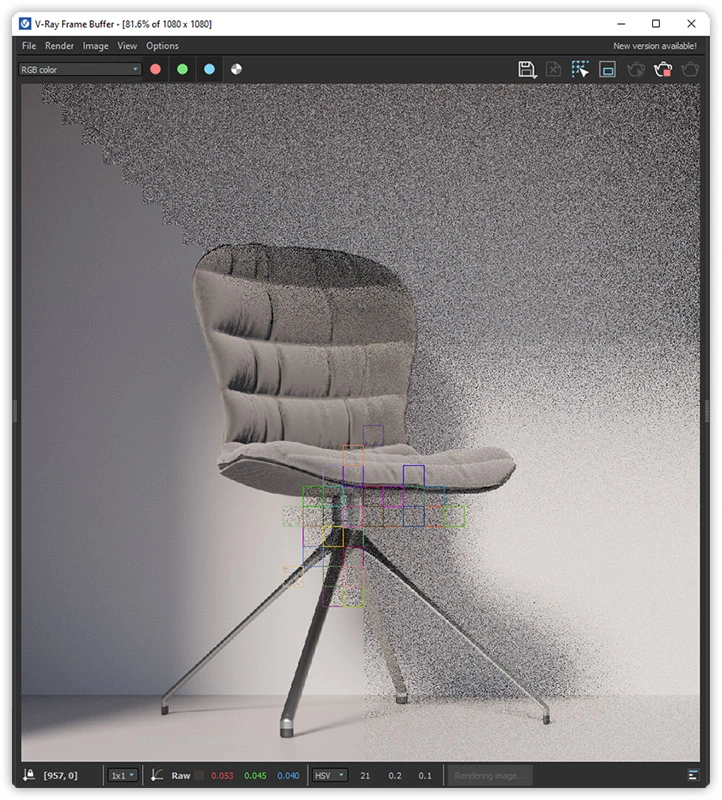
After each change in SketchUp—whether zooming in, zooming out, or panning—the V-Ray preview adjusts to match your movement. You can, however, lock the camera to navigate the scene freely by selecting the Lock Camera icon in the Frame Buffer window. This makes V-Ray respond only to meaningful changes and ignore SketchUp navigation.
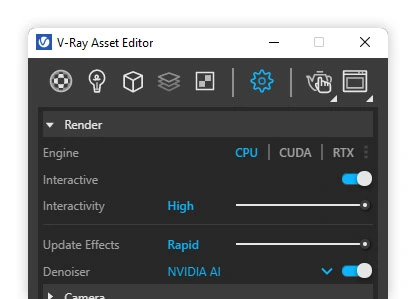
To see V-Ray’s results even faster, enable the Denoiser. NVIDIA AI will be the quickest option (if you have an NVIDIA card). Just make sure Update Effects: Rapid is selected. This way, you’ll get a decent-quality preview in just a few seconds!
Viewport rendering
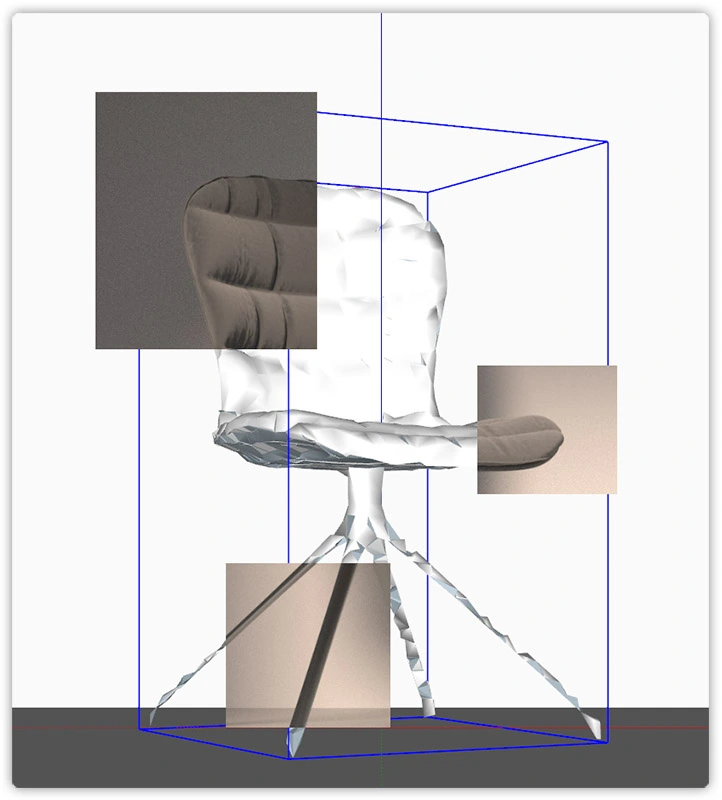
V-Ray also offers another rendering mode I haven’t mentioned yet: Viewport rendering. It works just like interactive mode but displays the result directly in SketchUp instead of a separate Frame Buffer window. You can enable it by clicking the kettle icon in the window or via the top menu bar under Extensions / V-Ray / Render / Viewport rendering.
There are no extra settings here—no additional interface, even. Using Ctrl + and Ctrl - lets you adjust the visualization opacity, creating a transition between the realistic render and the SketchUp view.
Holding Shift, on the other hand, allows you to render a portion of the view. It’s an excellent way to get a quick, non-committal preview of your visualization.
Summary
I hope that after reading this article, you now know how to use interactive rendering and will employ it to control your visualizations more efficiently. Occasionally stop the Interactive Render to avoid errors, and watch out for SketchUp’s autosave—lengthy saves can cause stability issues.
And if this article hasn’t yet satisfied your curiosity about V-Ray and rendering settings, be sure to check out our courses dedicated to these topics: .You’ll find many helpful tips and a practical approach to architectural visualization.
Author

Przeczytaj o programie Sketchup na naszym blogu
-
![Unusual Shapes and Tiles in SketchUp – Gores, Hexagons, and Fans]()
Unusual Shapes and Tiles in SketchUp – Gores, Hexagons, and Fans
Hexagons and gores in SketchUp in 5 seconds? Discover how to model the most challenging tile shapes. Read now! -
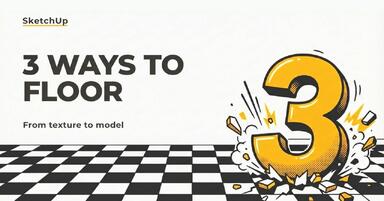
![3 ways to create a floor in SketchUp – from texture to a 3D model]()
3 ways to create a floor in SketchUp – from texture to a 3D model
From a flat texture to advanced 3D. Discover 3 methods for creating a floor in SketchUp and uncover our reliable "gamechanger". Read on! -
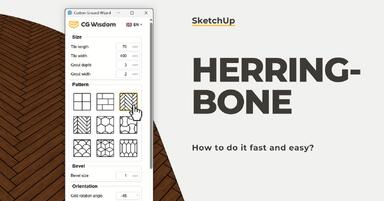
![French and Classic Herringbone in SketchUp – how to do it quickly and error-free?]()
French and Classic Herringbone in SketchUp – how to do it quickly and error-free?
Manual herringbone installation is a nightmare! See how to automate this process in SketchUp and save hours of work. Click to find out! -
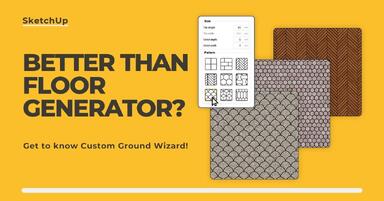
![Floor Generator for SketchUp not working? Discover the best alternative in 2026!]()
Floor Generator for SketchUp not working? Discover the best alternative in 2026!
Tired of Floor Generator errors? Discover the reliable Custom Ground Wizard plugin and create 3D floors stress-free. Read the article!
Want to learn Sketchup? Check out our free online course!