Publication date: 07-05-2025 | Update date: 07-05-2025 | Author: Piotr Kurpiewski

-
Online courses
- All
 3ds Max
 AI - Artificial Intelligence
 Blender
 Corona renderer
 GstarCAD
 LayOut
 Photoshop
 Interior Design
 Revit
Revit Sketchup
 Stable Diffusion
 V-ray
V-ray
"Online courses" are comprehensive online training programs that will help you quickly master the software you are interested in.
- Plugins
- 3D Models
- Help
- Articles
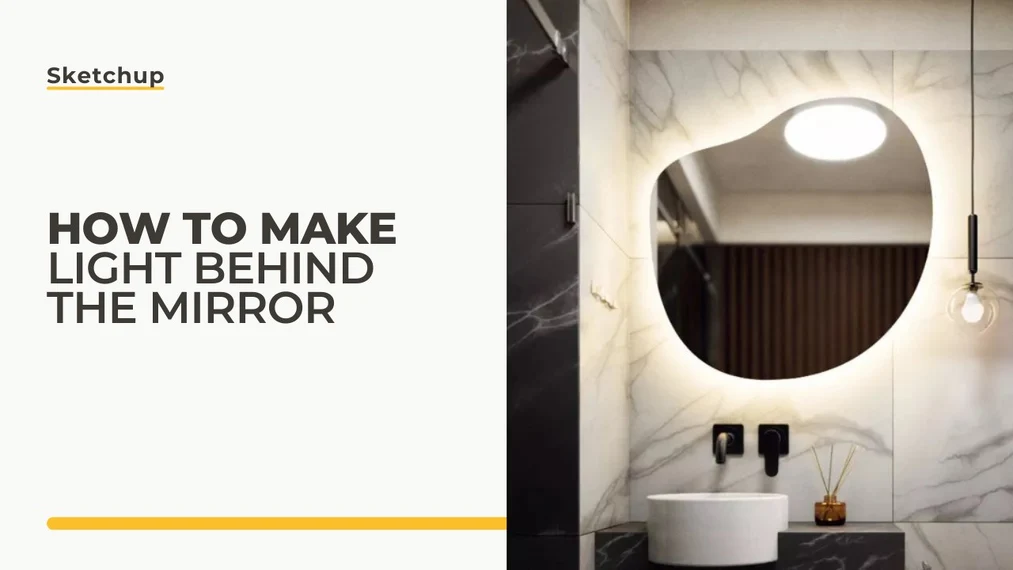
SketchUp, Vray - How to make light behind a mirror - Guide, tutorial
Are you preparing interior design visualizations in V-Ray and looking for the best solutions? In this guide, you'll learn how to add light behind a mirror. With detailed instructions, you'll learn how to use the Emissive material, the V-Ray Mesh Light feature, and see step by step how to illuminate a mirror in SketchUp + V-Ray.
Index
While standard lights pose no challenge for beginners, a light with an irregular shape can cause some trouble. Fortunately, V-Ray provides us with ready-made solutions in terms of light materials and geometry. However, to understand them, you need to start with the basics.
SketchUp - Which V-Ray Light to Use to Backlight a Mirror
The light most often used in SketchUp work is the Rectangle Light. In fact, it can be likened to a softbox, that is, a rectangular (or elliptical) light source that emits from its entire surface. It is especially common in photography studios. In the 3D graphics world, it also complements natural sunlight perfectly.
The shape of the Rectangle Light is defined by the Shape parameter. By default it is Rectangle, but you can also choose Ellipse, which gives you an elliptical light. Properly scaled, it makes an excellent glowing circle. So if your mirror is perfectly round, you can successfully use this solution. Just remember to point the light toward the wall. The glow effect will then be visible right behind the mirror.

SketchUp - V-Ray - How to Create Lights with Unusual Shapes
Rectangle, ellipse (including circle), or sphere are shapes you can easily get in V-Ray using the aforementioned Rectangle Light or the less common Sphere Light. The problem is unusual forms. For example, how do you create a glowing ring? Or a triangle that emits bright light?
To make light take on an unusual shape, you need to use a special V-Ray material or specific geometry adapted for such cases. I describe both solutions in the following paragraphs.
How to Use the Emissive Material to Backlight a Mirror
The first way to create irregular light is to use an Emissive material applied to a selected model. In the Asset Editor, under the Materials tab, click the “+” icon in the lower left corner and choose Materials / Emissive to give the material the appropriate glowing properties.

In the panel, you can set any intensity and color of the glow. You can also fill any shape with the material, regardless of its size. However, keep in mind that this is not a perfect solution. Emissive generates a lot of noise and is not precise for lighting large scenes. It is only decorative light, which may not work well as a mirror backlight.

V-Ray Mesh Light - Light Geometry
To light the mirror from behind, it is best to use the so-called Mesh Light. To add it to the scene, you need a group that you then convert into a light source by clicking the dedicated icon or going through Extensions / V-Ray / Lights / Convert to Mesh Light. This is why I refer to Mesh Light as a light-geometry. This object successfully combines both terms.

As for the light’s shape, there are no limitations. It can be a flat ring or a three-dimensional organic blob. The only requirement is that the model is enclosed in a group. Loose geometry cannot be converted into a Mesh Light.
Mesh Light is edited just like any other light, e.g. Rectangle Light or Sphere Light. Simply find the Mesh Light name in the Asset Editor on the list of lights and change the Intensity and Color parameters. Simple, right?
How to Backlight a Mirror in SketchUp and V-Ray Step by Step
By now you surely have an idea of how to place convincing light behind the mirror. For complete certainty, read the ready-made recipe below:
- Draw any shape. It’s best to use the outline of the mirror, but push its edges toward the center to create an irregular ring.
- Move the mirror away from the wall. Place the light behind the mirror but in front of the wall. Keep a small distance, about 1 cm.
- Be careful that the Mesh Light geometry does not intersect with other objects in the scene. This can cause the light to “leak” into areas where it shouldn’t be.
- If your light is flat, make sure it is pointed toward the wall. For a Mesh Light, the glowing side is the one filled with white by default, i.e. the front. The other side, dark blue, is the back.
- If you don’t want the light source to be visible, check Invisible in the Mesh Light settings in the Asset Editor. Only the geometry will disappear; the glow effect remains.
- Choose an Intensity that doesn’t overexpose the wall but provides even, bright lighting. Also set a subtle yellow-orange color. A temperature of 4500 K works in most cases.

Summary
When creating the above visualization, I followed the 6 principles from the previous paragraph. If you follow them precisely, you can achieve the same effect.
And if you’re interested in the topic of artificial lights in V-Ray and want to develop your skills in this software, be sure to check out my SketchUp + V-Ray 6 Course - Interior Visualization Training from Scratch. You will learn all the tools necessary for interior visualization work.
Author

Przeczytaj o programie Sketchup na naszym blogu
-
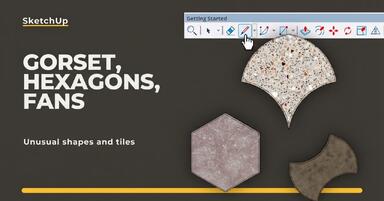
![Unusual Shapes and Tiles in SketchUp – Gores, Hexagons, and Fans]()
Unusual Shapes and Tiles in SketchUp – Gores, Hexagons, and Fans
Hexagons and gores in SketchUp in 5 seconds? Discover how to model the most challenging tile shapes. Read now! -
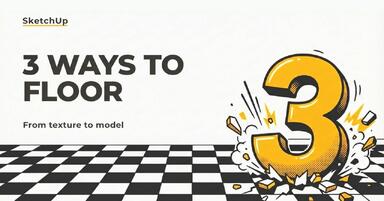
![3 ways to create a floor in SketchUp – from texture to a 3D model]()
3 ways to create a floor in SketchUp – from texture to a 3D model
From a flat texture to advanced 3D. Discover 3 methods for creating a floor in SketchUp and uncover our reliable "gamechanger". Read on! -
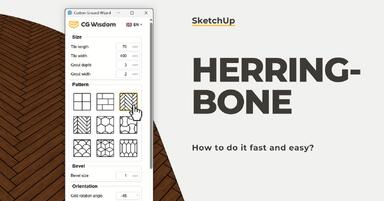
![French and Classic Herringbone in SketchUp – how to do it quickly and error-free?]()
French and Classic Herringbone in SketchUp – how to do it quickly and error-free?
Manual herringbone installation is a nightmare! See how to automate this process in SketchUp and save hours of work. Click to find out! -
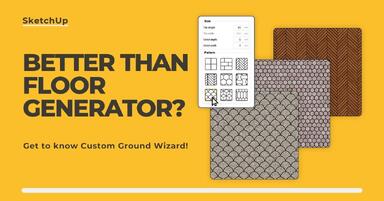
![Floor Generator for SketchUp not working? Discover the best alternative in 2026!]()
Floor Generator for SketchUp not working? Discover the best alternative in 2026!
Tired of Floor Generator errors? Discover the reliable Custom Ground Wizard plugin and create 3D floors stress-free. Read the article!