Publication date: 21-05-2025 | Update date: 21-05-2025 | Author: Piotr Kurpiewski

-
Online courses
- All
 3ds Max
 AI - Artificial Intelligence
 Blender
 Corona renderer
 GstarCAD
 LayOut
 Photoshop
 Interior Design
 Revit
Revit Sketchup
 Stable Diffusion
 V-ray
V-ray
"Online courses" are comprehensive online training programs that will help you quickly master the software you are interested in.
- Plugins
- 3D Models
- Help
- Articles
V-Ray Lights - SketchUp - How to Light a Scene - Guide
Lighting is one of the key elements influencing the realism and mood of a visualization. In the SketchUp environment, using the V-Ray rendering engine, we have a wide range of light types at our disposal that allow us to precisely control the atmosphere of any scene. In this article, we will examine all available V-Ray light types, their properties, and applications that will help you achieve professional results in your projects.
Index
Introduction
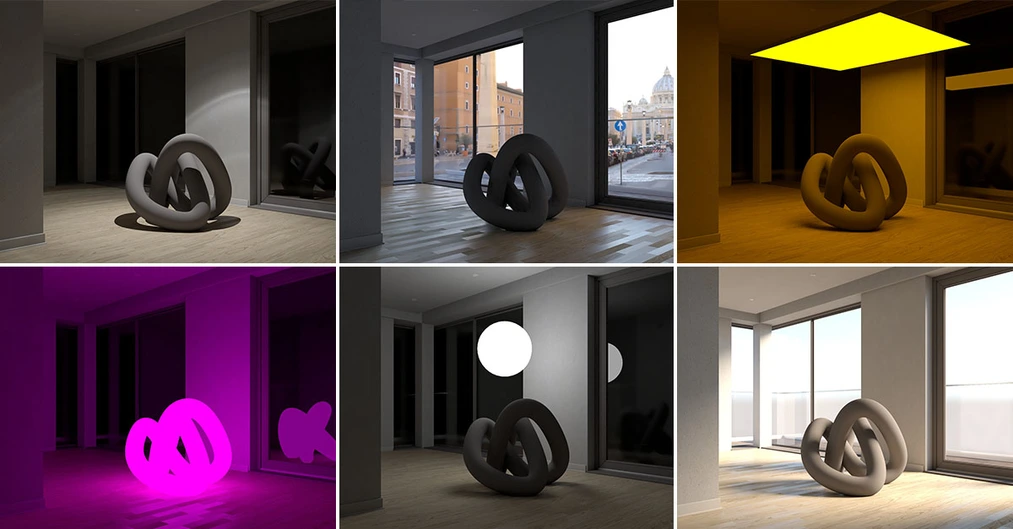
In this article I will briefly discuss the different types of V-Ray lights and show you how to use them. The light icons are located on the main V-Ray toolbar, usually at the top of the screen. If you can’t find them, simply go to the SketchUp drop-down menu, select View / Toolbars, and on the list find V-Ray Lights. There are 7 different lights available:

V-Ray SunLight
However, let us start with the fact that SketchUp uses SunLight by default, which imitates natural sunlight. It is also the only type of light that has no icon and can be controlled directly in SketchUp. The Shadows tool is responsible for modifying the sun. By setting different dates and times, we can change the direction of the sun rays, thus changing the mood of the scene.

We control more advanced light parameters in V-Ray, in the Asset Editor panel. To open it, just select Extensions / V-Ray / Asset Editor from the SketchUp drop-down menu.

Among the many SunLight parameters, the most important seem to be Intensity Multiplier and Size Multiplier. They are responsible for the light intensity and the blurring of shadow edges, respectively. By changing them, we get closer to characteristics typical for reality.

V-Ray Rectangle Light - rectangular light
The most popular artificial light is the Rectangle Light. It’s used to simulate LED strips, fixtures, and as a fill light for SunLight. It is a diffuse light that can be compared to a powerful bulb. Its representation in SketchUp is a rectangle. Like any shape, it has a front (white) and a back (blue) side. It’s important to position it with the correct – front – side facing the direction of emission. Otherwise, the ceiling will be lit instead of the floor. Among the basic Rectangle Light parameters we find, as with other lights: Intensity and Color.

V-Ray Sphere Light - spherical light
The Sphere Light is a light-emitting sphere. Unlike the Rectangle Light, it emits light in all directions over its entire surface. We can specify its size directly in SketchUp: the larger it is, the stronger it shines. All other parameters are set in V-Ray. Here, similarly, the most important ones are Intensity and Color, but it’s also worth mentioning the Invisible option. It makes the light source disappear without affecting its intensity. Just remember that in reflections (e.g. on glass) the light will still be visible. You can prevent this by disabling the Affect Reflections parameter.

V-Ray Spot Light - point light
The Spot Light is a point spotlight. It’s easiest to associate it with stage lighting that illuminates a small area, e.g. the main actor against the set. Unlike the previously discussed types of V-Ray Lights, this light has a very narrow beam; it doesn’t illuminate the surroundings as much as the diffuse Rectangle and Sphere Lights. However, we can control the size of the illuminated area using additional parameters. In this context, the most important ones are Cone and Penumbra Angle. The higher their values, the larger the illuminated area and the softer the edge of the light and shadow.

V-Ray IES Light
The IES Light uses a pre-made photometric profile in a .ies file format. Many popular lighting fixture manufacturers provide .ies files on their websites. Thanks to using the IES Light, we can faithfully reproduce the lamp’s character: the shape of the light beam and its angle. Unlike other V-Ray Lights, its intensity is specified in lumens. Values can reach up to 100,000 units.

V-Ray Omni Light
At first glance, the Omni Light appears to work like the Sphere Light. However, it is a global light designed to imitate sunlight. But to achieve this, you need to set a very high intensity value because by default the Omni Light loses power as the distance from the light source increases.

V-Ray Dome Light
The Dome Light is used to replicate a complex environment from .hdr and .exr images. Such prepared panoramas can be used to create a realistic system that affects the scene in terms of light intensity, ambient color, and background. Depending on the file, it could be a forest, the interior of a photo studio, or the streets of the Vatican:

V-Ray Mesh Light
With the Mesh Light, you can easily turn any group into a light-emitting model. As with other lights, we have the basic Intensity and Color parameters available. Despite its obvious advantages, the Mesh Light shouldn’t be the main light source in a scene. This type of V-Ray Light is rather used for creating decorative lights: highlighting bulbs and lampshades.

Summary
The key to creating a photorealistic effect is combining multiple forms of V-Ray Lights into a single, complex lighting system. You need to devote a lot of attention to selecting lights and setting their mutual relationships in terms of location, color, and intensity. For complex scenes, the number of different lights can reach dozens. Now that you know what each V-Ray Light is for, try using at least a few types in your own projects.
Do you have any suggestions for topics you’d like to see covered? Let us know in the comments below.
We also encourage you to check out our online SketchUp courses.
Good luck!
Author

Przeczytaj o programie Sketchup na naszym blogu
-
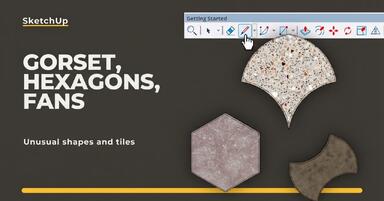
![Unusual Shapes and Tiles in SketchUp – Gores, Hexagons, and Fans]()
Unusual Shapes and Tiles in SketchUp – Gores, Hexagons, and Fans
Hexagons and gores in SketchUp in 5 seconds? Discover how to model the most challenging tile shapes. Read now! -
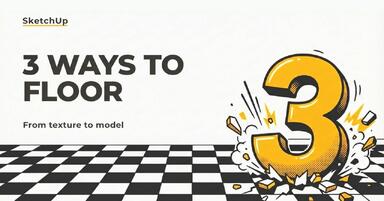
![3 ways to create a floor in SketchUp – from texture to a 3D model]()
3 ways to create a floor in SketchUp – from texture to a 3D model
From a flat texture to advanced 3D. Discover 3 methods for creating a floor in SketchUp and uncover our reliable "gamechanger". Read on! -
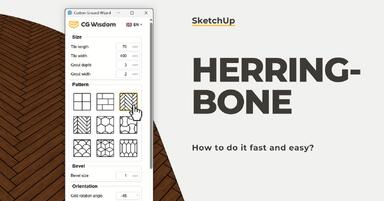
![French and Classic Herringbone in SketchUp – how to do it quickly and error-free?]()
French and Classic Herringbone in SketchUp – how to do it quickly and error-free?
Manual herringbone installation is a nightmare! See how to automate this process in SketchUp and save hours of work. Click to find out! -
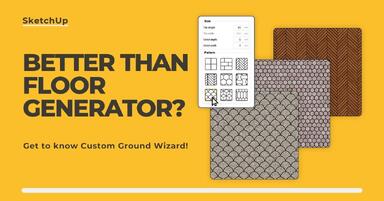
![Floor Generator for SketchUp not working? Discover the best alternative in 2026!]()
Floor Generator for SketchUp not working? Discover the best alternative in 2026!
Tired of Floor Generator errors? Discover the reliable Custom Ground Wizard plugin and create 3D floors stress-free. Read the article!