Publication date: 25-04-2025 | Update date: 25-04-2025 | Author: Piotr Kurpiewski

-
Online courses
- All
 3ds Max
 AI - Artificial Intelligence
 Blender
 Corona renderer
 GstarCAD
 LayOut
 Photoshop
 Interior Design
 Revit
Revit Sketchup
 Stable Diffusion
 V-ray
V-ray
"Online courses" are comprehensive online training programs that will help you quickly master the software you are interested in.
- Plugins
- 3D Models
- Help
- Articles
How to Create Velvet Material in SketchUp and V-Ray? Tutorial
Velvet is one of the most challenging materials to achieve in V-Ray. If you want the material to look good, go through a few steps to prepare it.Work on high-quality models - this way, you will take care of the geometry and texturing. Then, create a basic velvet texture and remember its non-uniform color. To do this, use Mix (Map) in the Diffuse channel. You will achieve the worn effect by using an additional VRay Mtl layer. Also, choose the Opacity slot for the Falloff transformation. You will create the velvet structure by using the Cellular transformation of this layer, allowing for the "worn" effect. Also, add the Cellular transformation in the Bump layer. Read the article to learn more details and precise instructions.
Index
The recent popularity of velvet in interiors has led designers to increasingly use it. At the same time, it is one of the most complex materials in V-Ray. Therefore, I have prepared a guide in which I describe how to create the perfect velvet step by step.
You will find all the necessary files to create the same material under this link.
Geometry and Texturing
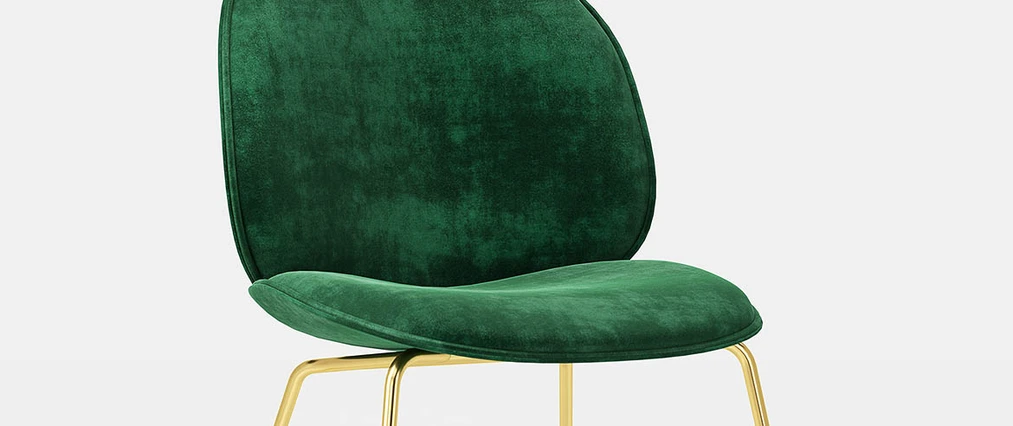
Firstly, it is worth noting that even the best material will look terrible on geometry that is not advanced and whose texture is not properly laid out. So, make sure to work on good quality models. I will be using the Gubi Beetle upholstered chair, which looks like this by default:
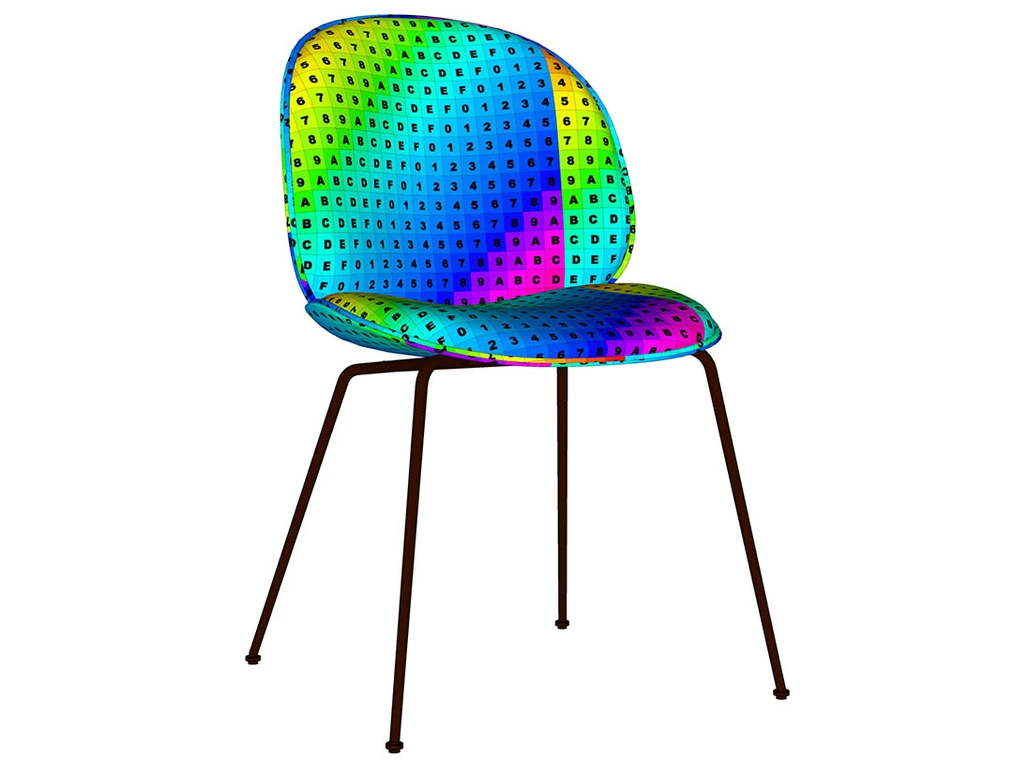
Pay attention to the continuously laid texture on the seat.
Basic Texture
Velvet is characterized by non-uniform color. To capture this feature in V-Ray, I create a new material and in the Diffuse channel, instead of the standard Bitmap, I choose the exceptional Mix (Map). Only in the Mix Map slot, I put a special grayscale texture that will help us mix the Top and Bottom colors. In Color Top, I choose a light color of velvet, and in Color Bottom, a dark one. I opt for a bottle green, which looks like this in the preview:
Velvet Material - "Worn" Effect
The second characteristic of velvet, which is so characteristic of this material, is a kind of "worn" effect on surfaces that we look at from a large angle and on marginal planes. We can achieve this effect by using an additional layer of VRay Mtl, which will use the Mix (Map) parameter similar to the first layer and the same texture, but slightly lighter Top and Bottom colors. To make lighter elements visible in the appropriate places, you need to add a Falloff transformation to the Opacity slot of the second VRay Mtl layer. To precisely capture velvet, in the Falloff Type settings, select Fresnel, and in Fresnel IOR, enter the value 1.2. Depending on the lighting conditions of the scene and the type of geometry, the refractive index value may vary, so it's worth trying settings in the range of 1.1-1.6. I achieved this effect: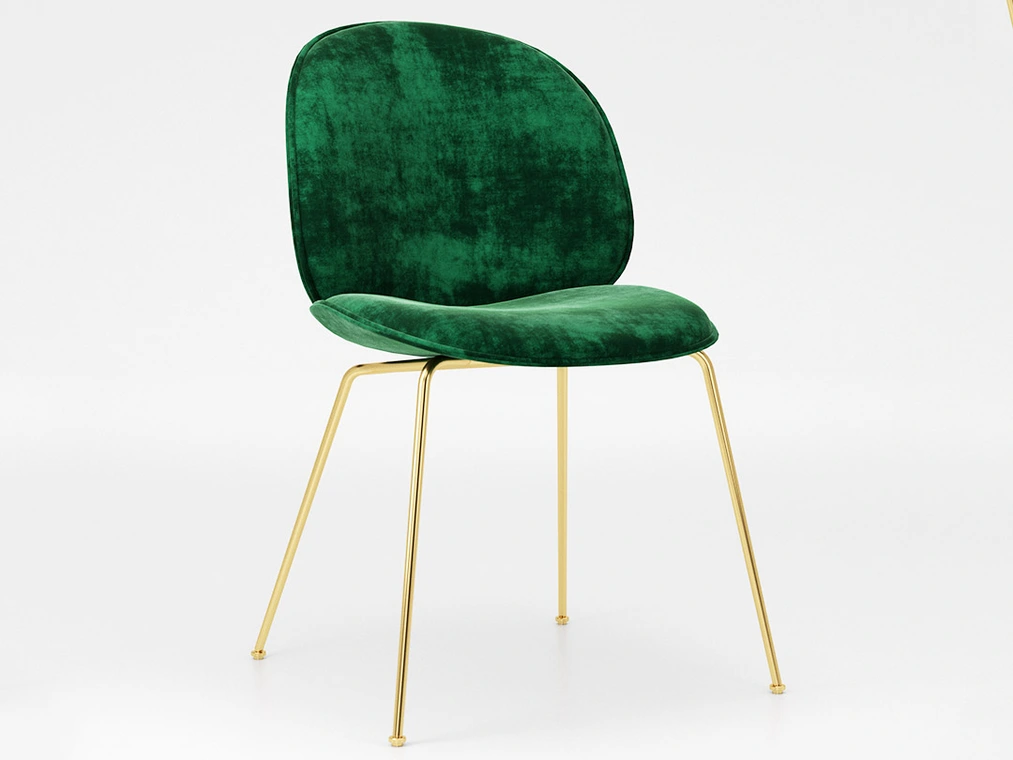
3D Structure
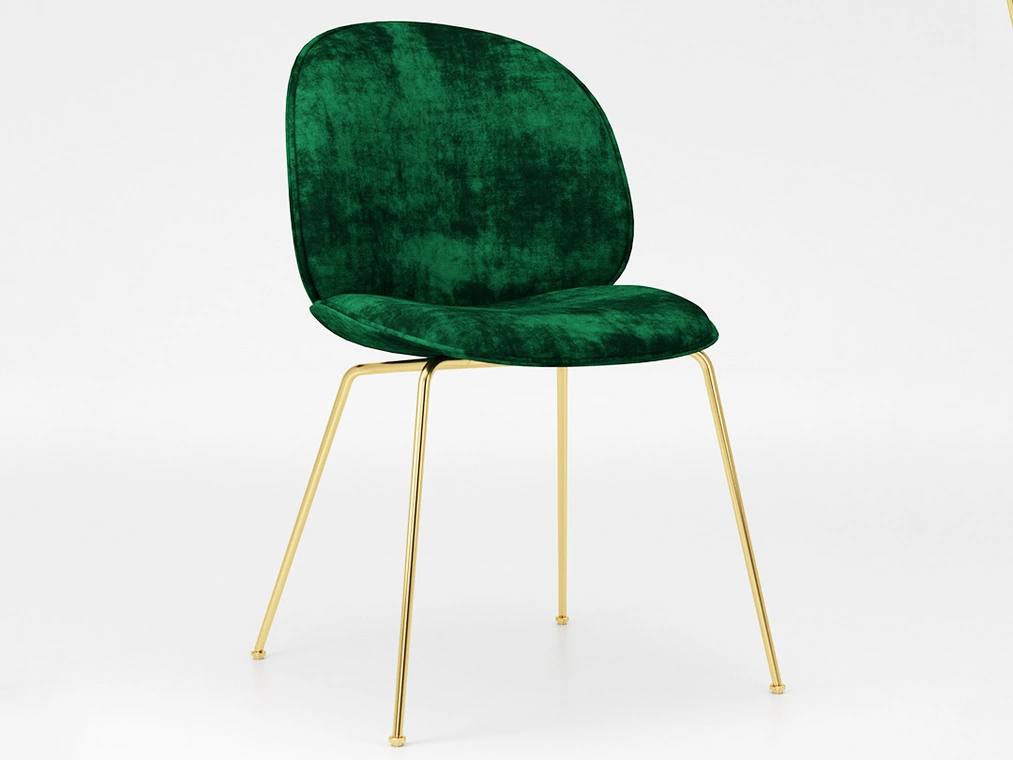
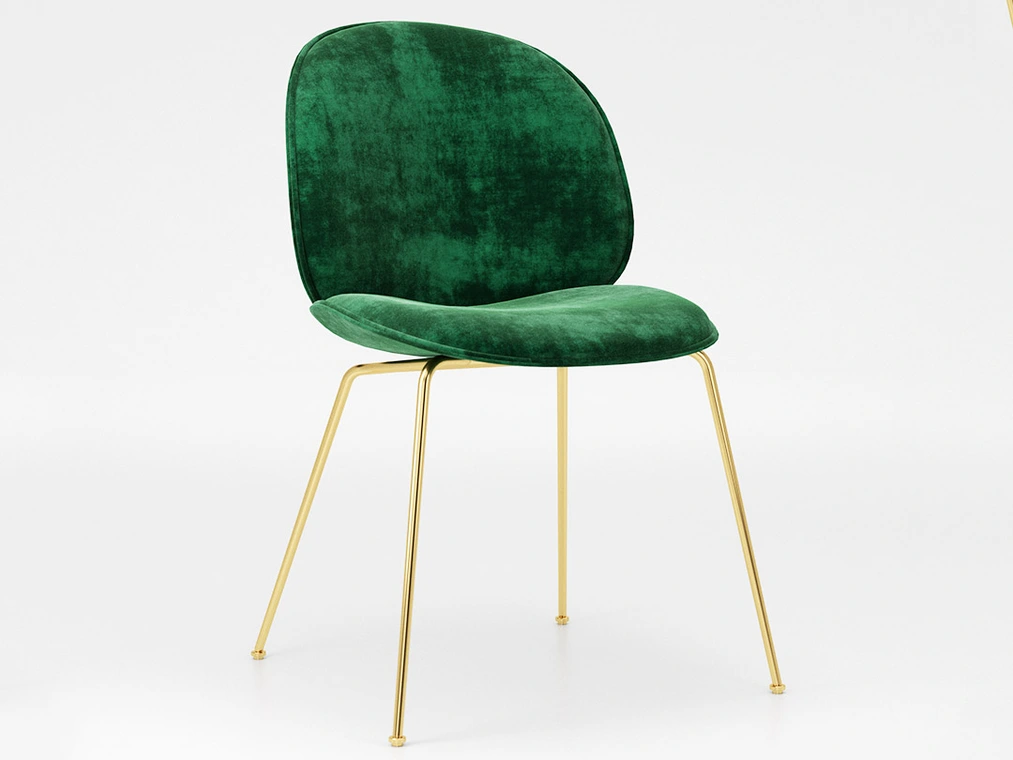
The last characteristic of velvet that we should be interested in is its structure, which can be described as "granular." The surface of velvet consists of many small cotton fibers interspersed with short hair cover. To reproduce it, we need to use the Cellular transformation, which we put in the Bump layer responsible for the 3D structure of the entire material. For a better effect, we apply black color to Color Center and Color Background, and completely white color to Color Edge. We leave the type as Dots; however, we change the Density to 4 and Spread to 0.4. Then we adjust the Size to the size of the texture we are using. In my case, the smallest parameter is 0.001. This subtle transformation brought me closer to creating the perfect velvet material. Compare for yourself how it looked at the beginning and how it looks after the changes:
If you are not keeping up with the narration and the successive transformations, take a look at the graphic depicting the V-Ray material broken down in a hierarchical, chronological layout:
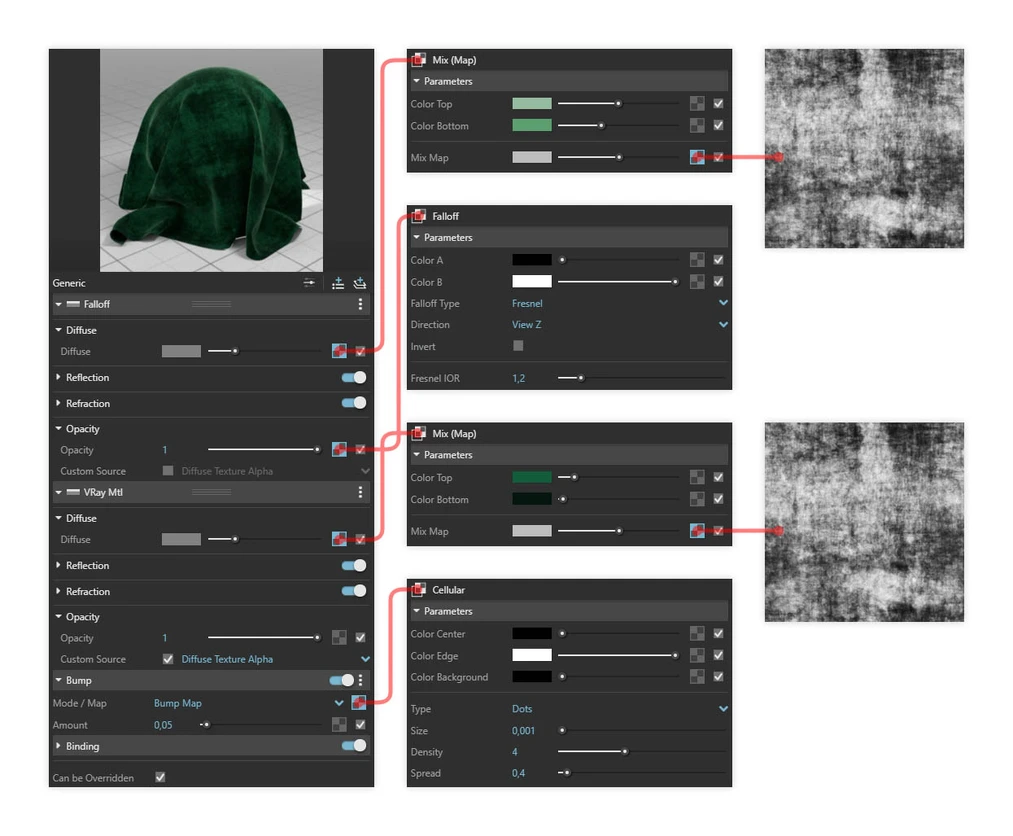
And if you still have any doubts, you will find the finished material in .vrmat format in the downloadable files, or watch the tutorial in a video format, which will certainly leave no doubts!
Best regards!
Author

Read on our blog
-
![AI for furniture manufacturers - See how to create furniture packshots and catalog arrangements with raya.design]()
AI for furniture manufacturers - See how to create furniture packshots and catalog arrangements with raya.design
Packshots without time-consuming sessions? Discover Raya Design. Change upholstery and create arrangements with AI in moments. See how it works! -
![Virtual AI home staging - how to furnish an empty apartment from a photo in one minute using Ray?]()
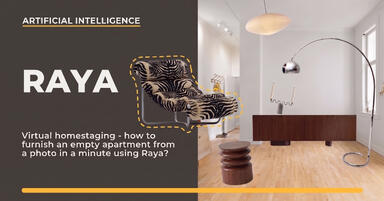
Virtual AI home staging - how to furnish an empty apartment from a photo in one minute using Ray?
Fast interior transformation without 3D modeling? Meet Ray Design. Furnish an empty apartment from a photo in one minute with AI. Come in and see how it works! -
![Quick AI visualizations from SketchUp - Meet Raya: an alternative to V-Ray]()
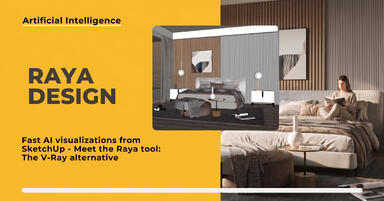
Quick AI visualizations from SketchUp - Meet Raya: an alternative to V-Ray
Done with tedious V-Ray? Test Raya Design in SketchUp! Create photorealistic interior visualizations without prompts. Click to find out! -
![Raya - The simplest AI tool for designers: zero prompts, maximum control!]()
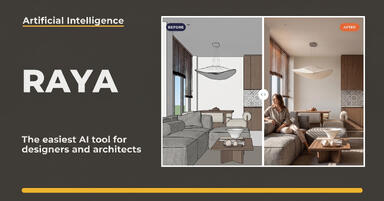
Raya - The simplest AI tool for designers: zero prompts, maximum control!
Try raya.design for free! Get 20 credits to start and create photorealistic 3D visualizations without prompts. Click to check it out!
Want to learn Sketchup? Check out our free online course!