Publication date: 22-05-2025 | Update date: 22-05-2025 | Author: Piotr Kurpiewski

-
Online courses
- All
 3ds Max
 AI - Artificial Intelligence
 Blender
 Corona renderer
 GstarCAD
 LayOut
 Photoshop
 Interior Design
 Revit
Revit Sketchup
 Stable Diffusion
 V-ray
V-ray
"Online courses" are comprehensive online training programs that will help you quickly master the software you are interested in.
- Plugins
- 3D Models
- Help
- Articles
SketchUp, V-Ray - Glass - Everything You Need to Know - Guide, Tutorial
V-Ray offers a range of advanced glass parameters. To achieve transparency, use the Refraction Color parameter. Refraction Color provides a uniform color effect across the entire surface, while the Color For feature increases realism by applying color with varying intensity depending on material thickness. The way light refracts in the render is controlled by the Refraction IOR parameter. In this article, you will learn the details of each of these parameters and find out how to set them to create photorealistic visualizations.

Index
The vast majority of real-world materials can be recreated using parameters: Diffuse, Reflection and Bump, which correspond to color, reflections and texture, respectively. By setting them appropriately, without additional options, you can achieve the look of plaster, wood or metal (remember my article titled How to make a mirror?). However, glass follows different rules.
Transparency - Opacity
The fundamental property of glass is its transparency. It is easy to simulate in SketchUp by lowering the Opacity in the Materials panel. This is the simplest, but also the most imperfect way to achieve a glass effect, as it ignores its essential properties: reflections, refraction and color variation.
These advanced parameters can only be accessed in V-Ray. Here again you encounter the opacity parameter, expressed as Opacity, which is once more insufficient. To achieve convincing glass you need to use the Refraction option.

Refraction
It may seem strange, but the opacity of glass, Opacity, should always be set to 1. The glass material should be fully opaque. Transparency is controlled in the Refraction panel. There, the Refraction Color parameter toggles it on or off. Black is set by default for all non-glass materials. White indicates glass.
Refraction differs from Opacity in that, besides transparency, it also simulates complex glass properties, such as surface refraction, color density variation and clarity of the image behind the glass.


CHECKOUT SKETCHUP ONLINE COURSES
Refraction Color
Refraction Color, as mentioned, enables or disables the full glass effect. It also defines its base color. White produces a completely neutral effect. A slight green tint will uniformly color the material.
Attention! Too dark values can yield unexpected results. It is best to choose colors from the higher brightness range.


Fog Color
Refraction Color provides a uniform color effect across the entire glass surface. Only the Fog Color function realistically shades the material, giving it a more intense color where the glass is thicker and a less intense color on its thinner sections. This is especially important for geometrically complex models. In simple rectangular glass panes, the effect is visible only on the edges.
Again, you should choose colors with high brightness values to avoid unwanted results. You can further balance the effect using Fog Depth, which weakens or strengthens the shading.
It is also worth mentioning that changing the base Diffuse color will have no effect. In this case, only Refraction Color and Fog Color determine the color.


Refraction Glossiness
Not all glass materials are 100% transparent. For example, frosted glass makes the view behind it blurry. Edges soften and colors blend into uneven patches. You achieve this result with Refraction Glossiness. When set to 1, the view through the glass geometry is at its sharpest. The lower the Glossiness value, the greater the blur. This is especially noticeable on objects that are farther away from the glass.


Refraction IOR
The final key property of glass is the Refraction IOR, also known as the refraction index. This physical value determines how light bends when passing through the material’s surface. A value of 1 means the light beam does not change direction at all. In this case, the glass is as neutral as possible, preserving the view directly behind it at a 1:1 ratio. This is a good choice for windows or balustrades. Higher values work better for complex geometries, such as glass shades, tableware or decorative figurines.


Additional Rules
Remember to enable Reflection in addition to Refraction. The material will then be not only transparent but also slightly reflective. Combining these two properties creates a truly realistic effect.


Additionally, you must also adhere to a few geometric rules.
- First: the glass must have thickness. Only then will the Refraction parameter work correctly.
- Second: the glass should be grouped in SketchUp. Avoid free glass geometry that connects with other opaque models.
- Third: apply the glass material to faces on both sides, left and right, to avoid interpretation errors by V-Ray. Only after meeting these criteria will the glass behave correctly.


Summary
I hope that after reading this comprehensive article, glass will hold no secrets for you. If you follow the guidelines outlined here, glass materials in your visualizations will always look exceptional.
If you’re looking for more tips on SketchUp and V-Ray, check out our online course offerings. You’ll find tutorials on interiors, exteriors and product visualizations.
Author

Read on our blog
-
![AI for furniture manufacturers - See how to create furniture packshots and catalog arrangements with raya.design]()
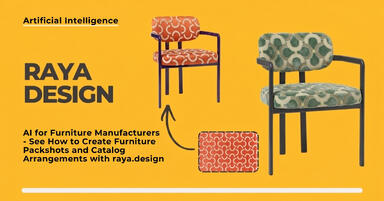
AI for furniture manufacturers - See how to create furniture packshots and catalog arrangements with raya.design
Packshots without time-consuming sessions? Discover Raya Design. Change upholstery and create arrangements with AI in moments. See how it works! -
![Virtual AI home staging - how to furnish an empty apartment from a photo in one minute using Ray?]()
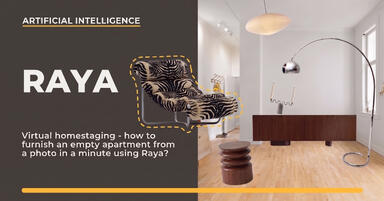
Virtual AI home staging - how to furnish an empty apartment from a photo in one minute using Ray?
Fast interior transformation without 3D modeling? Meet Ray Design. Furnish an empty apartment from a photo in one minute with AI. Come in and see how it works! -
![Quick AI visualizations from SketchUp - Meet Raya: an alternative to V-Ray]()
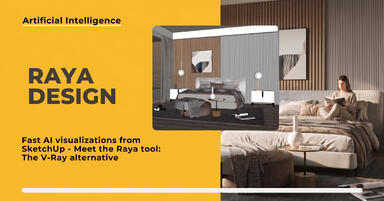
Quick AI visualizations from SketchUp - Meet Raya: an alternative to V-Ray
Done with tedious V-Ray? Test Raya Design in SketchUp! Create photorealistic interior visualizations without prompts. Click to find out! -
![Raya - The simplest AI tool for designers: zero prompts, maximum control!]()
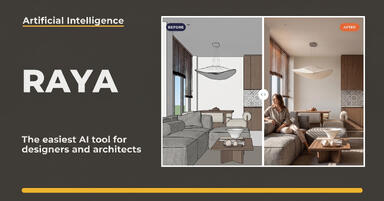
Raya - The simplest AI tool for designers: zero prompts, maximum control!
Try raya.design for free! Get 20 credits to start and create photorealistic 3D visualizations without prompts. Click to check it out!